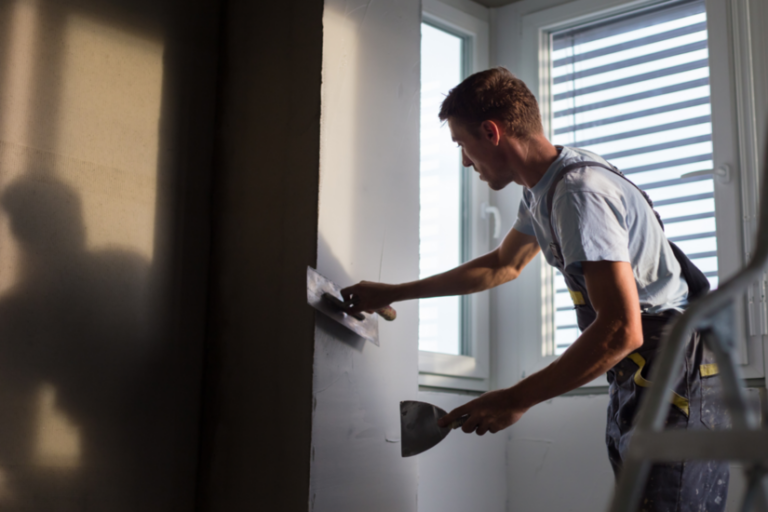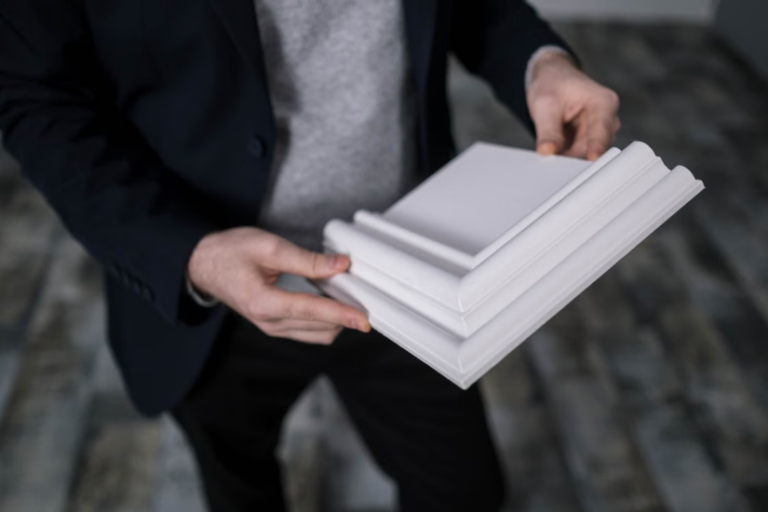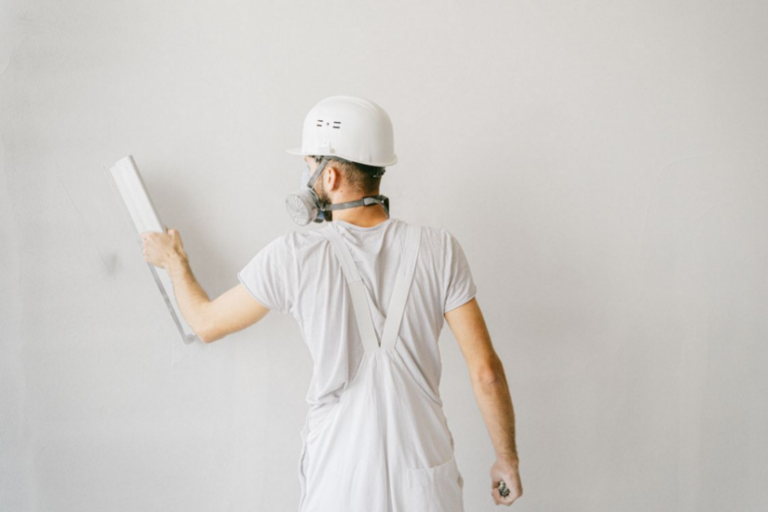


Dot and dab is the fastest and most common way of lining internal masonry with plasterboard in the UK. It turns rough blockwork or uneven brick into a flat, plumb, skim-ready surface without the time and floor space lost to building a stud frame. The method itself is sound. The failures that show up later, drumming hollow patches, boards that slump before the adhesive grabs, cold spots and draughts at the perimeter, almost always trace back to three things: poor background prep, a badly set-out adhesive pattern, and a rushed alignment before the mix goes off.
This guide covers adhesive placement, board alignment, and the hollow spots that catch people out. It is written for working dryliners, plasterers, and those coming into the trade, and it is grounded in current UK standards and manufacturer guidance. External links run throughout so you can verify the detail and specify with confidence.
What This Method Is, and Where It Belongs
Direct bond, to give it its proper name, fixes plasterboard to a solid wall using dabs of gypsum-based drywall adhesive rather than battens or a framed lining. It suits sound, dry brick, block, and masonry backgrounds where the wall is reasonably flat, generally with less than around 25mm of variation across the face. Beyond that, you are packing the board out too far, and a framed system becomes the right call.
The relevant workmanship standard is BS 8000-8:2023, Workmanship on construction sites. Design and installation of dry lining systems. Code of practice. This is the current document, and it is worth knowing that it supersedes the older BS 8212:1995, which is now withdrawn.
Plenty of guidance still floating around quotes BS 8212 as if it were live. It is not. BS 8000-8 covers the performance-critical aspects of dry lining, separation, fire protection, stability, applied loads, acoustics, and thermal insulation, and it defines how tolerances and deviations are measured.
For new-build work, NHBC Standards Chapter 6.3, Internal walls, is the compliance reference to have open. Current NHBC guidance requires dry lining to comply with BS 8000-8 and plasterboard to meet BS EN 520 or BS EN 15283.
Prep First: The Biggest Cause of Hollow Bond
Adhesive bonds to what it touches. If it touches dust, loose paint, or a damp face, it debonds, and that is where the hollow patches you can knock come from.
Before any adhesive is mixed:
- Clean the background: Brush off dust and any loose or friable material so you are bonding to something solid.
- Deal with suction: High-suction backgrounds pull water out of the mix too fast and weaken the bond. Treat or dampen the background in line with the adhesive manufacturer's guidance.
- Never board over damp: Fixing plasterboard over an existing damp problem traps moisture, causing adhesive failure and mould. Resolve the damp first, whether that means a damp-proof course or a tanking system, and let the wall dry.
British Gypsum’s own guidance for Gyproc DriWall Adhesive is explicit that the background must be clean and dry, and that repeated or prolonged exposure to moisture causes the set adhesive to lose strength and adhesion. Read the product data sheet before relying on any figures below, because manufacturers update them.
Mixing the Adhesive: Consistency and the Clock
Gypsum-based drywall adhesive is a powder you add to clean, cold water. Consistency matters as much as ratio. Too wet and the dabs slump and the board sags before it grabs. Too dry and you fight it while trying to line the board through.
Using British Gypsum’s Gyproc DriWall Adhesive as the worked example, the manufacturer states:
- L'eau : Roughly 13.5 to 14.5 litres of clean, cold water per 25kg bag.
- Working time: Up to 90 minutes.
- Setting time: A minimum of two hours.
- Coverage: Approximately two standard 1200mm x 2400mm boards per bag.
Knauf’s equivalent gypsum-based plasterboard adhesive works out at a broadly similar coverage of around five sheets per 25kg bag, depending on background and dab build. Always check the bag you are actually using, as water volumes and open times vary between products. Only mix what you can use inside the working time. A tub going off on the board back is wasted material and a weak bond.
Adhesive Placement: The Dab Pattern That Holds
This is where the job is won or lost. The pattern is not decorative. It controls bond strength, board flatness, fire and smoke behaviour, and air-tightness.
Dab Size and Thickness
British Gypsum specify individual dabs around 50 to 75mm wide and roughly 250mm long, the length of a trowel, applied between 10 and 25mm thick onto the dry surface. The thickness is what lets you pack the board out to plumb over an uneven wall.
Coverage
Dabs should be applied in a regular pattern giving a minimum contact area between board and background of 20%. That 20% minimum is the long-standing dry lining benchmark, and it is currently stated as a manufacturer specification rather than a clause of the withdrawn BS 8212. Either way, it is the number to design your pattern around. Under-dabbing to save material is a false economy that shows up as hollow, drumming board.
A Continuous Perimeter Band
Run a continuous ribbon of adhesive around the full perimeter of each board, and around every opening, socket box, and cut-out. This is not optional detail. The perimeter band:
- Stops air looping behind the board, which causes cold-bridging and the "ghosting" pattern that appears on painted walls.
- Cuts the draughts that make a dot and dabbed house feel like a colander.
- Supports the vulnerable edges where boards meet.
Field Dabs
Between the perimeter, set the main dabs out in straight, consistent vertical runs, commonly at around 300mm centres across the width of a standard board. Keep dab size consistent. Do not build random mountains and hope the board levels itself, and mark the board line on the wall so the adhesive stays inside the sheet area.
A useful trade summary of best practice comes from British Gypsum’s own Head of Technical Services in SpecFinish, and the manufacturer installation PDFs above give the exact figures.
Board Alignment: Lining Through Before It Sets
Once the dabs are on, you are working against the clock. The sequence that keeps boards flat and plumb:
- Set a datum. Establish a true vertical using a plumb line or laser at one end of the wall, and measure the maximum deviation of the existing wall. That deviation sets how thick your dabs need to be to bring the face out flat.
- Lift the board off the floor. Rest the bottom edge on board off-cuts or purpose-made spacers to hold a consistent floor gap. Never let the board sit on the floor.
- Offer the board up and tap it in. Use a straightedge or long level and a tapping block to bring the whole board to plumb and flat before the adhesive sets. Work the high dabs down until the face lines through.
- Check as you go. A board tapped level in the centre but neglected at the edges will drum hollow along the perimeter later.
Manufacturer setting time is a minimum of two hours for the bond. As typical practice, allow longer before skimming, usually at least 24 hours, and up to 48 hours in cold or damp conditions. Follow the board and adhesive manufacturer’s stated times where they differ.
The Floor Gap and the Damp Path
Leave a gap at the bottom of the board. Do not sit it on the floor. A floor gap of at least 10 to 12mm, and commonly around 50mm where insulated board is involved, keeps the plasterboard clear of moisture wicking up from the floor. This is a genuine defect route: boards sitting on the floor draw damp into the paper and gypsum. The gap is later covered by the skirting.
Fire, Acoustic and Moisture: When to Change Method
This is where safety and compliance override speed, and where substituting materials gets people into trouble.
Fire-Separating and Party Walls
Where a wall has to meet fire separation under Building Regulations Approved Document B, or sound insulation under Approved Document E, standard direct bond is generally not the answer. Those walls must be built as complete, tested systems, specified exactly per the manufacturer’s system guide such as the British Gypsum White Book. The air gap and adhesive in a generic build are not part of the tested assembly, so substituting boards, fixings, or method can break the rating. Build the tested system as drawn. Do not improvise.
Insulated (Laminate) Boards
Insulated plasterboard carries extra weight from the insulation backing. Adhesive alone is not enough, and secondary mechanical fixings are required alongside the dabs. Follow the board manufacturer’s fixing schedule.
Moisture-Prone and External Walls
Do not use standard direct bond on damp or wet external wall situations. Use moisture-resistant board with an appropriate fixing method, or a treated system, and resolve the underlying moisture issue first.
Airtightness
The continuous perimeter seal is also a Building Regulations Approved Document L matter, controlling air leakage behind the lining. Seal the perimeter properly at floor, ceiling, and returns.
Services Behind the Board: Pipes and Cables
Everything behind a dry lining is buried once the board is on. Plan for it.
- First-fix and test everything first. All electrical chases and plumbing must be first-fixed, tested, and signed off before boarding, because there is no maintenance access afterwards without pulling boards off. New electrical work falls under Building Regulations Part P.
- Gas pipework must follow BS 6891. Where gas pipe runs behind the lining, it must be installed to BS 6891 and fully encased, which can be done using drywall adhesive to encase the pipe. Only a Gas Safe registered engineer may carry out gas work.
- Protect copper from corrosion. Copper pipe can corrode where it sits in direct contact with cement or gypsum adhesive. Protect the pipe with a suitable wrap or lagging before it is encased, in line with the pipe and tape manufacturer's instructions.
Finding and Fixing Hollow Spots
A hollow spot is a length of board with no adhesive contact behind it. Tap across the finished board with your knuckle or a tapping block.
Common causes and what to do:
- Under-dabbing or missed field dabs. You fell below the 20% contact minimum. There is no clean fix once cured other than additional mechanical fixing bridged into the masonry, or taking the board off.
- Missed perimeter band. Edges and corners drum, and you get draughts and ghosting. Prevent it by never skipping the continuous perimeter ribbon.
- Debond from poor prep. Dust, high suction, or damp broke the bond. This is a prep failure, not something you fix after the fact.
- Thin strips left floating around cut-outs. Around reveals, socket boxes, and openings, support the board with adhesive right up to the edge rather than leaving unsupported strips.
Fixings Into a Finished Wall
Worth flagging for anyone hanging anything on the finished wall: there is a void behind the board. Standard masonry plugs and screws crush into the cavity, bend the board, and pull out under load.
- For light items, use purpose-made plasterboard fixings rated for the load.
- For anything heavier, a TV, radiator, kitchen unit, or shelving, use a cavity-bridging fixing that anchors into the masonry behind rather than relying on the board skin.
- Always check the manufacturer's stated Safe Working Load, and confirm there are no buried services at the fixing point before drilling.
The Short Version
Direct bond rewards discipline:
- Prep the background so the adhesive has something to bond to.
- Mix to the manufacturer's water ratio and work inside the open time.
- Hit the 20% minimum contact area and run a continuous perimeter band every time.
- Keep field dabs straight and consistent.
- Line the board through to plumb before the mix sets, and hold the floor gap.
- Know when fire, acoustic, or moisture requirements push you onto a tested framed system.
Get those right and the hollow spots, cold bridges, and slumped boards largely disappear. Dot and dab is a reliable method when the fundamentals are respected, and it stays reliable when you work to the current standard and the specific data sheet for the products in front of you.
Want to build stronger skills alongside your site experience? TradeFox offers interactive trade training you can work through at your own pace, giving you a practical way to revisit key skills and build confidence before taking them onto real jobs.