Walls bow. Floors dip. Plasterers leave a wave you only spot once the timber is offered up. On every site in the UK, finishing trades inherit substrates that are not square, not plumb and rarely flat to any meaningful tolerance.
The skill that separates a finished second-fix from a job capped with caulk is the ability to scribe wood accurately. This guide sets out the method, the standards and the safety obligations every UK tradesperson should be working to.
What Scribing Actually Is (And Why It Matters)
Scribing is the process of transferring the profile of an irregular surface onto a piece of timber, then cutting the timber to follow that profile exactly. It is not the same as a mitre. It is not the same as coping, although coping is a form of scribing used at internal angles between two moulded sections.
The reason it matters comes down to the codes of practice the industry works to:
- BS 8000-0:2014+A1:2024 sets out the general principles for workmanship on construction sites, including tolerance, accuracy and the interdependency between trades.
- BS 8000-5:1990 covers carpentry, joinery and general fixings specifically.
- BS 1186-2 and BS 1186-3 sit underneath BS 8000-5 and cover workmanship in joinery and wood trim fixing respectively.
Both BS 8000 documents recognise that finishes have to accommodate the deviations of the substrate they meet. In practical terms, a skirting board that follows the floor and a worktop that sits flush to the wall are the visible test of whether a fitter has worked to standard.
Put plainly, if you cannot scribe timber against an uneven surface, you cannot deliver second-fix joinery to a professional finish in older properties, refurbishments or anywhere the masonry shell has moved.
Health, Safety and Legal Obligations Before You Cut
Scribing involves repeated dry-fitting, hand-tool work and power tool use. Before the first piece of timber is offered up, the legal framework has to be in place.
Wood Dust and COSHH
Le Control of Substances Hazardous to Health Regulations 2002 (COSHH) require employers and the self-employed to control exposure to wood dust. The Workplace Exposure Limits set out in HSE document EH40/2005 (2020 edition) are:
- Hardwood dust: 3 mg/m³ (8-hour time-weighted average)
- Softwood dust: 5 mg/m³ (8-hour time-weighted average)
- Mixtures: the 3 mg/m³ hardwood limit applies to all dust in the mixture
Hardwood dust is classified as a carcinogen by the HSE. Carpenters and joiners are four times more likely to develop occupational asthma than the average UK worker. Exposure must be reduced to As Low As Reasonably Practicable (ALARP) regardless of compliance with the WEL.
On-site control requirements:
- On-tool extraction for any power tool that produces dust during scribing (jigsaws, multi-tools, planers, belt sanders, track saws)
- M-class vacuum as a minimum for hazardous dust
- Respiratory protective equipment with an assigned protection factor of at least 20 (FFP3 as the minimum)
- Tight-fitting RPE must be face-fit tested under HSE guidance INDG479
- Sweeping and compressed air are not acceptable cleaning methods
For employers and self-employed fitters with workers, COSHH Regulation 11 also requires a health surveillance programme for anyone regularly exposed to wood dust, usually a respiratory questionnaire and lung function check at appropriate intervals.
For fitters running their own workshop with fixed Local Exhaust Ventilation (LEV), HSE document HSG258 is the operative guide, and COSHH Regulation 9 requires a thorough examination and test (TExT) of LEV by a competent person at intervals of no more than 14 months.
Hand-Arm Vibration
Le Control of Vibration at Work Regulations 2005 set two thresholds:
- Exposure Action Value (EAV): 2.5 m/s² A(8)
- Exposure Limit Value (ELV): 5 m/s² A(8)
A jigsaw or multi-tool used through a long scribe across a kitchen run can put a fitter into action-value territory within roughly an hour of trigger time, depending on the declared emission. Manufacturer data must be consulted, trigger time recorded, and rotation between operatives considered on larger jobs. The HSE provides a free HAV exposure calculator on its website.
CDM 2015
Le Règlement de 2015 sur la construction (conception et gestion) apply to almost all construction work in the UK, including domestic refurbishment. The principal contractor is responsible for ensuring that risk assessments, method statements and site rules account for second-fix activities, and that suitable welfare and dust control provisions are in place.
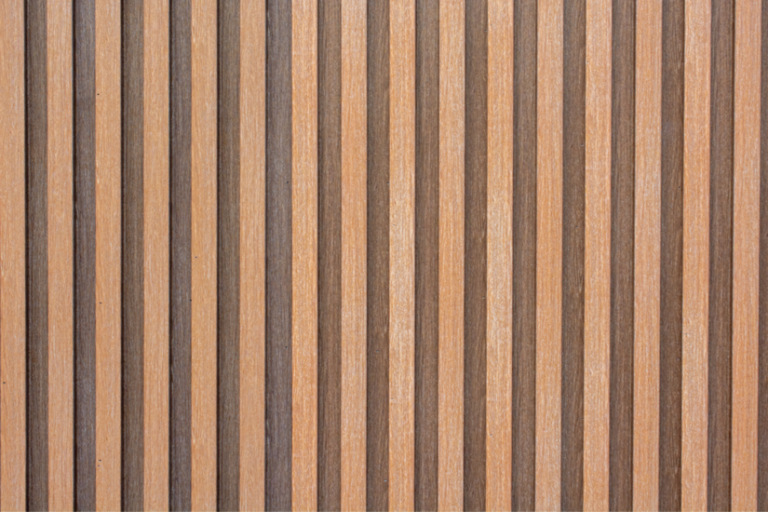
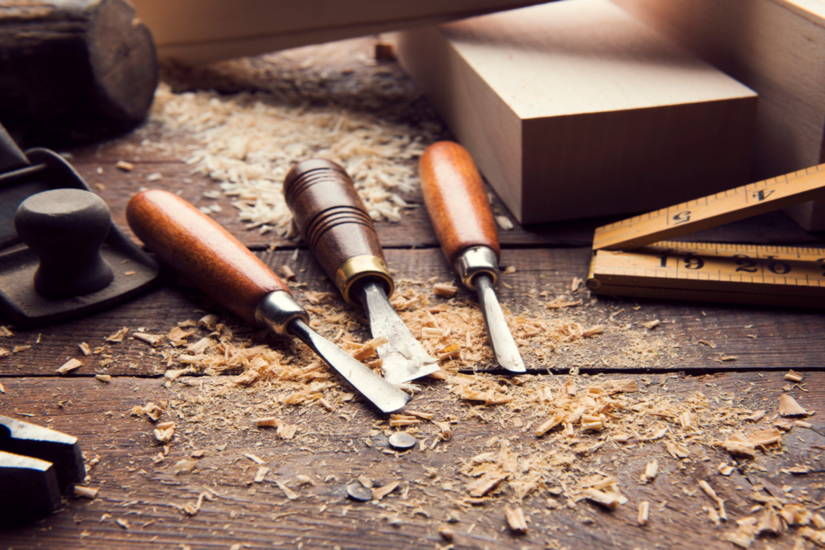
The Tools That Earn Their Keep
A scribed joint is only as accurate as the line that defines it. Cheap scribing tools produce cheap results. The realistic minimum kit list:
Marking tools:
- Traditional pencil compass-style scriber for flat-against-wall situations
- Fixed-leg scriber with a sharp pencil for parallel-offset work
- Profile gauge (contour gauge) with stainless steel pins for ornate mouldings, beaded skirting or stone splashbacks
Setting-out tools:
- Digital level
- Long straightedge for diagnosing whether a wall is bowed, racked or simply out of plumb
Cutting and dressing tools:
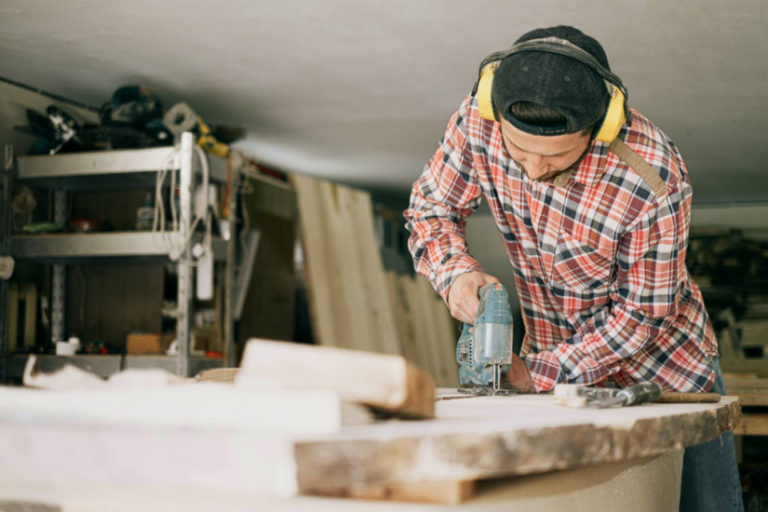
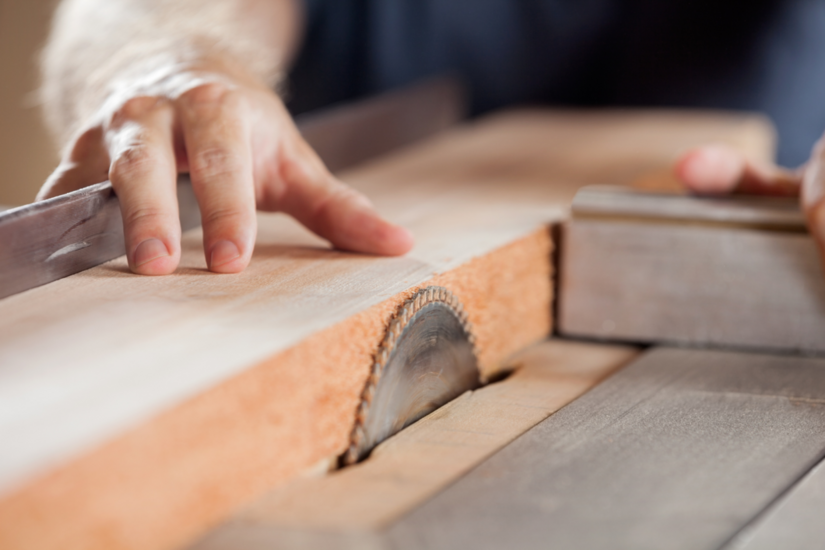
- Jigsaw with a fine downcut blade
- Multi-tool with a segment blade
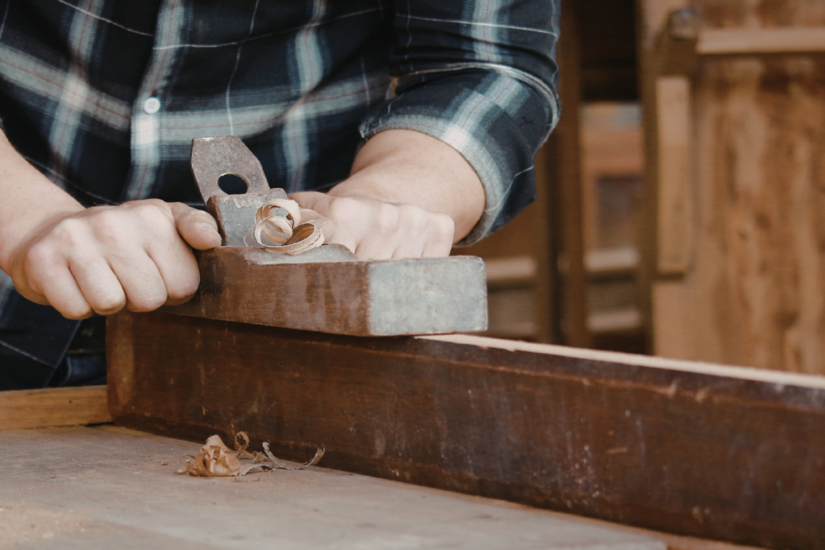
- Belt sander, block plane or shoulder plane for finishing
- A sharp low-angle block plane is the tool that turns a passable scribe into a tight one
How To Scribe Wood: The Core Method
The principle behind every scribe is identical regardless of whether the workpiece is a 19 mm MDF skirting, a 40 mm solid oak worktop or a softwood architrave.
The Three Governing Principles
- Pack the timber level and plumb before scribing. If you scribe a piece of skirting that is leaning back against the wall, the line you transfer will not match when the board is pushed home. Use offcuts or wedges to set the piece in its final position before marking.
- Set the scriber to the widest gap, not the average. Set it to the smallest gap and the wide points will still hold the board off. Measure the worst point, set the scriber there, and the entire length will close.
- Undercut by roughly five degrees. A square cut creates a knife edge of timber along the back that catches on every imperfection. The 5° back-cut throws the back of the timber clear and lets the visible front edge land cleanly.
Scribing Skirting Boards To Uneven Floors
Skirting boards almost always meet a floor that is out of level. The scribe runs along the bottom edge of the board.
Step-by-step:
- Cut the skirting 5 mm to 10 mm longer than the finished length to allow for adjustment
- Stand the skirting against the wall, packed plumb at the top against any plaster bulges
- At the highest point of the floor, the skirting should sit hard down
- Set the scriber to the gap at the lowest point along that length
- Run the scriber along the floor, point on the floor and pencil on the face of the skirting, keeping the scriber perpendicular to the skirting face
- Cut to the line with a jigsaw, undercutting toward the back
- Test fit, plane any tight spots with a block plane, then fix
Coping Internal Corners
For internal corners on moulded skirting, the second board is not mitred. It is coped.
- Cut a 45° mitre to expose the profile
- Follow that profile line with a coping saw, undercutting as you go
- The coped end then closes onto the face of the first board
This is a true scribe in the joinery sense, and it accommodates any movement in the corner over time.
Fixings
BS 8000-5 specifies that nails into architrave and similar trim should use oval-headed wire nails driven parallel to the grain to reduce splitting. Where second-fix nailers are used, follow the manufacturer’s depth setting so the nail head sits just below the surface for filling.
Scribing Worktops To Walls
Worktop work is the highest-stakes scribe in domestic joinery. The material is expensive, the visible joint is long, and there is rarely a second chance with the same board.
Dry Fitting
- The worktop must sit on its cabinets in its final position
- Level it front-to-back and side-to-side before any marking
- A racked or out-of-level worktop will produce a useless scribed line
Marking the Line
- Identify the widest gap between the back edge of the worktop and the wall
- Set a scriber, or a parallel block-and-pencil gauge, to that dimension plus 2 mm to 3 mm for cleanup
- Run the scriber along the wall with constant pressure, perpendicular to the worktop edge throughout
Cutting by Material Type
- Laminate: track saw or jigsaw with a downcut blade from the underside, finished with a belt sander or router and flush-trim bit
- Solid timber: track saw followed by a hand plane gives the cleanest result
- Engineered stone, quartz and stone composites: this work should be carried out by the supplier or a stone fabricator using water-fed equipment. Dry cutting of engineered stone produces Respirable Crystalline Silica (RCS), which is classified as carcinogenic under EH40/2005 and falls under separate, much stricter COSHH controls. Do not dry-cut quartz or composites on site.
A second dry-fit is essential. Mark any tight spots in pencil, plane or sand back, and re-test until the gap closes to a uniform hairline. Only then commit to fixing or sealing.
Scribing Architraves Against Out-Of-Plumb Linings
Architrave is usually thought of as a mitred trim. But where a door lining sits proud of the plaster face by an inconsistent margin, the architrave needs to be scribed to the wall along its outer edge, not just mitred at the corners.
Method:
- Offer the architrave up to the lining at the correct margin (typically 6 mm to 10 mm reveal from the lining edge, as set by the joinery specification)
- If the lining is proud of the plaster, the back edge of the architrave will lift off the wall
- The scribe runs along the outer edge of the architrave, transferring the plaster profile
- Set the scriber to the largest gap, transfer the line, cut with a jigsaw or by hand
- Finish softwood architrave with a sharp block plane
- Pin into the lining and into the wall with oval brads, punched and filled
Where the lining is set back from the plaster face (a less common but worse condition), the architrave is packed out from the lining using thin packers before being scribed to the wall in the same manner.
Common Faults And How To Diagnose Them
A joint that will not close usually fails for one of four reasons:
- The timber was not packed level or plumb before marking, the transferred line does not match the final position.
- The scriber was set to the average gap rather than the widest, high points remain untouched.
- The cut was square rather than undercut, the back edge catches.
- The timber moved between scribing and fitting, common with site-stored softwood that has not acclimatised.
Acclimatisation
BS 8000-0:2014+A1:2024 emphasises the importance of allowing timber to reach equilibrium moisture content (EMC) with the installed environment before fixing. TRADA guidance reinforces this. As a working rule:
- Condition internal joinery on site for at least 48 hours in a heated, dry space before second-fix begins.
- Longer is preferable where there is significant moisture differential (kiln-dried hardwood entering a heated property in winter).
- A worktop scribed on a damp February morning and fixed three weeks later in a warm kitchen will move.
Quality Standards For The Finished Joint
A professional scribe should close to a uniform line with no daylight visible along its length.
Where caulk or sealant is specified (typically at the top of skirting against painted plaster), the scribe still needs to be tight, with the caulk filling a hairline rather than a gap. BS 8000-5 sets the expectation that joinery be fitted accurately to the substrate and securely fixed in a manner appropriate to the material.
For worktops, the joint to the wall is normally sealed with a colour-matched silicone after the scribed line is closed. Silicone is a finish, not a filler. Anything more than a 1 mm to 2 mm bead suggests the joint needs revisiting.
Training Pathway
The ability to scribe wood is a core competency in NVQ Level 2 and Level 3 Site Carpentry and Bench Joinery qualifications, and is assessed both in college and on site.
- Apprentices entering the trade should expect to spend time on coping internal corners and scribing skirting before they are trusted with worktops.
- For tradespeople already in the industry, CITB short courses cover specific aspects of second-fix joinery and refurbishment finishing.
- The Construction Skills Certification Scheme (CSCS) card remains the standard proof of competence for site access across the UK.
TradeFox supports learners building practical trade skills through guided, hands-on training in core construction areas, including safe, step-by-step learning they can return to as needed.
Final Notes
Learning how to scribe wood is what separates a fitter who can hang a door from one who can finish a Georgian refurbishment to specification.
Walls are not flat. Floors are not level. Linings are not plumb. The trades that earn the better day rates are the ones who can read a substrate, transfer its profile accurately, and cut to that line every time.
Work to BS 8000-5 for carpentry workmanship. Work to COSHH and EH40/2005 for dust control. Work to the Control of Vibration at Work Regulations 2005 for tool exposure. The finished joint will speak for itself.