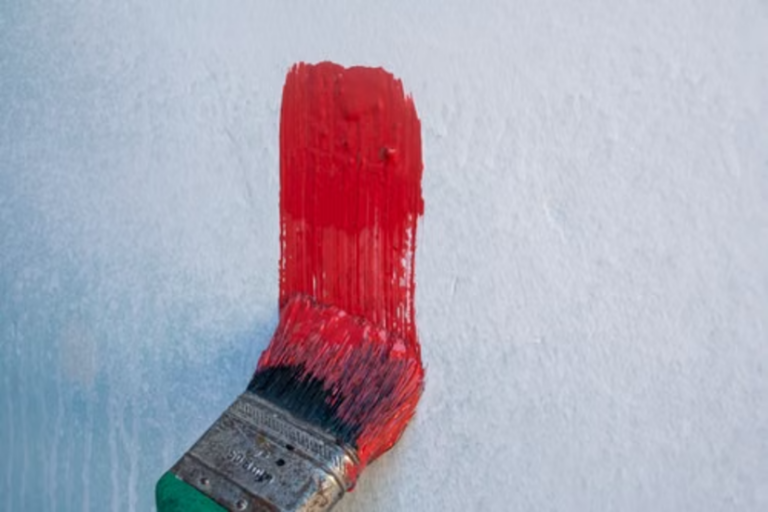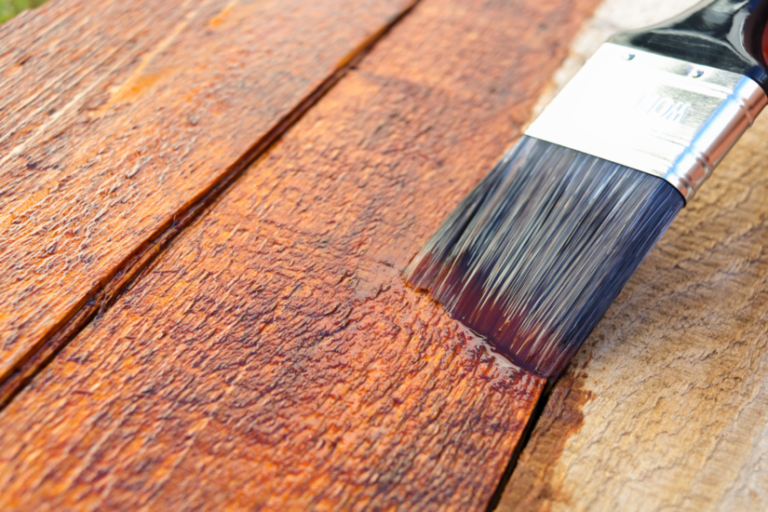


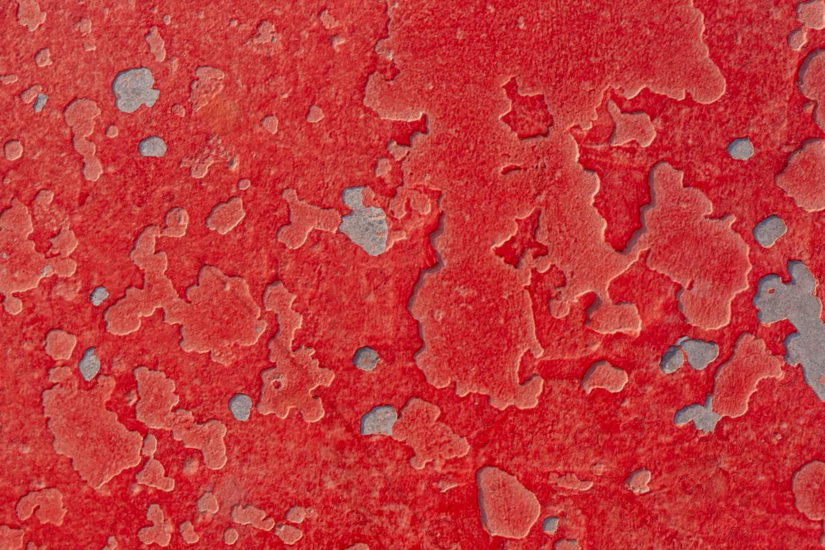
Paint blistering is one of the most common coating defects a decorator or applicator meets on site, and it is nearly always a symptom of a problem underneath rather than a fault in the topcoat. For tradesmen, the root cause matters far more than the cosmetic fix. Sanding down bubbled paint and recoating without addressing what caused it almost guarantees a callback.
This guide breaks down why blisters form, how moisture, heat, and adhesion each play a part, and what correct diagnosis, safe removal, and remediation look like under UK working conditions.
What Paint Blistering Actually Is
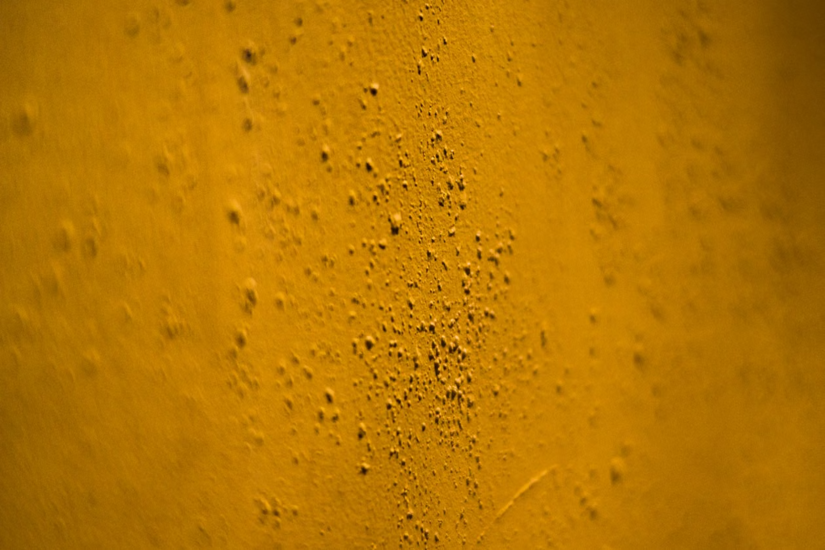
Paint blistering describes bubbles or raised pockets that appear when a coating lifts away from the substrate or from the coat beneath it. The film loses its bond in localised areas, and pressure from vapour, gas, or trapped solvent pushes the coating outward. A blister may hold liquid, water vapour, or simply air, and working out what is inside is a useful first diagnostic step. Blisters containing moisture point to a damp problem. Dry blisters usually indicate a heat or solvent-related failure.
The defect shows up across materials:
- Emulsion on plaster: Common where new plaster was coated too soon.
- Gloss on timber and metal: Often heat- or adhesion-driven.
- Masonry paint on render: Usually moisture-related.
- Industrial coatings on steel: Frequently a preparation or solvent issue.
The mechanism is broadly the same in each case. What changes is the source of the pressure.
Moisture: The Most Common Cause of Paint Bubbles
Moisture is the leading driver of blistering, especially on exterior masonry and in bathrooms, kitchens, and other high-humidity rooms. When water is trapped behind a film, whether from rising damp, penetrating damp, condensation, or a substrate that was not dry when coated, it expands as vapour and forces the coating off the surface.
Common Moisture Failures on Site
- Coating over damp substrates: Plaster, render, and timber must reach an acceptable moisture content first. New plaster in particular needs to be fully dry, and drying time depends on thickness, ventilation, and site conditions rather than a fixed number of days.
- Skipping the mist coat on new plaster: Fresh plaster is highly absorbent. A properly thinned mist coat lets the first layer key in. Applying full-strength emulsion straight onto new plaster is one of the most common adhesion failures decorators create.
- Poor exterior preparation: Cracked pointing, failed sealant, or defective flashings let water in behind masonry paint.
- Condensation in unventilated rooms: Repeated wetting and drying behind a non-breathable film causes blisters to keep returning.
Why Breathability Matters on Masonry
On exterior and masonry work, a microporous or breathable coating lets vapour escape rather than build up behind the film. Standard masonry coatings should not be applied to damp substrates, because moisture trying to escape as vapour and trapped beneath the film causes blistering, peeling, and loss of adhesion. Where damp cannot be fully removed, a breathable or moisture-tolerant system is the correct choice.
Use a calibrated moisture meter to confirm the substrate is ready before coating, and record readings where the specification calls for it.
Heat and Solvent Blistering
Heat is the second major cause. When a surface is painted in direct sun or high ambient temperatures, the film skins over before the solvent underneath has evaporated. The trapped solvent then turns to vapour and lifts the film, producing what is often called solvent blistering. Dark colours suffer more because they absorb more heat.
This is why manufacturer technical data sheets set application temperature ranges, and why those ranges are not optional on real jobs. Working outside the stated window is a frequent cause of early failure.
A few practical points:
- Follow the sun around a building: Work on shaded elevations rather than painting into direct heat.
- Watch heat sources indoors: Radiators, flues, and industrial equipment all drive heat blistering.
- Specify heat-resistant coatings where needed: Surfaces near a heat source need a coating rated for the operating temperature, not a standard trade emulsion or gloss.
Adhesion Failure
Even with moisture and heat controlled, blisters will form if the coating never bonded properly. Adhesion failure usually traces back to preparation shortcuts:
- Coating over contamination: Dust, grease, or residue prevents a bond.
- No mechanical key: Glossy or previously coated surfaces need abrading.
- Wrong or missing primer: The primer must suit the substrate.
- Incompatible systems: Certain water-based products applied over unsuitable oil-based films will not bond. Switching from an oil-based to a water-based system is a recognised trigger for full removal.
Correct preparation is what gives the film something to hold onto. Degrease, abrade, fill, and prime to the coating system specification, and always check manufacturer compatibility guidance before combining products.
How to Diagnose Blisters Correctly
Before any remediation, identify which cause is responsible. A practical sequence:
- Cut into a blister: Moisture inside points to damp. A dry blister down to bare substrate suggests heat or solvent failure. A dry blister that lifts only the topcoat and leaves lower coats intact suggests intercoat adhesion failure.
- Check the location: Blisters concentrated on sun-facing elevations point to heat. Blisters low down or around openings point to penetrating or rising damp.
- Test moisture content: Use a calibrated moisture meter on the substrate.
- Review the history: Find out what was applied, when, and in what conditions.
Accurate diagnosis is what separates a lasting repair from a repeat failure.
Correct Remediation
Once the cause is clear, remediation follows a logical order:
- Fix the source first: Repair the damp, improve ventilation, or reschedule to suit temperature.
- Remove failed material: Take back all blistered and loose coating to a sound edge and feather the edges.
- Re-prepare the substrate: Clean, abrade, and fill to the correct standard.
- Confirm it is dry: Recheck moisture content before recoating.
- Rebuild the system: Apply the correct primer, then the coats, using compatible products within their specified conditions.
Leaving the source out of this sequence is the single most common mistake. Recoating a wall that is still damp simply produces fresh blisters.
Health, Safety, and UK Compliance
UK site work carries specific duties that apply directly to fixing paint defects, particularly where old coatings are disturbed.
Lead Paint: Test Before You Disturb
Treat lead as a real possibility on any property built before around 1992, when lead paint was finally banned in the UK. There is a legal expectation to sample and risk-assess pre-1992 paintwork that is likely to be disturbed during work. Assess and control in line with the Control of Lead at Work Regulations 2002 (CLAW), which are under review by the HSE at the time of writing.
Removal Methods to Avoid on Suspected Lead Paint
- No dry sanding: Dry sanding old paint releases hazardous dust and is not a safe method.
- No open-flame torches or burning off: These vaporise lead into toxic fumes.
- No high-heat guns: High-temperature guns volatilise lead. Wet methods, chemical strippers designed for the job, and shrouded tools with HEPA-filtered extraction are the safer routes.
Wider Duties on Site
- COSHH: Sanding generates hazardous dust, so use suitable RPE and dust extraction.
- Solvent exposure: Follow the safety data sheet for every product in use, and keep areas ventilated.
- Work at Height Regulations 2005: Exterior masonry remediation at height must comply.
- CDM 2015 and RIDDOR: Refurbishment work carries duties under the Construction (Design and Management) Regulations 2015, and lead-related incidents are reportable under RIDDOR.
Always consult the manufacturer technical data sheet and safety data sheet for each product, and work to the relevant British Standards, such as BS EN ISO 8501 for surface preparation grades and BS EN ISO 12944 for protective coating systems on steel.
Once you understand how to diagnose and repair paint blistering, keep building your painting skills with TradeFox. Work through practical simulations at your own pace and review key techniques whenever you need them.
Key Takeaways for Tradesmen
Paint blistering is a diagnostic problem before it is a decorating problem. Moisture, heat, and adhesion failure account for the overwhelming majority of cases, and each needs a different response. Confirm substrate moisture content, respect application temperature ranges, prepare and prime to specification, and always fix the underlying cause before recoating. Get the diagnosis right and the repair holds. Skip it and the bubbles come straight back.