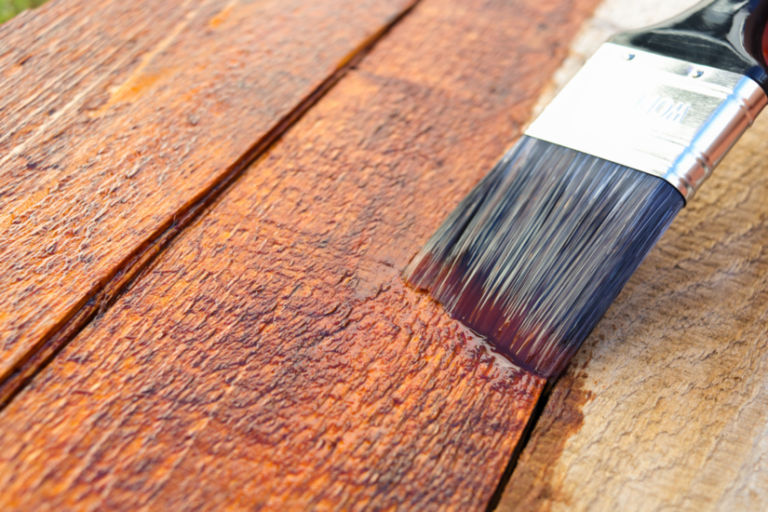



Cutting in is the skill that separates a competent decorator from a finisher who leaves a job looking sharp enough to command a premium rate. It is the freehand technique of painting a straight, controlled line where two surfaces meet, such as wall against ceiling, skirting against wall, or around window reveals and door casings, without masking tape. Done properly, cutting in paint gives a crisp, professional edge faster than taping ever could. Done badly, it is the first thing a client, a site supervisor, or a snagging inspector will notice.
This guide is written for working tradesmen and apprentices moving toward a Blue Skilled Worker card. It covers brush control, loading, wet edges, and line accuracy, alongside the health and safety duties that sit around the task on any regulated site.
Why Tradesmen Cut In Freehand Rather Than Tape
Masking tape has its place, but it is slow, it eats materials, and it frequently bleeds or pulls off cured paint when it is removed. On a domestic repaint or a commercial contract measured by the day, taping every edge is rarely viable. For an experienced hand, cutting in by brush will out-pace a taper across most rooms, and the finished line is often cleaner because there is no ridge of dried paint left where the tape once sat.
Freehand work is also a marker of competence recognised across the industry. It is exactly the kind of core skill assessed within a Level 2 or Level 3 NVQ in Painting and Decorating, the qualification route that underpins CSCS card eligibility and site access. If you are working toward professional recognition, mastering this technique is not optional.
Choosing the Right Paint Brush
Brush selection decides how much control you have before you have loaded a single bristle. For this task, most decorators reach for an angled sash brush, usually between 38mm and 63mm depending on the run. The angled tip lets you present a fine edge to the line while keeping the body of the brush loaded.
Consider the following when picking a brush:
- Bristle type: Synthetic filaments such as nylon or polyester blends suit modern water-based emulsions and trim paints, holding their shape and springing back cleanly. Natural bristle is generally kept for solvent-based products.
- Firmness: A slightly firmer brush gives more control on a long straight cut, while a softer brush lays off better on delicate trim.
- Condition: A splayed, worn, or clogged brush will never give a clean line. Keep a dedicated cutting-in brush and clean it properly after every use.
A quality brush is an investment, not a throwaway. Trade suppliers and the manufacturers partnered with the Painting and Decorating Association produce tools specifically weighted and shaped for freehand work.
How to Load a Paint Brush Correctly
Overloading is the single most common cause of drips, runs, and a wandering line. Load the brush by dipping the bristles roughly one third to halfway into the paint, then tapping (not scraping) each side against the inside of the kettle to knock off the excess. Scraping across the rim removes too much and starves the brush.
The aim is a brush that carries enough paint to complete a run of around 300mm to 450mm without reloading mid-line, but not so much that it releases paint before you have positioned it. Exact capacity varies with brush size and paint viscosity, so adjust to what you are using.
Work from a paint kettle rather than the tin. It is lighter, safer to carry up a ladder or platform, and keeps the bulk of your material free of contamination.
Establishing and Holding a Wet Edge
A wet edge is paint that has not yet begun to skin or dry, allowing the next brush stroke to blend seamlessly into the last. Lose the wet edge and you get visible lap marks, banding, and a patchy sheen once the surface dries. These faults are hard to disguise and often mean recoating.
To hold a wet edge while you work:
- Keep a steady, continuous pace and plan your runs so you are always painting back into wet material.
- Cut in and lay off the adjacent surface in the same working window where you can, so the cut line and the body of the wall knit together rather than drying as two separate films.
- Avoid stopping mid-wall on a long run. If you must stop, break at a natural corner or feature.
- Account for site conditions. Heat, direct sun through glazing, and forced ventilation all shorten open time and pull the edge dry faster.
Modern water-based emulsions dry quickly, which is why pace and planning matter more than they did with older solvent-based systems.

The Cutting In Technique, Step by Step
Follow a repeatable sequence and the line looks after itself.
- Set your stance: Stand square to the line with your weight balanced. On a platform or step, position yourself so you are never overreaching.
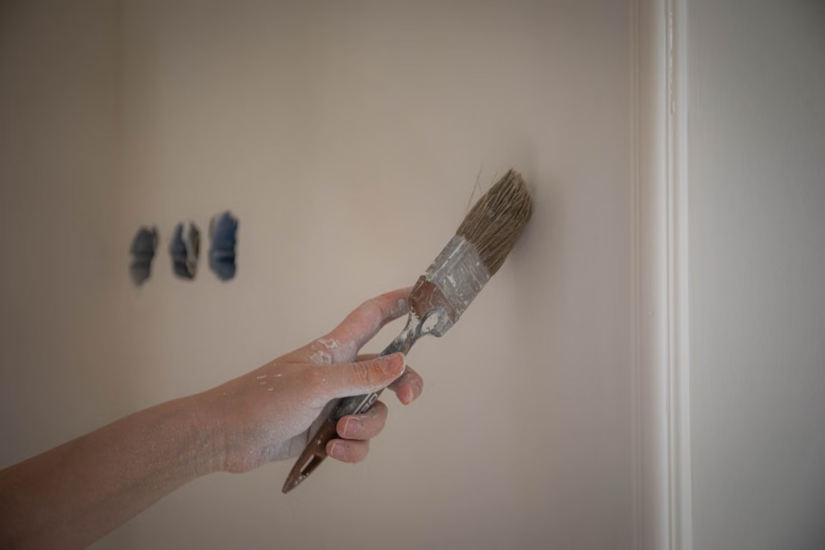
- Grip for control: Hold the brush like a pencil, closer to the ferrule than the end of the handle. This shortens the lever and steadies the tip.
- Lay off a reservoir: Make a first pass a few millimetres away from the line to unload the brush and spread a band of paint. This stops you flooding the edge on the precision stroke.
- Make the cut: Bring the loaded angled tip up to the line and draw it along in one smooth, continuous movement, using the natural chisel of the bristles to form the edge. Let the brush do the work and do not press so hard that the bristles splay.
- Feather back: Blend the cut line into the reservoir you laid off, then into the body of the surface, keeping everything wet.
Steady breathing and a braced hand produce a straighter line than speed. Accuracy comes with repetition, which is exactly why apprentices are drilled on it.
Common Cutting In Faults and How to Fix Them
Most poor edges trace back to a handful of causes.
- Wandering line: Usually a grip that is too far back or a stroke that is too fast. Shorten your grip and slow down.
- Paint bleed onto the ceiling: The brush is overloaded or pressed too hard. Reload with less and lighten the pressure.
- Visible lap marks: The wet edge was lost. Improve run planning and pace.
- Ridging at the line: Too much material at the edge. Lay off a reservoir first and feather properly.
- Missed coverage (holidays): Too little paint or rushing. Reload sooner and check the line in raking light.
Health, Safety and UK Regulatory Compliance
Cutting in is a close-quarters manual task, but it sits inside a regulated working environment. On UK sites the following duties apply, however routine the work feels.
COSHH: Controlling Exposure to Paints and Solvents
The Control of Substances Hazardous to Health Regulations 2002 require employers to assess and control exposure to paints, solvents, and preparation chemicals. Even modern water-based emulsions need an assessment, though the controls may be minimal. Solvent-based products, primers, and two-pack systems carry higher risk and demand proper ventilation and the correct respiratory protective equipment. The HSE publishes detailed guidance on how to build and apply these assessments.
Working at Height: The Legal Hierarchy
Cutting in ceilings, stairwells, and high reveals often means working off steps, hop-ups, or platforms. Falls from height remain the single largest cause of workplace fatalities in UK construction, so the Work at Height Regulations 2005 set out a strict order of priority under Regulation 6:
- Avoid work at height where it is reasonably practicable to do so.
- Prevent falls where the work cannot be avoided, choosing collective protection such as platforms and guard rails before personal protection.
- Minimise the distance and consequences of any fall that cannot be prevented.
Ladders and stepladders are not banned, but they should only be used for light work of short duration where more suitable equipment is not reasonably practicable. Whatever access equipment you use must be suitable, inspected, and used by someone trained to work with it.
VOCs and Ventilation
Where solvent-based products are used, adequate ventilation is essential to control volatile organic compound exposure. Where it is practical, low-VOC and water-based products cut the hazard at source.
Lead Paint in Older Buildings
In older properties, existing coatings may contain lead. Disturbing them through preparation such as dry sanding or flatting needs specific controls, and this risk must be identified before any work begins.
None of this is optional box-ticking. Demonstrating health and safety competence through the CITB Health, Safety and Environment Test is a core step toward the CSCS cards that most sites ask for. A CSCS card is not a legal requirement in itself, but the majority of principal contractors and major house builders will not grant site access without one.
Build your painting skills with practical, repeatable training. TradeFox offers interactive simulations you can revisit anytime, helping you practise cutting in and other core techniques at your own pace.
Building the Skill Toward Trade Qualification
Cutting in paint cannot be learned from reading alone. It is muscle memory built through supervised repetition, which is precisely why it forms part of formal apprenticeship and NVQ training. If you are moving into the trade, structured routes through recognised providers and the industry trade body give you both the assessed competence and the safety credentials employers expect.
The line you cut is on show on every job. Investing the time to master brush control, loading, and the wet edge pays back on each one.