Rectified tiles turn up on nearly every commercial and high-end residential specification now, and the reason is simple. The precision of the edge changes how the tile sits, how tight the joint can run, and how unforgiving the substrate has to be. For any tiler pricing or setting out a job, understanding what rectification does to a tile is the difference between a clean, square finish and a callback.
This guide breaks down what these tiles actually are, why the edge matters, and how that precision feeds into grout joints, layout decisions, and the quality of the finished surface. It is written for working trades and for anyone moving into floor and wall tiling.
What A Rectified Tile Actually Is
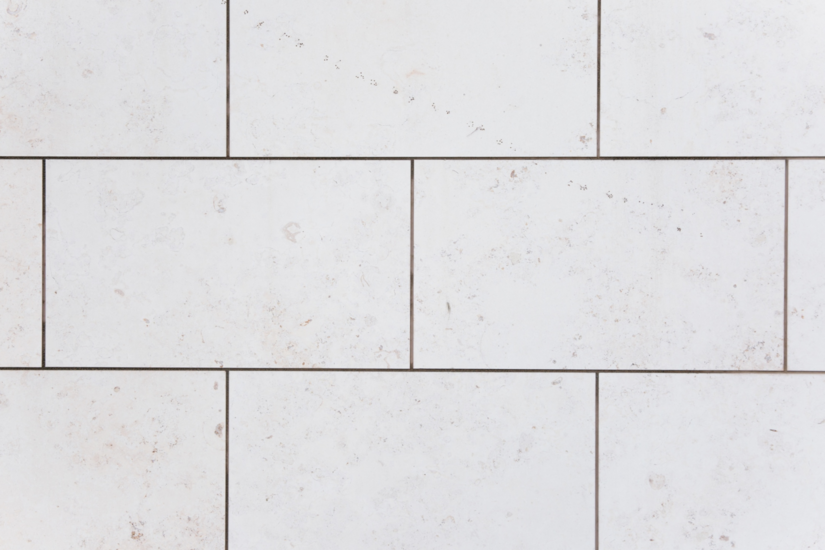
A rectified tile has been mechanically ground or cut after firing so that every edge is straight and every tile shares the same dimension to a tight tolerance. Standard pressed or “cushion edge” tiles leave the kiln with slight size variation and a softened, rounded edge. The machined version is squared off with minimal dimensional drift.
The result is a tile where edges meet cleanly, which is what allows the narrow joints designers ask for. That is the appeal. It is also the source of most problems when these tiles get fitted without the right preparation.
Why Edge Precision Changes The Grout Joint
The grout joint earns its place. It absorbs dimensional variation between tiles, accommodates movement, and gives the installation tolerance. A wider joint on a cushion edge tile hides small size differences and minor lippage.
Squared edges remove that variation, which tempts people into running joints far too tight. Here is where trade knowledge has to override what the client wants.
What BS 5385 Actually Says On Joint Width
The minimum grout width under BS 5385-1: 2018 is set by the size and facial area of the tile, not by whether it is rectified or not.
- Tiles with a facial area below 0.1m² and no side over 600mm: minimum 2mm joint
- Tiles with a facial area of 0.1m² to 1m² and no side over 1200mm: minimum 3mm joint
- Ceramic panels: joint increases pro-rata, so a 3m panel needs a 5mm joint
That matters because many of these tiles are large format. A 900×900 rectified porcelain tile is not a “2mm” tile under the standard, it is a 3mm minimum. Running it tighter to chase a seamless look puts the work below the British Standard and gives the grout too little to grip.
So the honest position is this: edge precision lets you run a clean, consistent narrow joint, but it never removes the need for a joint. Anyone selling a “grout-free” rectified finish is misleading the client, and the installation will fail.
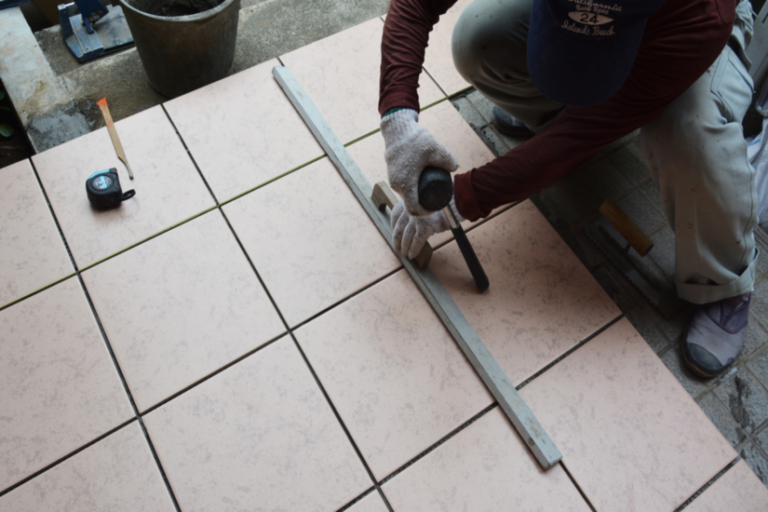
Layout: Why These Tiles Are Less Forgiving
Tight joints expose every flaw in setting out and substrate. A 2mm or 3mm joint cannot disguise a wall that is out of plumb or a floor that is out of level. Trades stepping up to precision work for the first time tend to underestimate how much more demanding the setting out becomes.
Substrate Flatness Is Non-Negotiable
Lippage, the height difference between adjacent tile edges, becomes obvious the moment joints get narrow. The flatter the base, the better the finish.
BS 5385 sets the working tolerance here. The substrate should not deviate by more than 3mm under a 2 metre straightedge. For thin porcelain panels, the tolerance often needs to be tighter still, and many manufacturers specify a flatter base than the minimum. Large format tiles cannot bridge dips the way a small tile can, so even small deviations get amplified across the length of the tile.
If the background fails the straightedge test, correct it before tiling. That means levelling compound, re-screeding, or backer board, depending on the situation. It is cheaper than ripping up a floor.
Large Format Magnifies Everything
Rectified tiles are frequently large format, and large format brings its own rules:
- Solid bed coverage is essential, with no voids under the tile
- The right notched trowel for the tile size, plus back-buttering where specified
- A suitable adhesive class, commonly an S1 deformable cement-based adhesive for large units
- Voids and hollow spots lead to cracking and drummy areas that will not pass inspection
Tile Levelling Systems Earn Their Keep
For precision and large format work, tile levelling systems help control lippage while the adhesive cures. They are not a substitute for a flat substrate or good trowel technique. They hold adjacent tiles level during set, and on a tight-jointed floor they are often the deciding factor in whether the finish is acceptable.
Movement Joints Still Apply
A precise edge does not change the physics of the building. Movement joints are still required, and skipping them is one of the more serious errors in floor tiling.
Under BS 5385-3, joints should be provided around the perimeter of the installation, over structural movement joints, at thresholds, and at junctions between different substrates. Intermediate joints divide the floor into bays.
- Internal floors: intermediate movement joints are typically formed into bays, with industry practice generally keeping fields well within roughly 8 to 10 metres in each direction, reduced for heat and heavy use
- External floors: the 2024 revision of BS 5385-3 calls for intermediate movement joints at intervals between 3m and 5m, tightened further for exposure, dark colours, and larger formats
Grout is not a movement joint. Flexible sealant must be used in the designated joints. A rectified floor laid across a large area without proper movement accommodation will fail regardless of how clean the edges look. This is a durability and safety issue, not an aesthetic one.
Substrate and Background Rules You Cannot Skip
BS 5385 was updated specifically because product and substrate practice moved on, so a couple of points matter for compliance:
- Plywood is no longer recommended as a background for direct fixing under BS 5385-1: 2018. Use a purpose-made tile backer board instead
- For floors, where wood-based boards are part of the build-up, an intermediate layer such as an uncoupling membrane, tanking system, or backer board should be used
- BS 5385-1: 2018 introduced a workmanship clause requiring properly trained operatives, skilled to a level certified by a recognised body such as The Tile Association
That last point is worth sitting with if you are entering the trade. The standard now treats certified competence as part of compliance, not a nice-to-have.
How Edge Precision Affects Finish Quality
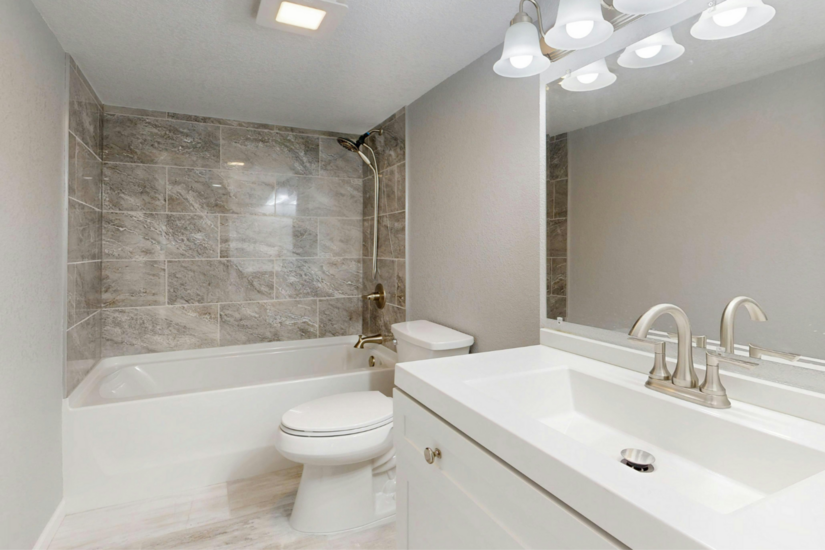
Finish quality comes down to the interaction of three things: the precision of the tile, the flatness of the substrate, and the consistency of the joint. Get all three right and you get a tight, uniform, almost seamless surface that justifies the higher material and labour cost.
Get any one wrong and the precision works against you. A squared edge shows every error. A cushion edge hides them. That is the trade-off, and it is why rectified tiles command a premium in both product price and skilled labour.
The lesson for anyone learning the trade is that this work rewards preparation and punishes shortcuts. The skill is not in laying the tile. It is in the setting out, the substrate work, and the discipline to follow the joint and movement guidance instead of chasing the tightest possible line.
Want to get the setting out and substrate work right before it costs you on site? TradeFox lets you practise tiling through hands-on simulations at your own pace, so you build the habits that pass inspection. Start learning today.
Pricing And Planning Checklist
When you quote precision tiling, factor in:
- Extra substrate preparation time to hit the 3mm straightedge tolerance
- The cost of a levelling system for lippage control
- The correct adhesive class and notched trowel for the tile size
- Realistic joint widths to BS 5385, not the tightest the client requests
- Proper perimeter and intermediate movement joints, costed in rather than skipped
Pricing this work the same as standard tiling erodes margin and pushes the installer into cutting corners. Quote it for what it is.