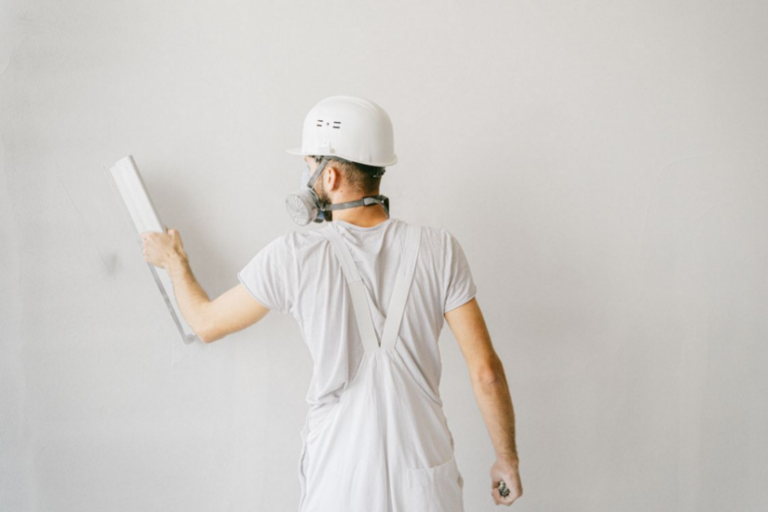
Getting the prep right is what separates a job that holds for thirty years from one that cracks, blisters or delaminates within months. PVA on walls before plastering is one of the most misunderstood prep steps in the trade. Used correctly, it controls suction, locks down dust and gives the plasterer a workable window. Used wrongly, it forms a glossy film that the plaster slides straight off.
This guide covers what tradesmen actually need: dilution ratios, coat counts, when to use PVA and when to reach for something else, and how it sits alongside the British Standards, HSE guidance and manufacturer specifications that govern UK plastering practice.
What PVA Actually Does Before Plastering
Polyvinyl acetate is a water-based polymer emulsion. On porous masonry, brick, blockwork or aged plaster, it performs two distinct jobs.
The first is suction control. High-suction backgrounds pull water out of the plaster mix the moment it makes contact, drying the gypsum or cement too fast for proper hydration. The result is a weak, friable surface prone to cracking, hollowness and shelling off.
The second is adhesion. The neat or near-neat tack coat acts as a chemical bond between substrate and undercoat, which matters on dense or previously painted surfaces where mechanical key is poor.
The relevant British Standard is BS 5270-1:1989 Bonding agents for use with gypsum plasters and cement. Specification for polyvinyl acetate (PVAC) emulsion bonding agents for indoor use with gypsum building plasters. This standard is still active and sets composition, solids content, acid value and bond strength requirements. Reputable products such as Everbuild PVA Bond fully conform to BS 5270. Specifying BS 5270-1 compliant products is the simplest way to demonstrate due diligence on a job.
Asbestos: Read This Before Touching Any Pre-2000 Wall
This goes first because it is the single most important safety point in this article.
Any building constructed or refurbished before the year 2000 may contain asbestos. Old textured coatings, artex ceilings, lath-and-plaster systems, AIB infill panels and some older skim coats can all contain asbestos fibres.
Under the Control of Asbestos Regulations 2012, the duty holder must provide an asbestos register or refurbishment and demolition survey before any work disturbs the fabric of the building. As a tradesman, you must:
- Request the asbestos survey from the client or principal contractor before stripping wallpaper, removing old artex, scraping back to substrate, or breaking out hollow plaster.
- Treat any unidentified material on a pre-2000 wall as suspect until tested.
- Stop work immediately if you encounter unexpected material that could be ACM.
Disturbing asbestos without proper controls is a criminal offence and a serious health hazard. No amount of PVA prep is worth ignoring this step.
When To Use PVA On Walls Before Plastering And When Not To
This is where most failures start. PVA is not a universal primer.
Suitable backgrounds
- Bare brick and blockwork with medium to high suction.
- Old, sound plaster being skimmed over (the substrate itself must be solid, not blown or hollow).
- Dense concrete, subject to manufacturer's compatibility check.
- Dusty or chalky backgrounds that need consolidating.
- Sound, well-adhered painted surfaces.
Unsuitable backgrounds
- Plasterboard. Plasterboard has a very low rate of suction, which is why PVA isn't needed on boards. Skimming straight onto board gives a better mechanical bond.
- Backgrounds receiving Thistle HardWall or similar sanded undercoats. British Gypsum specifies water-based suction control, not PVA.
- Damp walls. PVA is not a damp-proof membrane. Trapping moisture behind a film causes blown plaster. Diagnose and remediate the source first, or specify a system designed for the condition such as Thistle DriCoat.
- Unstable or flaking paint. The PVA bonds to the paint; the paint then peels off the wall with the plaster attached.
- Smooth, dense, low-suction surfaces. These need a proprietary bonding agent with aggregate, not PVA.
For smooth low-suction backgrounds, Thistle Bond-it is a bonding agent for smooth low suction backgrounds, applied undiluted in one coat and plastered when dry. It contains aggregate that provides a mechanical key PVA cannot replicate.
PVA Mix Ratios: The Numbers That Matter
Mix ratios vary by manufacturer, but the trade consensus across multiple UK technical data sheets sits within a narrow band.
Primer coat (first coat)
The standard dilution is 1 part PVA to 4 parts clean water, with some manufacturers calling for 1:3. A mix of 1 part PVA to 3 parts water is recommended by suppliers such as Adkwik for Timbond plasterers grade PVA. Palace Chemicals specifies PVA diluted as 1 part to 4 parts with water for their multi-purpose product.
Bonding coat (final tack coat)
This goes on either neat or at 1:1 dilution depending on the manufacturer. EVO-STIK Contractors PVA technical guidance is clear: for porous surfaces, the typical approach is one diluted coat to prime the surface and one neat coat applied just before plastering. The neat coat must remain tacky when the plaster goes on.
Specialist primers for very high suction
Where PVA cannot cope, Thistle GypPrime can be diluted, normally 1 part to 5 parts water provides adequate suction control, or can be used neat if necessary to control extremely severe suction.
Reference table
| Coat | Ratio (PVA: Water) | Drying time guide | Purpose |
|---|---|---|---|
| Primer (1st coat) | 1:4 or 1:3 | 1 to 2 hours touch dry; overnight if used as primer only | Seal, reduce suction |
| Tack coat (2nd coat) | 1:1 or neat | Plaster while still tacky, typically 15 to 30 min | Bond plaster to substrate |
| Thistle GypPrime | 1:5 (or neat) | Allow to soak in and dry | Very high suction backgrounds |
Always check the technical data sheet for the specific product on site. Solid contents differ between brands and a 1:3 mix from one product is not interchangeable with another. Coverage of around 6 to 14 square metres per litre is typical depending on product and substrate.
How Many Coats of PVA Do You Need?
For most plastering work on solid backgrounds, the answer is two coats.
The first diluted coat soaks into the substrate, sealing it and reducing absorbency. It must be allowed to dry fully before the next stage.
The second coat is applied just before plastering and must still be tacky when the trowel goes on. The diluted primer coat should be allowed to dry completely. The neat coat used as a bonding layer must not dry, it should be plastered onto while still tacky.
The tacky stage is when the surface feels slightly sticky to the back of the hand but does not transfer wet PVA. Test with the back of the hand to avoid contaminating the surface with skin oils. This window can be as short as fifteen minutes in warm, ventilated conditions and significantly longer in cold weather.
A single coat may be acceptable on lower-suction backgrounds, but two coats is the safer professional standard for porous substrates. On extremely porous backgrounds, a third coat may be justified if the first soaks in entirely with no film formed.
Suction Control Without PVA
The trade has moved on from treating PVA as the only answer. For undercoat plasters like Thistle HardWall, British Gypsum is explicit that PVA is not the specified solution. The product data sheet states the plaster is designed for use with medium to high suction backgrounds. Suction control should be taken prior to application.
Damping down with water
For HardWall and similar undercoats, suction is controlled by wetting the background with clean water using a brush or low-pressure sprayer. Surface water must disappear before plaster is applied. British Gypsum’s guidance is explicit: do not plaster onto green backgrounds or where free water is visible. The high suction of certain backgrounds can be suitably adjusted by sprinkling with water but some very porous surfaces, wetting alone may be insufficient. In that case, escalate to a specialist primer.
Specialist Primers
Thistle GypPrime is the go-to for very dry or aerated concrete block backgrounds where water alone won’t cope. Aerated concrete blocks can give rise to high suction. Suction can be controlled with water or, if severe, pre-treated with Thistle GypPrime.
SBR (Styrene Butadiene Rubber)
Often used in damp or external environments where PVA underperforms. SBR is more water-resistant once cured. Worth specifying in bathrooms, kitchens and any area where moisture is a recurring factor.
Common PVA Mistakes That Cause Plaster Failure
These are the failures that come up repeatedly on snagging lists.
- Plastering over fully dried PVA. The bond relies on the tacky surface. Once dried hard, PVA becomes a glossy, almost waterproof film and the plaster will not key properly. If the second coat has dried, reactivate it with a light mist of water or apply another thin tack coat.
- Building up the PVA too thick. A heavy, glossy coat is worse than none at all. It seals the wall so completely that the plaster has nothing to grip. Thin, even coats only.
- Using PVA on plasterboard. Still a common error. It adds nothing and can cause finish plaster to slip on the surface. Skim direct.
- Ignoring manufacturer instructions. Different PVA products have different solid contents and dilution rates. Read the technical data sheet for the product in front of you.
- Using PVA on damp walls. This traps moisture, causes salts to migrate and leads to blown plaster within weeks or months. Diagnose damp before any prep.
UK Health & Safety: Full Regulatory Picture
Plastering and the prep that goes with it are governed by a stack of UK regulations sitting beneath the Health and Safety at Work Act 1974.
Primary Regulations That Apply
- Control of Substances Hazardous to Health Regulations 2002 (COSHH). Covers PVA, gypsum dust, cement dust and silica.
- Control of Asbestos Regulations 2012. Applies to all pre-2000 buildings.
- Personal Protective Equipment at Work Regulations 1992 (amended 2022). The 2022 amendment extended PPE duties to limb (b) workers, which now covers many self-employed and contracted tradespeople.
- Manual Handling Operations Regulations 1992. Plaster bags weigh approximately 25kg. Lifting, carrying and stacking must be risk assessed.
- Reporting of Injuries, Diseases and Dangerous Occurrences Regulations 2013 (RIDDOR). Any exposure incident, dangerous occurrence or injury keeping a worker off site for more than seven consecutive days must be reported.
- Construction (Design and Management) Regulations 2015 (CDM). Applies to working-at-height and notifiable projects.
Workplace Exposure Limits You Must Know
Per HSE EH40/2005 (4th Revision, January 2020):
| Substance | Inhalable WEL (8-hr TWA) | Respirable WEL (8-hr TWA) | Notes |
|---|---|---|---|
| Gypsum (CAS 10101-41-4) | 10 mg/m³ | 4 mg/m³ | Verified in EH40 |
| Cement | 10 mg/m³ | 4 mg/m³ | Alkali burn risk |
| Respirable crystalline silica (RCS) | 10 mg/m³ | 0.1 mg/m³ | Now classified carcinogenic |
The 2020 revision to EH40 reclassified respirable crystalline silica as carcinogenic. The duty under COSHH for carcinogens is to reduce exposure to as low as reasonably practicable (ALARP), not merely to stay below the WEL. Sand and cement undercoats, mortar mixes and any work involving stone, brick or concrete cutting fall under this duty.
Required Controls On Site
- RPE: FFP3-rated disposable masks or reusable half-masks with P3 filters for any sanding, mixing or dust-generating task.
- On-tool extraction: HSE guidance on plasterboard sanding requires specially adapted equipment with on-tool extraction, with H, M or L class extraction unit. For plaster dust, M-class is the minimum. For any work involving respirable crystalline silica (cement-based products, cutting masonry), H-class is required. HSE
- Eye protection: Splash-rated goggles when applying PVA, wet plaster or working overhead.
- Hand protection: Nitrile or rubber gloves. Wet plaster causes alkali burns on prolonged skin contact.
- Ventilation: Most PVA products are low-VOC but mixing and application in enclosed rooms still requires adequate airflow.
A written COSHH assessment should cover PVA, gypsum plasters, cement undercoats and any specialist primers. Method statements and risk assessments for working at height sit alongside this under CDM 2015 where applicable.
Application Method: Step-by-Step
- Confirm asbestos status. For any pre-2000 building, check the asbestos register before disturbing the substrate.
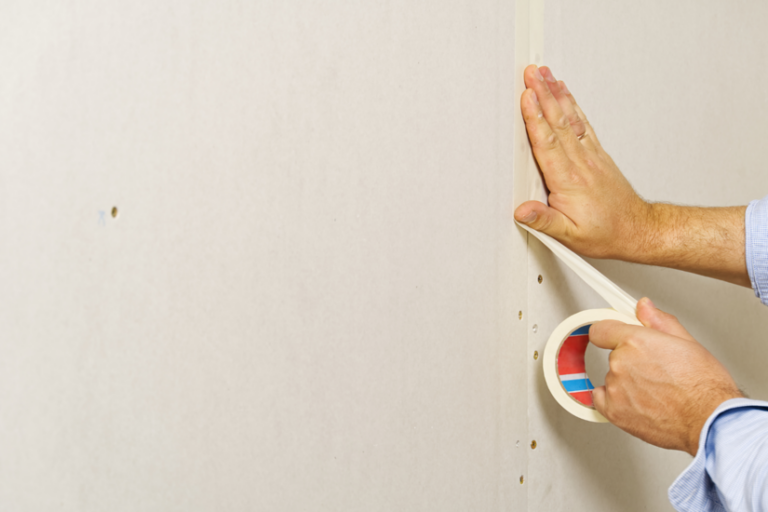
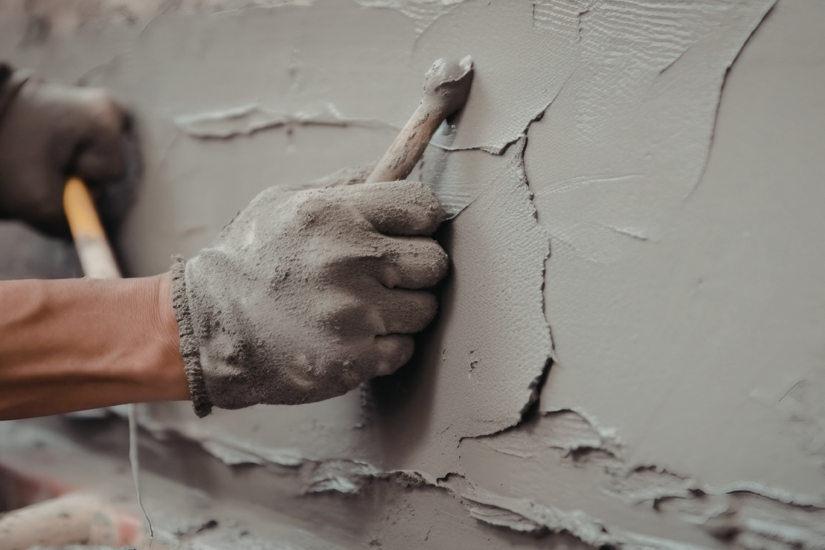
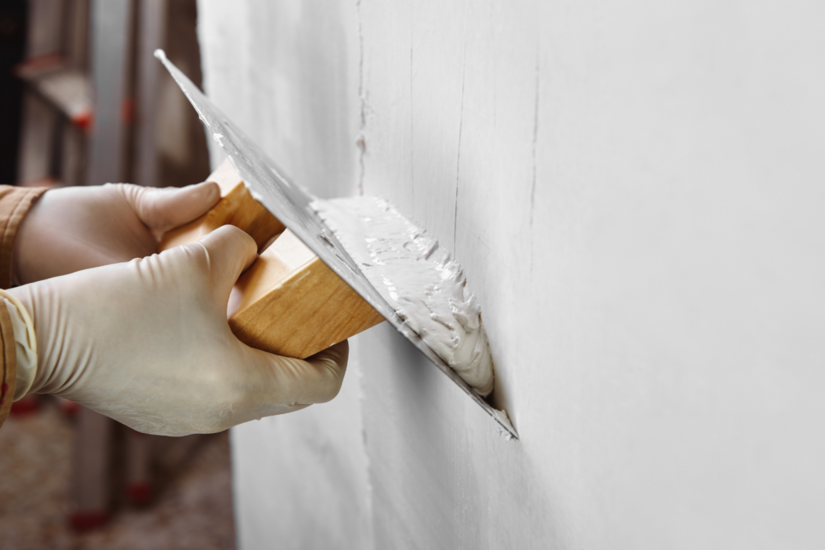
- Prepare the background. Remove all loose material, dust, wallpaper paste, oil and grease. Make good defects with bonding coat or appropriate filler. The wall must be sound and dry.
- Mask and protect. Cover floors, sockets and skirtings. PVA stains and is difficult to remove once cured.
- Don PPE. FFP3 mask, goggles, gloves, and overalls before mixing.
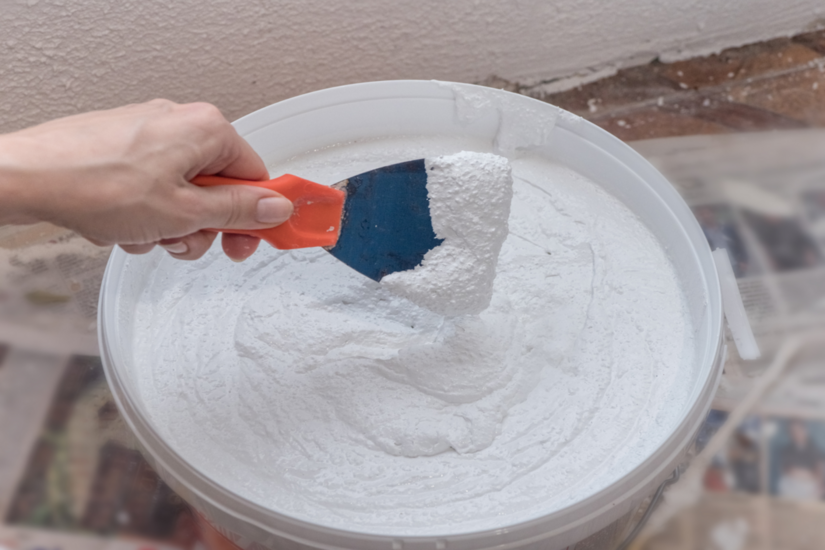
- Mix the first coat. Add PVA to water in a clean bucket at the manufacturer's stated ratio. Stir thoroughly.
- Apply with brush or roller. Work it well into the surface. Avoid pooling or runs.
- Allow to dry fully. Touch-test with the back of the hand before recoating.
- Mix and apply the second coat. Use 1:1 dilution or neat product per the technical sheet. Time this so plastering can begin within the tack window.
- Plaster while tacky. Do not let the bond coat go off.
Getting the preparation right makes every stage of plastering easier and safer on site. Keep building practical skills with TradeFox and improve the confidence you bring to each job.
Final Thoughts For The Trade
Getting the prep right is a small step that protects every hour of trowel work that follows. The ratios are not arbitrary, the coat count is not optional and the choice between PVA, water control or a proprietary primer depends entirely on the background.
For anyone training into the trade, the habit to build early is reading the technical data sheet for every product on every job, and reading the asbestos survey before lifting a tool on any pre-2000 site. Manufacturer specifications, British Standards and HSE regulations exist because the failure modes are well documented. Following them is what makes a plasterer’s work last and keeps everyone on site healthy.