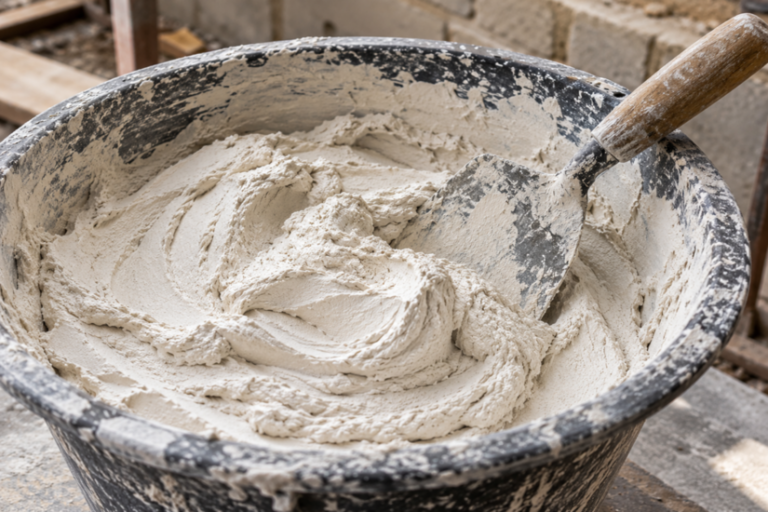


Multifinish plaster is a gypsum-based finishing plaster used to give a smooth, matt surface on both low-suction and high-suction backgrounds inside buildings. It is the standard skim coat for plasterboard, undercoat plaster, and mixed walls, and it complies with BS EN 13279-1 as a gypsum building plaster. The reason it behaves differently from wall to wall almost always comes down to one thing: how much water the background pulls out of your mix. Control that suction, and the finish flattens off clean. Ignore it, and you fight the wall the whole way through.
This guide is written for working plasterers and anyone training into the trade. It covers where the product belongs, where it does not, and why background suction is the single biggest factor in how your skim trowels up.
What Is Multifinish Plaster?
Multifinish plaster is a premixed, retarded hemihydrate gypsum plaster applied in thin coats to leave a smooth, matt surface ready for decoration. It needs only clean water to mix. It sits in the same family as board finish and one-coat plasters but is formulated to work across a wider suction range, which is where the “multi” comes from.
Products such as Thistle Multi-Finish comply with BS EN 13279-1, the standard covering gypsum plasters for internal walls and ceilings. That standard defines it as a finishing material intended to be decorated and applied inside buildings only. It is not a render, not a screed, and not suitable for external or permanently damp conditions.
The key working point is flexibility:
- Board finish is tuned for the low suction of plasterboard.
- Hardwall backing is tuned for high-suction masonry.
- This finish bridges both, which is why it is the default skim on refurbishment and new-build interiors where backgrounds are mixed.
Where Is Multifinish Plaster Used?
It is used as the finish coat over plasterboard, over gypsum or cement-based undercoats, and over any sound internal background prepared to the correct suction. Common jobs include:
- Skimming plasterboard. Fresh dot-and-dab or screwed board is a low-suction background. Skim goes over taped and scrimmed joints once the board is fixed.
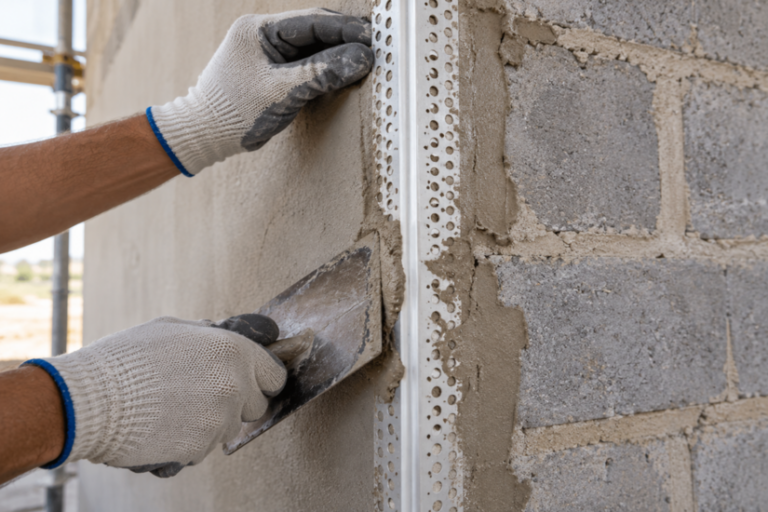
- Finishing over undercoat plaster. Over browning, bonding, or hardwall, the undercoat is ruled off and left with a scratch key and even surface, then skimmed once suction is judged.
- Patch repairs and re-skims. On existing walls where old finish has been stripped or made good, provided the background is dry, stable, and sealed where needed.
Where it should not be used
Gypsum plaster softens under prolonged moisture, so keep it away from:
- External walls and anything exposed to standing water.
- Permanently damp masonry. Trace and fix the damp first, never skim over it.
- Wet-room shower zones without a tanking or moisture-resistant board system specified for the job.
British Gypsum also advises that skim should not normally be specified over moisture-resistant grade boards unless the board face is pre-treated with a suitable bonding primer, so always check the current data sheet for the board you are working with.
Why Does Background Suction Change the Finish?
Background suction changes the finish because gypsum needs a controlled amount of water to hydrate, set, and be worked. Suction is the rate at which the background draws that water out of the plaster. Too much and the mix stiffens before you can flatten it. Too little and it slides, stays wet, and will not firm up for troweling.
Every background pulls water at a different rate. Dry blockwork and many old lime backgrounds are thirsty and high-suction, though lime varies with age and condition. Plasterboard and previously painted surfaces are low-suction. The same bag behaves like two different products across those walls, and that is down to suction, not the plaster.
High-suction backgrounds
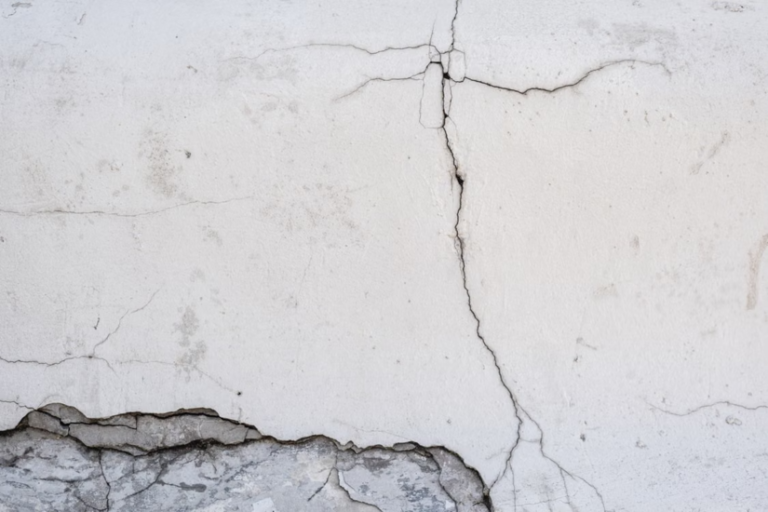
On a high-suction background, water leaves the mix fast. The plaster grabs, drags under the trowel, and can go off before you flatten the second coat. Left uncontrolled this causes crazing, dry patches, and a surface that will not polish. High suction also pulls water from the bond line, which weakens adhesion and risks the finish drumming or blowing later.
The manufacturer’s control for dry undercoats is to damp the wall down before finishing so suction is even across the whole surface. Where a problem background needs a primer, use a proprietary bonding primer such as a Bond-it type product rather than reaching for PVA by habit. PVA can re-emulsify with moisture and is a known cause of delamination if over-applied or wrongly timed, so if it is used it must follow the manufacturer’s instructions to the letter.
Low-suction backgrounds
On plasterboard the opposite problem appears. Water has nowhere to go, so the plaster stays wet and mobile for longer. It can slip, sag on ceilings, and take time to reach the firm stage. Rush it and you overwork a surface that has not set, tearing the finish.
The control here is timing, not priming. Lay on, let the coat pick up, apply the second coat, then flatten and trowel up only once it firms. Board and this finish are both used on plasterboard precisely because the suction is already well matched. The mistake is troweling a low-suction wall too early.
Mixed-suction walls
The hardest walls are mixed: part plasterboard, part masonry, part old plaster on the same run. Without correction, one area sets fast and dries out while another is still wet, so the wall finishes at two rates and you get shading, dry patches, and joint lines. This is where multifinish plaster earns its name, but the product alone does not fix mixed suction. You bring the whole background to an even, controlled suction first through damping or a suitable primer, so the wall pulls water at a similar rate.
A note on cement-based undercoats
Cement undercoats shrink as they dry and can crack for days or even weeks after application. Skim too early and you risk delamination or cracking of the finish, especially if the key was poor. Cement backgrounds need a better key and a longer drying allowance than gypsum undercoats before you skim over them.
How to Control Suction on the Wall
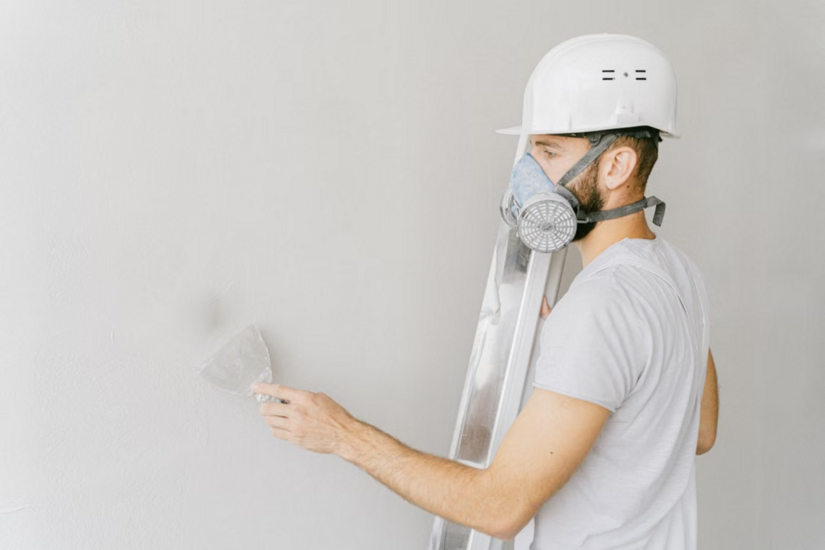
Controlling suction means bringing the whole background to an even, moderate draw before the finish goes on. The principles stay the same every time.
- Read the background. Mist a little water on. If it vanishes instantly, suction is high. If it beads and sits, suction is low. Check across the whole wall, not one spot.
- Even it out. Damp down thirsty areas, or apply a proprietary bonding primer to problem or mixed backgrounds per the data sheet. The goal is consistency, not zero suction.
- Time the coats. Lay on, let the first coat pick up, then apply and flatten the second. Trowel up only once the plaster has firmed.
- Control drying. Avoid forced heat, frost, and through-draughts that dry the surface unevenly and reintroduce shading. Never apply to a frozen background.
Good site practice for internal plastering is set out in BS EN 13914-2, the code of practice for internal plastering, which sits alongside BS EN 13279-1 for the material. Work from both plus the current product data sheet rather than treating any single method as universal.
Safety and Compliance on Site
The product is not classified as hazardous for transport, but standard site duties under COSHH still apply. The main risk is dust, particularly from mixing and sanding.
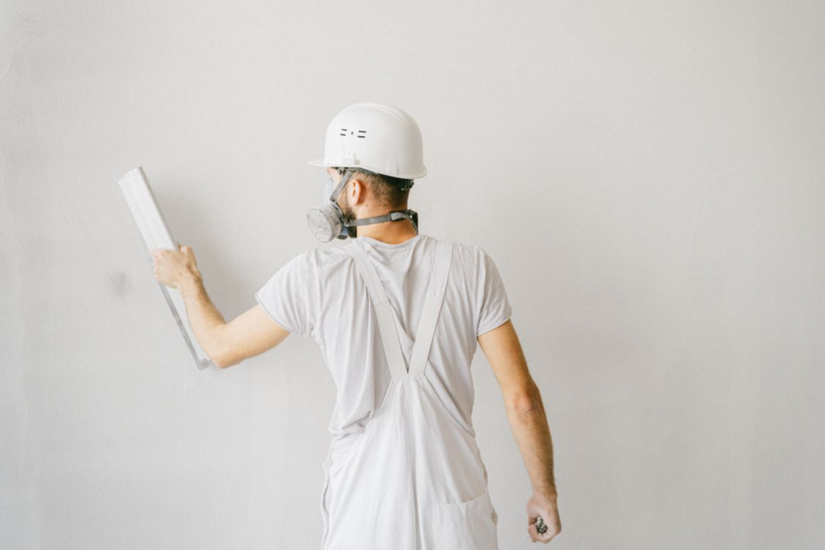
- Dust and masks. Work in a well-ventilated area and control dust by engineering methods where you can. Where exposure could be exceeded, wear a disposable mask to at least FFP2 (EN 149). Sanding cured plaster can release respirable crystalline silica, so mask up for that too.
- Eyes and skin. Wet plaster forms an alkaline solution and can irritate skin and eyes, so wear eye protection to BS EN 166 and suitable gloves.
- Manual handling. Bags are around 25kg. Use a safe lifting technique in line with the Manual Handling Operations Regulations.
- Drains and waste. Keep plaster out of drains, as it solidifies in water. Gypsum waste is non-hazardous but must not be co-disposed with general waste; send it to an authorised facility.
The product data sheet is guidance, not a COSHH risk assessment, so employers must still carry out their own assessment for the site.
Want to improve your plastering skills with practical training? Explore TradeFox’s plastering courses to build confidence, learn safe working methods, and practise key techniques at your own pace before using them on site.
Get the Background Right First
A skim is only as good as the background it goes onto. Before you mix a bag, read the suction, even it out, and match your timing to what the wall is doing. If you are training into the trade, learning to read backgrounds by eye is the skill that separates a flat, polished finish from a wall full of dry patches. For product limits and mixing detail, always work from the current data sheet alongside BS EN 13279-1 and BS EN 13914-2.