

Grout haze is the cloudy, dull film of cement or polymer residue left sitting on the face of tiles after grouting, caused by fine particles drying on the surface before they were fully cleaned off. It is one of the most common snags on an otherwise sound tiling job, and on porcelain or polished stone it can be the difference between a finish that passes handover and one that gets flagged.
The good news for any tiler is that this film is almost always avoidable. When it does appear, it is removable without damaging the tile, the joint, or yourself, provided you understand what is sitting on the surface and treat it correctly.
This guide is written for working tilers and those training into the trade. It covers why the problem forms, how to prevent it, how to clean tiles after grouting safely on different tile types, and the UK standards and health rules that sit behind the work.
What Is Grout Haze?
Grout haze is a thin layer of grout residue that bonds lightly to the tile surface as it dries, leaving a milky or chalky film once the joint has set.
The residue behaves differently depending on the grout:
- Cement-based grout leaves a mineral residue that dries chalky and white.
- Ready-mixed grout leaves a polymer film that can dry clear and tacky.
- Epoxy grout leaves a resin film that is the most stubborn of the three once it cures.
It is worth separating this film from two things it gets confused with. Efflorescence is a salt deposit that migrates out of the grout or substrate over time, not residue left from the wipe-down. A weak, dusty joint surface is usually a sign the grout was cleaned off too early, which pulls binder out of the joint. According to The Tile Association, cleaning off too early affects colour consistency and leaves a weak, dusty surface layer, so over-cleaning and haze sit at two ends of the same timing problem.
Why Does Grout Haze Appear?
The film appears when grout residue is left on the tile face long enough to dry, or when the wrong amount of water is used during clean-off. The main causes are timing, water, and tile type.
Leaving The Grout Too Long
Most cement-based grouts give a working window before the surface skins over. Manufacturer guidance commonly puts initial clean-off at around 10 to 20 minutes after grouting, with full clean-off completed within the product’s stated working time, often 15 to 60 minutes depending on the grout. Miss that window and the residue hardens onto the tile.
Using Too Much Water
Too much water during clean-off creates two problems at once. Excess water floats fine cement to the surface where it dries as a film, and it can pull pigment unevenly from the joint, leaving patchy colour. The standard instruction is to wipe with a damp sponge, not a soaking one, and to clean diagonally across the joints so you are not dragging grout out of them.
The Tile Surface Itself
Tile type matters more than people expect:
- Textured, matt, riven and anti-slip surfaces hold residue in their profile and need more careful clean-off.
- Polished porcelain and unsealed natural stone show even a faint film clearly.
- Glass and ready-mixed or epoxy grouts leave residue that can dry clear or tacky, so it is easy to miss during the wipe-down and hard to shift once cured.
How To Prevent Grout Haze In The First Place
Prevention is faster and safer than removal, and it comes down to disciplined clean-off.
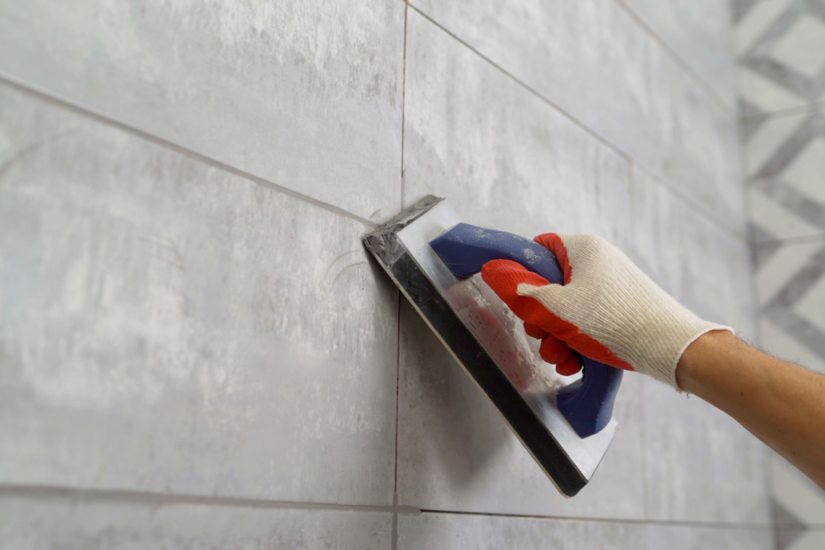
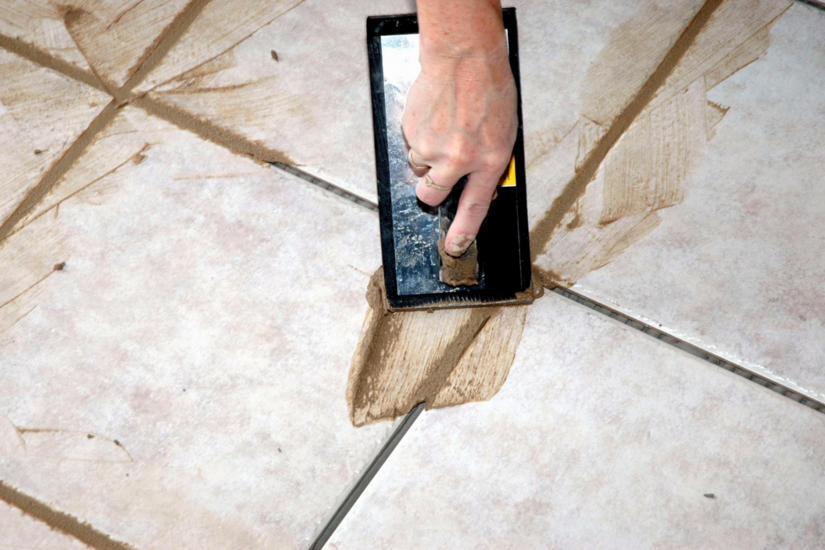
Work in small sections, around one square metre at a time, so no area sits drying while you grout the next. Fill and compact joints fully, then remove surplus from the face as you go rather than leaving it to deal with later.
A reliable clean-off routine looks like this:
- First pass : Begin once the grout has firmed but before it skins over.
- Second pass : Lift the light film that forms as the joint continues to dry.
- Buff : Polish the dry tiles with a clean cloth once a light bloom appears.
Keep your water clean and change it regularly. Dirty water just spreads suspended grout back across the tiles. Use a damp, well-wrung sponge throughout.
For epoxy and ready-mixed grouts, follow the manufacturer’s emulsify-and-rinse method closely and clean within the working time, because once these set on the face a simple sponge will not save you. BAL, for example, instructs users not to allow surplus grout or haze from its epoxy grout to remain on the surface for more than 24 hours, after which removal becomes much harder.
Always read the technical data sheet for the specific grout. Working times, clean-off methods, and compatible cleaners vary between cement, ready-mixed and epoxy products, and between brands.
How To Remove Grout Haze Safely
Removing grout haze safely starts with identifying the grout type, testing a small area, and choosing the mildest method that works. Never reach straight for an aggressive acid on a surface you have not tested.
Step One: Try Water And A Pad First
A light cement film, caught within a day, will often lift with clean cold water and a white emulsifying or fine nylon pad. Work in gentle circular motions, then wipe diagonally to the joints with a clean damp sponge and buff dry. This is the lowest-risk approach and should always be your first move.
Step Two: Use A Proprietary Grout Haze Remover
Where water will not shift it, a dedicated grout haze remover is the correct tool. These are typically acidic, water-based formulas designed to dissolve cement residue on acid-resistant surfaces such as porcelain, ceramic, quarry tile, slate, sandstone and clay pavers.
Apply per the data sheet, allow it to react, agitate, then rinse thoroughly with clean water. The dissolved cement stays suspended in the liquid and must be flushed away rather than left to re-deposit.
Step Three: Match The Remover To The Grout Chemistry
Acidic cement removers will not properly clear epoxy or ready-mixed polymer residue. Epoxy and acrylic films need a dedicated epoxy grout haze remover or a heavy-duty alkaline tile and grout cleaner formulated to break down the resin. Using the wrong product wastes time and can damage the joint, so always follow the dwell times on the label.
Critical: Do Not Use Acid On Acid-Sensitive Surfaces
Acidic removers must never be used on acid-sensitive stone such as marble, limestone, travertine, terrazzo or polished concrete. The acid etches and permanently dulls these surfaces. For acid-sensitive stone, use only a remover the manufacturer states is safe for that material, and test first. This single check prevents some of the most expensive callbacks in the trade.
A few more rules that keep removal safe and damage-free:
- Always test on a spare tile or an inconspicuous area before treating the whole floor or wall.
- Never let a chemical remover dry on the surface. If it starts drying, mist it to keep it wet, then rinse.
- Protect adjacent metal trims, soft-glazed tiles, and lustre or metallic décor, which acidic cleaners can damage.
- Rinse completely and let the tile dry before judging the result. A faint film often clears on the rinse pass.
The Health And Safety Rules That Apply
Cleaning tiles after grouting is light work, but the wider tiling task is not low-risk, and UK law treats it seriously. Two areas matter most: dust and chemicals.
Silica Dust And COSHH
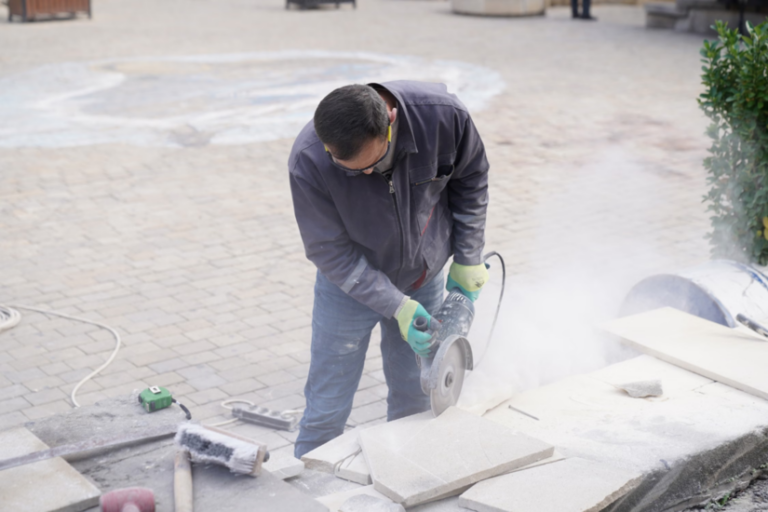
It helps to separate the two risk levels. Sponging and chemical cleaning are low-dust tasks. The serious dust risk comes from the surrounding work: dry cutting, grinding, sanding, or raking out cement-based grout and mortar all release respirable crystalline silica (RCS).
The HSE classes RCS as a serious health hazard. It causes silicosis, lung cancer and COPD, and is a confirmed Group 1 carcinogen. Under the Control of Substances Hazardous to Health Regulations 2002 (COSHH), employers and the self-employed must control exposure. In practice that means:
- Water suppression or H-class dust extraction on the tool, to stop dust at source.
- Properly fit-tested FFP3 respiratory protection. Face-fit testing is a legal requirement under COSHH, and tight-fitting masks do not seal over facial hair, so a beard makes the mask ineffective.
- Limiting time spent on dusty tasks.
The UK workplace exposure limit for RCS is 0.1 mg/m³ as an 8-hour time-weighted average, set out in HSE’s EH40. It is one of the lowest exposure limits of any workplace substance, which tells you how seriously to take it. As a rule of thumb, if you can see dust in the air, exposure is almost certainly too high and your controls are not working. The HSE leaflet INDG463 sets out the controls in full.
Chemical Removers
The chemical removers themselves carry hazards too. Acidic cement grout haze removers are classed as skin and eye irritants. Before use:
- Read the product's safety data sheet.
- Wear chemical-resistant gloves and eye protection.
- Ventilate the area and follow the dilution and rinse instructions.
A COSHH assessment should cover any cleaning chemical brought onto the site, not just the dusty work.
Removing grout haze safely depends on using the right method, the right product, and good site practice. Build your construction knowledge with TradeFox and strengthen the practical skills used on real jobs every day.
How UK Tiling Standards Relate To Grout Haze
Good clean-off is part of working to the recognised UK code of practice for tiling. BS 5385 covers good practice for wall and floor tiling, including substrate preparation, joint widths and movement joints, and manufacturer clean-off instructions are written to sit alongside it.
For wet areas, BS 5385-4:2015 (clause 7.2.1) also requires that a newly tiled shower is left a minimum of 14 days before being brought into use. This affects when and how you carry out any follow-up cleaning on shower installations. Working to the standard and the product data sheet together is what separates a professional finish from a callback.
Avoiding grout haze, and removing it cleanly when it does appear, is a small skill that signals a tiler who finishes properly. Get the timing right, control your water, match the remover to the grout, protect acid-sensitive surfaces, and respect the dust and chemical rules, and the problem stops appearing on your jobs.