Underfloor ventilation rarely gets the attention it deserves on site, yet it accounts for a large share of the damp and timber decay surveyors find across UK housing stock. Get it right and the subfloor void stays dry for the life of the building. Get it wrong and you are looking at rot, mould, and remedial work that costs far more than the vents ever would.
This guide breaks down how air bricks work, where they belong, what UK regulations actually require, and why a blocked vent does so much damage. It is written for trade, not for DIY.
What an Air Brick Actually Does
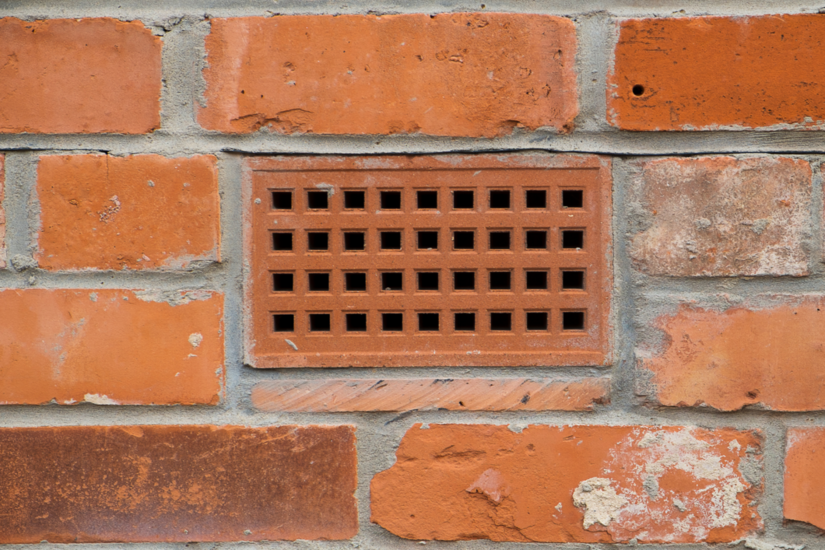
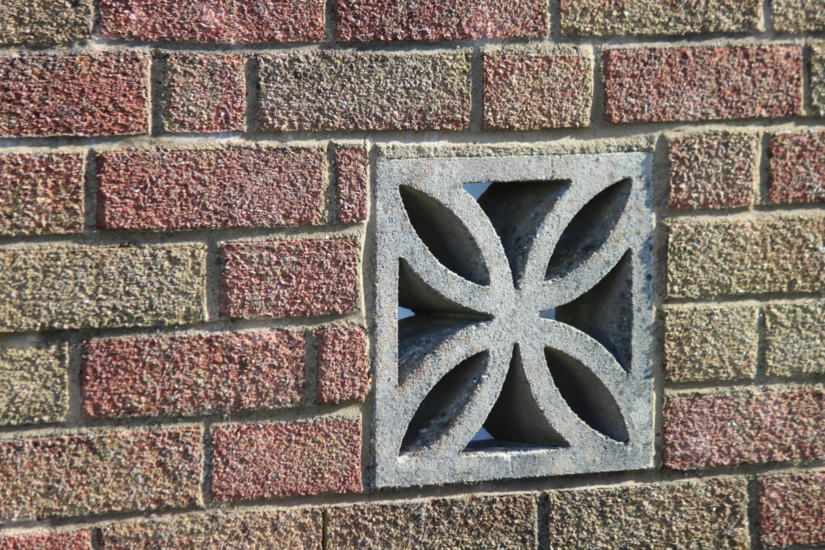
An air brick is a perforated unit, usually clay or moulded plastic, sized to fit standard brick coursing and built into the external wall at low level. The job is simple to describe and easy to underestimate: move air through the space beneath a suspended floor so that ground moisture cannot sit and condense on the timbers.
Suspended timber floors and beam-and-block floors both rely on a ventilated void underneath. Ground moisture is constant. Without a steady exchange of air, humidity in that void climbs, and once timber moisture content creeps past roughly 20 percent you have created the conditions wet rot and dry rot need to take hold.
There is a second function worth knowing. Ventilated voids also help disperse ground gases such as radon, which matters in affected regions.
One structural point to keep in mind: vents and air bricks provide no structural support. Any opening formed in load-bearing brickwork needs the load carried by a lintel or by the unit’s own design allowance.
Cross-Flow: The Principle That Makes It Work
A single row of vents on one elevation does almost nothing. The principle behind effective underfloor ventilation is cross-flow. Air has to enter one side of the building and leave the opposite side, sweeping the whole void as it goes.
Approved Document C 4.14(b) is explicit that openings should sit on two opposing external walls so the ventilating air has a free path between opposite sides and to all parts of the void.
Two failure points come up again and again:
- One-sided ventilation. Vents on a single wall leave stagnant dead-air pockets at the far end of the void. Those pockets are exactly where humidity builds and fungal decay starts.
- Blocked internal walls. Sleeper walls and partitions inside the void must be built with sufficient openings so air passes freely from one bay to the next. A void ventilated at the perimeter but sealed internally will still rot.
Best practice on anything beyond a simple rectangle is to run ventilation around the full perimeter, which matters most on L-shaped or complex footprints where airflow paths are easily interrupted.
How Much Ventilation You Need
This is the part DIY guidance usually skips, and it is where the numbers live.
The Sizing Rule
Approved Document C 4.14(b) and NHBC Chapter 5.2 both require void ventilation to whichever of these gives the greater opening area:
- 1500mm² per metre run of external wall, or
- 500mm² per m² of floor area
Calculate both, take the larger figure, then fit enough openings to satisfy it. Net free area varies by product, so always work to the certified net ventilation area of the unit you are specifying rather than its nominal size. A typical telescopic underfloor ventilator delivers in the region of 6000mm², but some certified air bricks sit nearer 4000mm². Underspecifying here is a genuine compliance failure.
A Worked Example
Take a suspended floor measuring 6m by 8m.
- Floor area method: 6 x 8 = 48m². At 500mm²/m² that is 48 x 500 = 24,000mm².
- Wall run method: perimeter is 2 x (6 + 8) = 28m. At 1500mm²/m that is 28 x 1500 = 42,000mm².
- Governing figure: 42,000mm², because it is the greater.
At roughly 6000mm² of certified free area per unit, that is 42,000 / 6000 = seven units as a minimum. You then distribute them across opposing walls so the cross-flow works, not bunched on one elevation.
Spacing
Spacing is NHBC guidance rather than statute, but it is the working standard the warranty bodies expect:
- Ventilators at no more than 2m centres.
- Positioned within 450mm of the end of any wall.
You can technically hit 1500mm² per metre with units at 4m centres, but that wide spacing invites stagnant pockets and is poor practice. Treat 2m centres as the default.
Ducts and the Oversite
Two requirements often get missed:f
- Ducts: Any pipe carrying ventilating air should have a diameter of at least 100mm, per Approved Document C 4.14(b).
- Ground covering: Approved Document C 4.13 requires the ground beneath the floor to be covered so it resists moisture and prevents plant growth. The oversite works alongside the vents, not instead of them.
Clearances and Heights: Two Different Sets of Numbers
Heights cause confusion because two separate sets of dimensions are in play, and people merge them. Keep them apart.
Internal Void Clearance (Approved Document C 4.14b)
These are the clearances inside the void:
- At least 75mm from the ground covering to the underside of any wall plate.
- At least 150mm from the ground covering to the underside of the suspended timber floor, or to the underside of insulation where fitted.
External Siting
These govern where the brick sits in the wall face:
- Air bricks should ideally sit around 75mm above finished external ground level, or beside ground that is sloped and draining, so the opening stays clear of soil, debris, and standing water. This is NHBC siting guidance.
- The damp-proof course should sit a minimum of 150mm above adjacent external ground. This is a separate requirement, not the same 150mm as the internal void clearance above.
The finished ground should always fall away from the wall, never toward it, so water cannot pool against the opening.
Telescopic Air Bricks and Difficult Ground Levels
Ground levels are rarely as tidy as the drawings suggest. Patios, raised beds, and built-up paths routinely sit above the point where a vent needs to breathe. Telescopic air bricks, which Approved Document C calls offset or periscope ventilators, are built for exactly this.
A telescopic vent steps the ventilation path from the void below up to an opening above finished ground level, usually around the DPC line.
How to get it right:
- The upper front opening sits above ground where it can breathe.
- The lower rear opening drops to void level and must not be obstructed by the floor construction, or the unit does nothing.
- Standard units cover a range of brick courses, with vertical extension sleeves available where the step is greater than the unit's range.
- Where flooding is a risk, vertical extensions can raise the intake above expected flood-water level.
One material caution for spec work: most telescopic units are plastic and are not suitable for use in the external walls of high-rise buildings that require non-combustible materials. Check the product data against the project’s fire requirements before specifying.
Why Blocked Vents Cause Damp
Here is the failure mode that brings surveyors out time after time. The vents get blocked, and the void stops breathing.
The causes are predictable:
- Soil, leaves, and garden debris build up against the wall and bury the opening.
- New hard landscaping bridges the vent or the damp-proof course.
- Internal insulation, stored rubble, or builders' debris seals the void from inside.
- Cement render or careless repointing closes the perforations.
- Occupants deliberately block vents to stop cold draughts coming up through the floor, not understanding the consequence.
Whatever the cause, the result is the same. Airflow stops, void humidity rises, and timber moisture content climbs into the danger zone. Over time that means condensation, mould, wet and dry rot, and in serious cases joists and bearers weakened to the point of bouncy or failing floors.
Inspection Checklist
When you are assessing an existing property, work through this:
- Locate every vent on all elevations.
- Confirm each one is clear of soil, gravel, leaves, and cobwebs.
- Check that paths, patios, and raised beds have not been built up to or above vent or DPC level.
- Look inside through an access hatch where possible to confirm the void is not blocked by insulation or debris.
- After heavy rain, check whether water is pooling against the wall.
Clear blockages by brushing rather than poking hard objects through the perforations. Where ground levels have risen, lower the soil or fit a telescopic unit rather than leaving the opening buried.
TradeFox keeps this kind of practical trade knowledge clear and easy to follow, with hands-on learning you can work through at your own pace.
The Trade Takeaway
Air bricks are cheap, simple, and unforgiving when neglected. The regulations give you firm numbers to work to:
- The greater of 1500mm² per metre run or 500mm² per m² of floor area.
- Units at 2m centres and within 450mm of wall ends.
- A 75mm void below wall plates and 150mm below joists internally, with the brick sited clear of ground level externally.
- Cross-flow guaranteed across the whole void, including through sleeper walls.
Specify to those figures, install so the void genuinely breathes, and inspect blocked vents as the first port of call whenever underfloor damp shows up. For anything non-standard, confirm the required opening area with the structural engineer or architect, because the floor area and wall run on your job set the real numbers.