Walk past any construction site, and what do you see? Maybe scaffolding, towering stacks of timber, or clouds of sawdust kicking up from circular saws.
But what you won’t always notice is the silent precision behind the walls, floors, and roof, the rough carpentry work that forms the backbone of the entire structure.
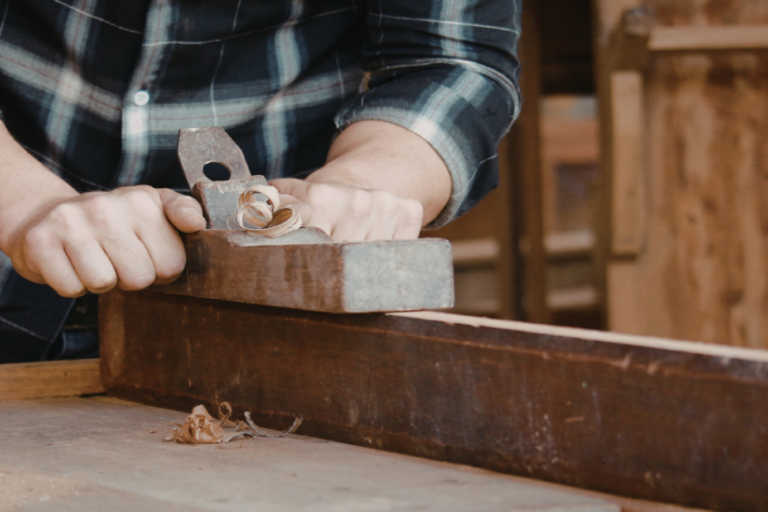
Rough carpentry focuses on the structural, not the decorative. It’s the solid foundation on which a building stands tall, and more importantly, stays that way.
Without solid standards and skilled hands, everything else, no matter how visually appealing, is just dressing on a shaky frame.
So let’s break down the standards, practices, and real-world considerations that every rough carpenter should live by to construct safe, durable frameworks that truly lay the groundwork for successful builds.
Understanding Rough Carpentry: The Framework Before The Finish
First things first, what separates rough carpentry from other types of carpentry?
Think of rough carpenters as the skeletal builders. They’re responsible for:
- Framing exterior and interior walls
- Installing subfloors and roof trusses
- Constructing staircases
- Building decks and foundational platforms
While a finish carpenter might step in to handle cabinetry, crown molding, or other detailed work, the rough carpenter is the one who makes sure the house won’t shift, sag, or split under pressure.
In short, rough carpentry involves heavy lifting, precise measurements, and constant decision-making, all while staying laser-focused on structural integrity.
Key Standards That Define High-Quality Rough Carpentry
If rough carpentry is the backbone of a build, standards are its nervous system, they dictate how the job gets done, safely and correctly. Let’s look at the cornerstones of proper rough carpentry work.
1. Precision In Framing And Measurements
You can’t build straight walls with crooked numbers. Standard spacing, usually 16” or 24” on center, might sound simple on paper, but on-site, it’s where things get tricky. A warped stud or misaligned top plate throws off everything that follows.
- Always square and level each section before moving forward.
- Use a reliable spirit level or laser level, not your eyes alone.
- Double-check spacing, especially around door and window openings where structural load and finish work intersect.
Wall framing isn’t just about throwing up studs; it’s geometry, physics, and foresight rolled into one.
2. Materials Matter (More Than You Think)
Every seasoned carpenter knows: high-quality lumber saves time, money, and headaches. Don’t grab the first 2×4 you see.
- Use kiln-dried lumber when possible, less shrinkage, better hold.
- Choose pressure-treated wood for contact with concrete or soil.
- Always check for warping, knots, or moisture damage before use.
Rough carpentry isn’t glamorous, but it’s unforgiving. One bad beam can lead to a sagging floor or shifting wall years down the line.
3. Fastening Techniques That Hold It All Together
Forget shortcuts, nail guns are fast, but they still need precision. Incorrect angle, poor depth, or wrong size? You’re asking for loose joints and creaking floors.
Standards include:
- Minimum two nails per joint, penetrating 1.5” or more into the adjoining piece.
- Correct use of galvanized nails or screws in outdoor or high-moisture areas.
-
Metal connectors, joist hangers, and hurricane ties are strictly required to maintain building code compliance.
- Respect the nail gun: Use sequential triggers instead of bump-fire modes when precision is needed to prevent accidental double-firing or ricochets.
Build it like it has to hold a family of five for 50 years, because in many cases, it will.
4. Follow The Code, Always

Whether you’re framing a small cabin or a four-bedroom home, compliance with building codes isn’t optional. It’s the law, sure, but it’s also the blueprint for long-term safety.
- Study local, national, and international codes, whether that means the IRC in North America or the UK Building Regulations.
- Schedule inspections early and often.
- Don’t guess load-bearing limits, consult an engineer when in doubt.
A solid construction project doesn’t begin with guesswork, it starts with research, permits, and respect for regulations.
Best Practices That Set Pros Apart
There’s the “get-it-done” way, and then there’s the right way. Rough carpenters who go the extra mile follow practices that prevent future problems and earn respect on the job site.
Thoughtful Planning
Jumping into framing without a plan is like pouring concrete with your eyes closed. Before swinging the hammer:
- Study blueprints and structural drawings.
- Mark out load-bearing walls clearly.
- Leave space for plumbing, electrical, and HVAC systems.
Rough carpentry doesn’t happen in isolation, it supports every trade that follows.
Work With The Weather, Not Against It
Ever tried framing a roof truss in high wind? Or laying floor joists during a rainstorm?
Working at heights adds another layer of risk; always utilize proper fall protection—like safety harnesses, guardrails, or scaffolding—when setting trusses or upper-level joists.
Temporary bracing and smart scheduling protect both the structure and the crew.
Keep materials dry, protected, and elevated when stored. Moisture is the enemy of wood, timelines, and morale.
Tools Of The Trade: Modern And Traditional
The gear you carry says a lot about how you work.
Essentials include:
- Tape measure, chalk line, and framing square
- Circular saw and nail gun (preferably with adjustable depth)
- Spirit level or laser level for maximum accuracy
- PPE like gloves, goggles, and hard hats
New tech like framing software or simulation tools can also play a role. Tools like TradeFox offer a risk-free way for aspiring carpenters to learn in a simulated environment, something incredibly valuable in a field where one wrong move could mean serious injury.
Learning by doing is essential, but smart practice is what sharpens skill without breaking bones.
What To Avoid (Unless You Want Trouble)

Even seasoned pros slip up. Here are red flags and rookie mistakes that can undermine a build:
- Using wet or low-grade lumber: It warps, shrinks, and weakens over time.
- Ignoring code requirements: What passes the eye test won’t pass inspection.
- Improper fastening: Too few nails, wrong angles, or skipped metal connectors can lead to structural failure.
- Inaccurate cuts: Whether it’s a subfloor or header, off-measurements cause gaps and instability.
- Rushing the job: Fast work isn’t always quality work, especially in framing.
In rough carpentry, small mistakes snowball. A 1/4″ error at the base can become a 2″ misalignment at the roofline.
The Path To Mastery: Learn, Build, Repeat
So, how does one become a top-notch rough carpenter?
It starts with hands-on training, usually through apprenticeships, trade school, or mentorship. Pair that with safety certifications (like HSE), and you’ve got a solid start.
Stay curious, too. Building codes evolve. Materials change. New tools emerge. Real mastery means you’re always learning, even after 20 years with a hammer in your hand.
Simulation tools, online forums, and real-world mentorships can all accelerate that learning curve. You don’t need to make every mistake to learn from it, sometimes, watching it happen in a virtual environment is enough.
Final Thoughts
Rough carpentry might never grace the cover of a design magazine, but it’s the part of the house that truly matters when storms hit, ground shifts, or years pass. The standards that rough carpenters uphold today will determine whether a building holds strong tomorrow.
So the next time you walk through a framed house-in-progress, take a second look. The straight lines, solid joins, and level floors didn’t happen by accident. They happened because someone followed the standards, day after day, beam after beam.
And that’s the real art of rough carpentry: constructing something unseen, but unshakable.