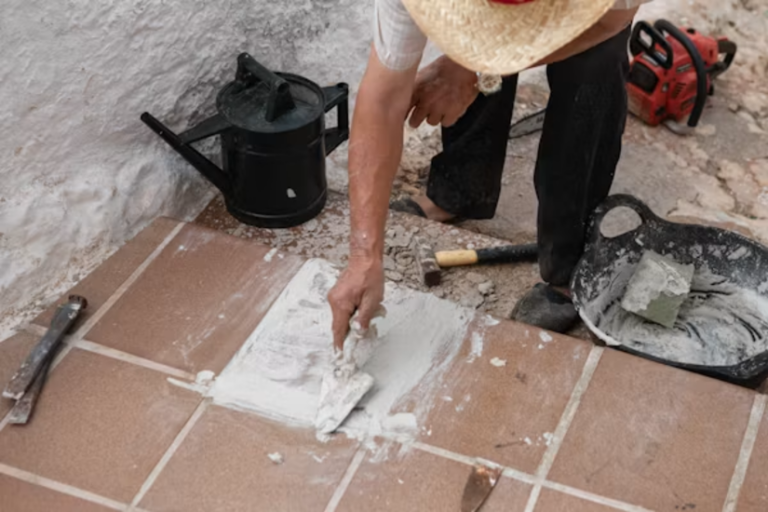


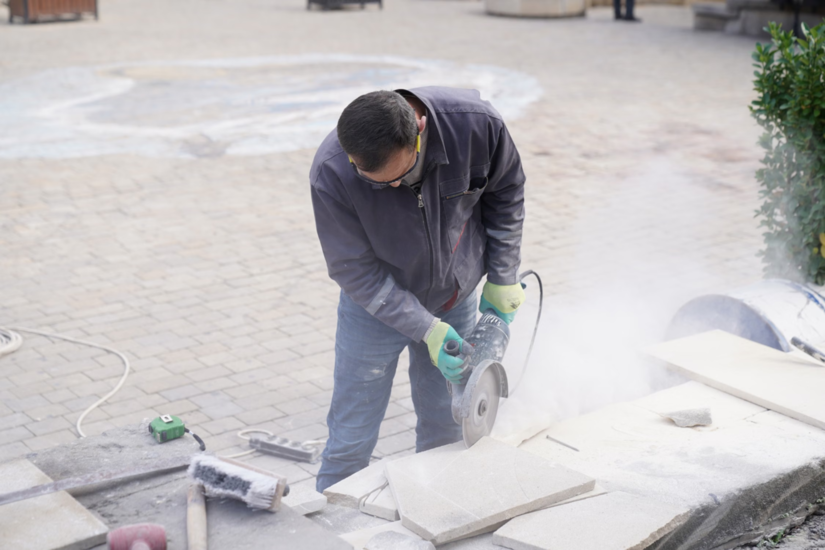
A tile saw is judged on two things: the quality of the cut and the health of the person running it. Porcelain is hard, dense and quick to chip, and cutting it releases fine silica dust that damages lungs for life. Get the blade, the water and the technique right and you get crisp edges, longer blade life and work that passes inspection. Get them wrong and you face wasted tiles, callbacks and a serious health risk.
This guide covers matching the machine and diamond blade to the material, why wet cutting is not optional, and how to cut porcelain cleanly while staying inside UK dust rules.
Choosing the right tile saw for the job
Before the blade, get the machine right. What you reach for depends on the material, the number of cuts and whether you are set up in a workshop or working on a live site.
- Bridge and rail wet saws: The tile sits on a fixed bed while the blade travels along a rail, or the tile rides a sliding cart into a fixed blade. These give straight, repeatable cuts, plunge cuts and 45-degree mitres, and they take large-format porcelain with ease. This is the workshop and heavy fit-out choice.
- Handheld wet cutters: Lighter, quicker to set up and easy to move around a site. Good for trims and smaller runs, less suited to long dead-straight cuts across big slabs.
Match the blade diameter and cut depth to the tiles on the job, not to the thickest thing you have ever handled. Check the motor rating and the maximum cut length against the format you are laying. A wet tile saw needs a working water feed suited to that format, because dry running a wet blade ruins it fast.
Blade choice: matching the diamond blade to the material
The blade decides the finish more than the saw does. Diamond blades come in three main rim types, and each one suits a different material and cut quality.
- Continuous rim blades: A smooth, unbroken diamond edge that leaves the cleanest, chip-free cuts in porcelain, glazed ceramic and glass. Run them wet to keep them cool. This is your default for cutting porcelain tiles.
- Segmented blades: Gaps between the diamond segments let them run cooler and cut faster through harder, thicker material like concrete, pavers, and natural stone. The trade-off is a rougher edge, so they are not the pick for a visible porcelain finish.
- Turbo rim blades: A continuous rim with a serrated profile. They land between the other two, cutting quicker than a plain continuous rim with a cleaner edge than a segmented blade. Handy when you want speed without a ragged finish.
Match the bond to the material
Rim type is only half the choice. A softer bond wears away faster to keep fresh diamonds exposed on hard, dense materials like porcelain. A harder bond lasts longer on soft, abrasive stone. Buy a blade rated for the exact material and for wet use, and check the blade’s maximum RPM against your saw before you fit it. A cheap blade dulls, glazes over and starts chipping tiles, which costs more in ruined porcelain than the blade ever saved.
Wet cutting and why it matters
Wet cutting does more than tidy the edge. Water does three jobs at once: it cools the diamond blade so it does not overheat and glaze, it flushes away the swarf so the cut stays clean, and it holds down the fine dust the tile throws off.
That dust is the real danger. Cutting porcelain, ceramic and stone releases respirable crystalline silica, particles too fine to see in normal light that lodge deep in the lungs. The Health and Safety Executive rates silica as the biggest risk to construction workers after asbestos, and believes more than 500 construction workers die from silica dust every year.
Under the Control of Substances Hazardous to Health Regulations, you have a legal duty to control that exposure. The workplace exposure limit for respirable crystalline silica is 0.1 mg/m³ as an 8-hour time-weighted average, and it does not take long at a saw to breach it.
Water suppression is the first line of control because it stops the dust at the source. For cutting tiles, HSE expects a saw fitted with a water suppression attachment fed from a pressurised water container, with respiratory protection worn on top. The exact grade of mask comes out of your COSHH risk assessment, and FFP3 is the HSE benchmark for high-dust tile cutting. Water and the mask work together. One does not replace the other.

How to cut porcelain without chipping
Clean porcelain comes down to the right blade, a steady hand, and letting the water and the diamonds do the work. Rushing is what chips tiles. Work through these points on every cut:
- Blade condition: Fit a continuous rim blade rated for porcelain and keep it sharp. A glazed or worn blade drags and chips.
- Water flow: Keep water running right at the cut for the whole pass. Starve the blade and you get heat, a rough edge and a shorter blade life.
- Feed rate: Push slowly and evenly. Force the tile and the edge breaks out, so let the blade set its own pace.
- Support: Hold the full tile, especially large-format, so it cannot flex or drop as the cut finishes.
- The exit edge: Ease right off as the blade reaches the far edge, where most chipping happens. A slow finish keeps the corner intact.
- Glazed faces: On heavily glazed tiles, a light scoring pass before the full cut protects the surface.
- Mitres: For 45-degree mitres on external corners, tilt the blade or bed, run slower still, and leave a thin sliver of the glazed edge rather than taking the point down to nothing. That stops the fragile tip breaking away.
If the blade stops cutting cleanly, act on it. A glazed blade can often be reopened on a dressing stone. A worn one belongs in the bin.
Safety and UK regulations when using a tile saw
The finish matters to the client. Your lungs matter more, and so does passing a site safety check. UK rules follow a clear order: stop the dust first, then protect the person, then keep the machine safe.
Control silica dust at source
- Cut wet, every time: Run the saw with a working water feed on every cut. HSE treats dry cutting of tiles as high risk because it throws off very high peaks of dust in seconds.
- Manage the slurry: Clear it wet and never dry-sweep dried slurry, because that puts the silica straight back into the air. Let the solids settle and dispose of them properly rather than washing them into drains.
- Check exposure: Where exposure is not clearly well below the limit, workers need health surveillance so any lung damage is caught early.
Wear the right PPE
Water control lowers the dust, but it rarely removes every hazard. Back it up with the right kit:
- Lungs: Wear RPE at an assigned protection factor of 20, such as an FFP3 disposable mask or a half mask with a P3 filter. Fit-test tight-fitting masks and stay clean-shaven, because stubble breaks the seal.
- Eyes: Use safety glasses or goggles to EN 166. Cutting tiles flings chips and gritty slurry.
- Ears: These saws are loud enough to exceed the exposure action values in the Control of Noise at Work Regulations 2005, so wear hearing protection on longer runs.
- Hands: Keep them clear of the blade and wear suitable gloves when handling freshly cut edges, which are sharp.
Keep the saw safe and maintained
- Guarding: Keep the blade guard fitted and in good order. The saw is work equipment under PUWER 1998, which requires dangerous parts of machinery to be guarded and the kit to be maintained.
- Electrics near water: On site the norm is 110V centre-tapped-earth equipment. Where 230V is used, run it through RCD protection and keep connections dry and off the floor.
- Maintenance: Clean the water jets, keep the water topped up, replace worn discs, and change RPE filters as the supplier recommends. Controls only work when the kit does.
None of this is an optional extra. COSHH puts the duty on the employer, and for a self-employed tiler it falls on you. The controls cost very little next to the disease they prevent.
A clean cut is only one part of a tiling job. Continue learning with TradeFox’s courses, using guided simulations and feedback to develop your skills at a pace that fits your schedule.