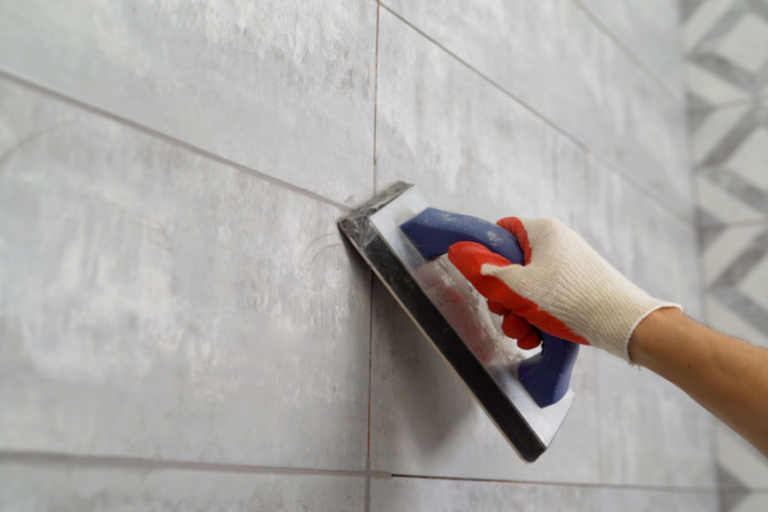


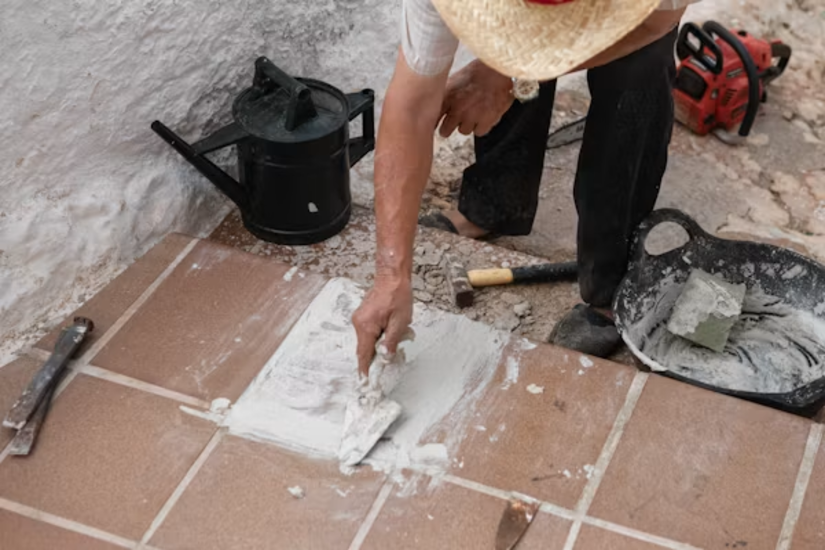
Tile adhesive thickness is the finished depth of the adhesive bed sitting between the tile back and the substrate once the tile has been beaten in. In UK practice, thin-bed cement-based adhesive is anything up to 3mm finished, and beyond 3mm it moves into thick-bed territory. Get the bed depth wrong and you inherit hollow tiles, cracked grout lines, and debonding that only a chisel will fix. This guide sets out what BS 5385 requires, how trowel choice controls bed depth, and how to hit the coverage figures that keep a floor or wall sound for the life of the building.
This is written for tilers and those training into the trade. It assumes you are fixing to sound, prepared substrates and following the adhesive manufacturer’s mixing and open-time instructions.
What Is Tile Adhesive Thickness?
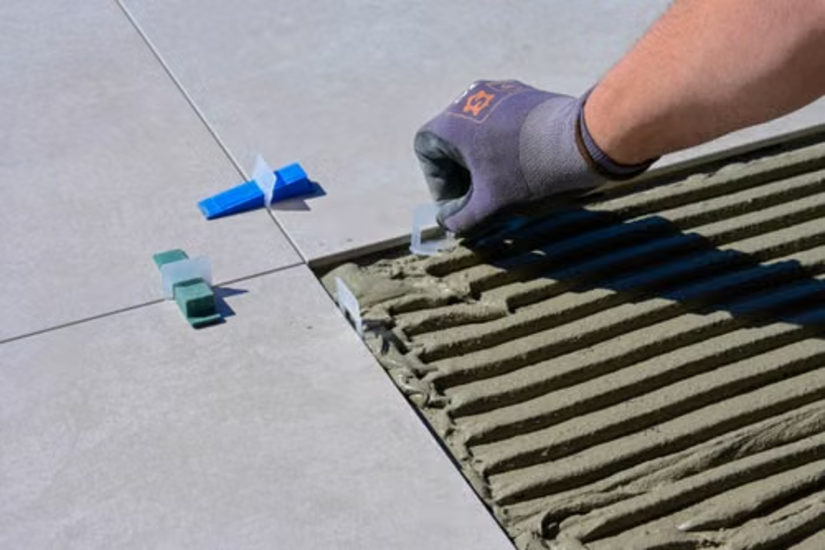
Tile adhesive thickness is the compressed depth of adhesive remaining under the tile after it has been pressed and beaten flat. It is not the height of the ridges you comb out with the trowel. Those ridges collapse and spread as you bed the tile, which is exactly what a notched trowel is designed to do. A 10mm notch does not leave a 10mm bed. It lays down the volume of adhesive needed to compress to a solid layer of roughly 2mm to 4mm on a flat tile.
Two things decide the finished depth:
- Notch profile: The shape and size of the trowel teeth meter how much adhesive is deposited per square metre.
- Beating in: How firmly you press and tap the tile home compresses the ridges into a solid bed.
That is why two fixers using the same tub and the same tile can end up with very different beds. Bed depth is a controlled outcome, not an accident.
There is a second reason the number matters. Cement-based thin-bed adhesives are formulated to cure correctly within their designed thickness band. Pile too much on in one hit and the bed can shrink, crack, or stay soft in the middle. If you need to build out more than the adhesive allows, level the substrate first. Never use flexible adhesive as a filler.
What Does BS 5385 Say About Bed Depth and Coverage?
BS 5385 is the UK code of practice for wall and floor tiling, and it is the standard your work will be judged against. It does not set one universal thickness figure. Instead it ties bed depth to the tile and adhesive manufacturer’s recommendation, and it sets firm rules on coverage, which is where most failures actually start.
According to guidance from the Tile Association (TTA), BS 5385 recommends the following:
- Wall tiling, normal conditions: The finished bed should be no greater than the tile and adhesive manufacturer recommend, with maximum practical contact between tile and adhesive.
- Larger tiles: Tiles with a surface area of 0.1m² or above should be solidly bedded.
- Heavy small tiles: Tiles under 0.1m² that weigh more per m² than 70% of the background's load capacity should also be solidly bedded.
- Floors: Solid bedding should be achieved throughout.
- Wet areas: In areas subject to frequent wetting, tiles should be solidly bedded so voids behind them are eliminated.
- Never dot and dab: Tiles should not be fixed using the dot and dab (spot-bonding) technique.
“Solidly bedded” is the phrase that carries the weight. In practice the trade works to clear coverage benchmarks:
- Dry internal walls: At least 80% coverage.
- Wet areas and external work: At least 95% coverage.
- All floors: Effectively 100%, a full solid bed with voids eliminated.
Voids in a wet area collect water that passes through grout joints, because grout is water resistant, not watertight. Over a heated or trafficked floor, those voids turn into failure points.
One change worth knowing: BS 5385-1:2018 removed plywood as an acceptable background for direct fixing of ceramic and natural stone tiles, pointing fixers toward tile backer boards instead. If you trained on older guidance, check the current parts before quoting them on site.
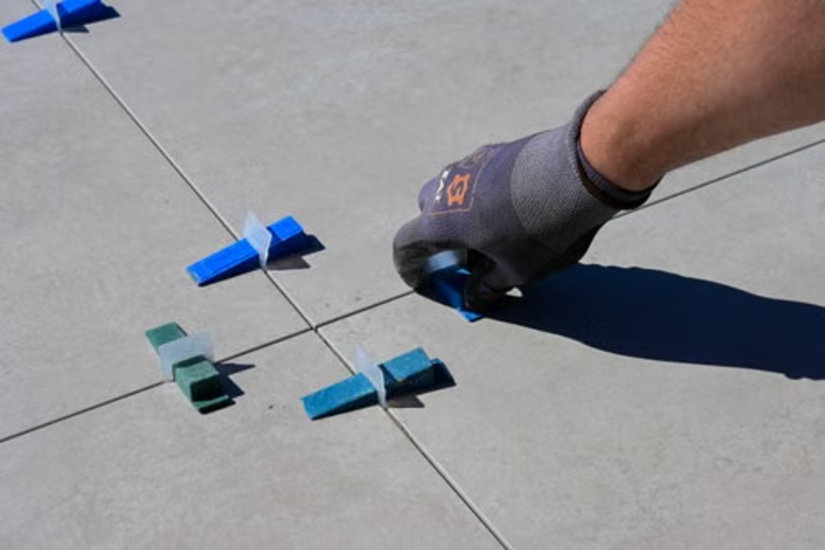
Wet Areas: Tanking Is a Requirement, Not an Option
Solid bedding on its own does not make a wet area compliant. Since the 2018 revision of BS 5385-1, substrates in wet areas including domestic showers, bath surrounds, and wet rooms must be waterproofed with a suitable proprietary tanking membrane system before any tiling begins.
The reasoning is simple. Tiles and cementitious grout are water resistant, not waterproof. They slow moisture but do not stop it reaching the substrate over time. BS 5385-4:2015 reinforces this: the structure behind wet-area tiles should be watertight and tanked, and plaster and plasterboard are unsuitable in frequently wetted areas. For new-build homes, the January 2025 NHBC Standards update mandates certified tanking systems for wet rooms and showers above a set flow rate.
The takeaway for the bench:
- Tank first, tile second: Apply a proprietary liquid or sheet membrane before fixing any tile in a wet area.
- Solid bed still applies: Full coverage remains a requirement on top of tanking, not instead of it.
- Do not rely on grout: Impervious grout and adhesive are no substitute for a tanked installation.
How Trowel Choice Controls Tile Adhesive Thickness
The notched trowel is the single tool that controls whether you hit your bed depth and coverage. The notch profile meters how much adhesive is laid down, and beating the tile in compresses those ridges into a solid bed. Pick the wrong notch and the adhesive can be perfect while the tile still fails.
There are three notch profiles in common UK use, and they deposit different volumes at the same nominal size.
Square Notch
Square notches produce flat-topped ridges with vertical sides and deposit the most adhesive per square metre. This is the default for floors, wet areas, and larger tiles, anywhere solid bedding is demanded. The half-notch rule applies cleanly: a square notch leaves a bed roughly half the notch depth once compressed.
Round Notch (U-Notch)
Round or U-notches produce rounded ridges that collapse and spread evenly, which makes them good at driving out air and reaching high coverage. TTA trowel guidance lists round-notch profiles for universal, solid-bed, mosaic, and large-format work.
V-Notch
V-notches produce sharp ridges and deposit the least adhesive. They suit thin, light wall tiles and mosaics in dry areas where you do not want adhesive squeezing up through the joints. A V-notch is the wrong choice for any floor or wet area.
Notch Sizes and the Coverage They Deliver
Matching notch to tile is where bed depth becomes predictable. The figures below come from TTA trowel guidance aligned to BS 5385. Treat them as a sound starting point, and always confirm against the specific adhesive datasheet, because bagged and ready-mixed products vary.
| Trowel type | Edge profile | Bed depth / coverage | Best for |
|---|---|---|---|
| Square notch (thin bed) | 10mm tapering notches, 5mm deep at 12.5mm centres | ~100% at 2–3mm depth | Ceramic wall tiles up to 300 x 300mm |
| Round notch (solid bed) | 5mm notches at 6mm centres, 3mm tips | ~100%, ~4mm solid bed | Most wall and floor tiles |
| Round notch (mosaics) | 4mm square notches at 8mm centres | ~90–100% | Mosaics and tiles up to 100 x 100mm |
| Round notch (universal) | 20mm round notches, 10mm deep at 28mm centres | ~100% | General wall and floor work |
| Round notch (large format) | 20mm round notches, 13mm deep at 28mm centres | ~100% | Large format tiles |
The lightly keyed back of most tiles lets you reach full coverage at a 3mm to 4mm bed with the right trowel. Large-format and heavily profiled tiles need more, which is where back-buttering earns its place.
Adhesive Classification: Know Your BS EN 12004 Type
Bed depth and trowel choice only work if the adhesive itself suits the job. UK adhesives are classified under BS EN 12004, and the code on the bag tells you what you are working with:
- Type C: Cementitious adhesive (the most common on floors and walls).
- Class 1 or 2: Normal or improved bond strength, with 2 being the higher grade.
- S1 or S2: Deformability, meaning flexibility. S1 is flexible, S2 is highly deformable, both useful over underfloor heating, timber, or large-format tiles.
Matching the class to the substrate and tile is part of getting the installation right. A rigid, low-grade adhesive under a large porcelain tile on a heated floor is a failure waiting to happen, regardless of how well you hit your bed depth.
When to Back-Butter, and How It Affects Thickness
Back-buttering means skimming a thin layer of adhesive onto the tile back as well as combing the substrate. It fills the keyed pattern on the tile, drives out trapped air, and lifts coverage into the 95% to 100% band. On large-format porcelain it is effectively mandatory, because a big flat tile bridging trowel ridges will trap air and leave hollows.
Back-buttering adds to the adhesive volume, but it is not a way to build height. If the substrate is out of flat, correct it with a levelling compound first. The finished tile adhesive thickness still needs to sit within the product’s stated band once the tile is beaten in.
How to Check Coverage on Site
Do not assume coverage, verify it. The method takes two minutes:
- Bed and lift: Fix a tile, then lift it straight back off before the adhesive skins.
- Read both faces: Check the transfer pattern on the tile back and the substrate.
- Judge the contact: Full, even contact with no dry patches or air channels means your trowel and technique are right. Uncollapsed ridges or bare corners mean you need a larger notch, firmer beating in, or back-buttering.
Run this check at the start of every job and whenever the tile, adhesive, or substrate changes. It is the difference between a compliant floor and a callback.
Getting adhesive coverage and application right takes practice as well as knowledge. TradeFox offers interactive tiling training that lets you work through practical skills step by step, revisit them when needed, and learn at your own pace.
Get the Bed Right the First Time
Tile adhesive thickness is not guesswork. It is the product of the right trowel, the right technique, and a quick coverage check on every job. Work to BS 5385, follow the adhesive datasheet, tank your wet areas before you fix a single tile, and lift a tile to prove your coverage before you tile over a fault you cannot see. If you are building your fixing skills, drill the coverage check until it is habit, because it is the single test that separates sound work from a callback.