


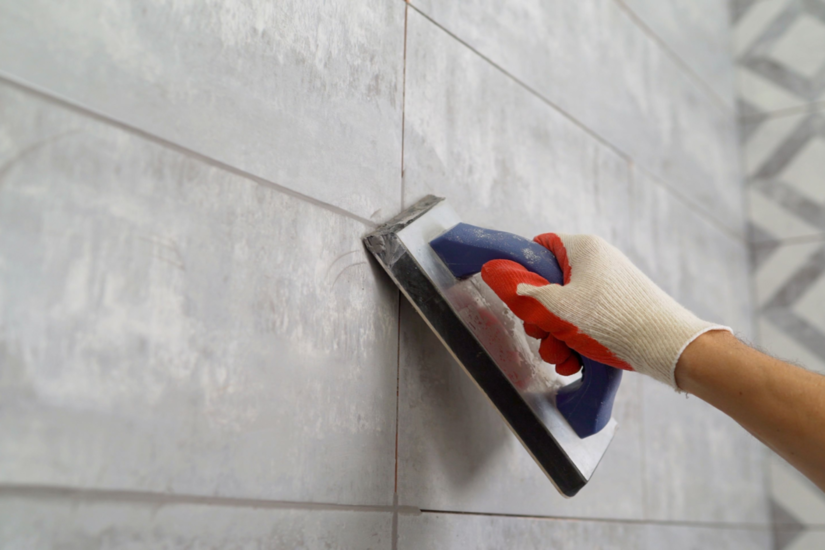
Grout colours shape the finished look of a tiled surface as much as the tile itself, and choosing wrong is one of the most common reasons a technically sound job still gets rejected on site. Four factors decide whether the finish reads well: contrast against the tile, the lighting the surface sits under, how the grout stains and ages, and batch variation between bags. This guide breaks each one down for tilers and fixers who need the work to hold up under close inspection, not just look right at handover.
Here is the short version. Pick your grout colour against the actual tile under the actual site lighting, mix full bags to a fixed water ratio, and never assume two batches will match. Everything below explains why, with the relevant UK standards where they apply.
How does contrast between grout and tile change the finish?
Contrast is the single biggest driver of how a tiled surface reads. High contrast, such as a dark joint against a light tile, sharpens every line and turns the layout into a visible grid. That flatters neat, consistent tiling and exposes lippage, uneven joint widths, and poor spacing. Low contrast, where the grout closely matches the tile, softens the joints and lets the field read as one continuous surface.
For a working tiler the rule is simple:
- Tight setting out and consistent joints? Contrast will reward the work. Go bolder.
- Substrate or tile forcing some variation? A closer colour match hides it.
- Large-format or rectified porcelain? Lean low-contrast. The eye tracks any deviation along a long, straight joint.
- Small mosaics or patterned floors? High contrast often suits them, because the grid is part of the design.
Joint width is governed by standards, not preference. The Tile Association confirms a minimum floor joint of 3mm, and wall joints of 2mm or 3mm depending on tile facial area. Cleaning grout off too early creates a patchy, inconsistent colour and a weak, dusty surface layer, so the colour result and the workmanship are tied together. Contrast will show up both faults, which is exactly why the colour choice cannot be separated from the standard of the fix.
Why does lighting change how grout colours look?
Lighting changes the perceived colour of grout because grout is a matt, textured, mineral surface that reflects light very differently from the glazed or polished tile beside it. A grey that looks neutral under warm domestic lighting can read cold or blue under LED downlights or north-facing daylight. This is why a colour picked in a showroom, or off a printed chart, so often disappoints once it is fixed and lit on site.
Two lighting effects matter most.
Colour temperature
Warm light pushes greys and beiges warmer. Cool white LEDs pull them towards grey-blue. The same bag of grout can look like two different products under two different bulbs.
Raking light
Raking light strikes the wall or floor at a shallow angle and exaggerates surface texture and any variation in the grout. It is common under wall lights, near windows, and along floors lit from one end. Where a finish sits under raking light, expect the grout to look lighter where it catches the light and darker in shadow.
The takeaway is to test the grout colour under the lighting the finished room will actually use, at the time of day that matters, before committing across the whole area. A sample board of the real tile and real grout, viewed on site, beats any chart.
How do staining and ageing affect grout colours over time?
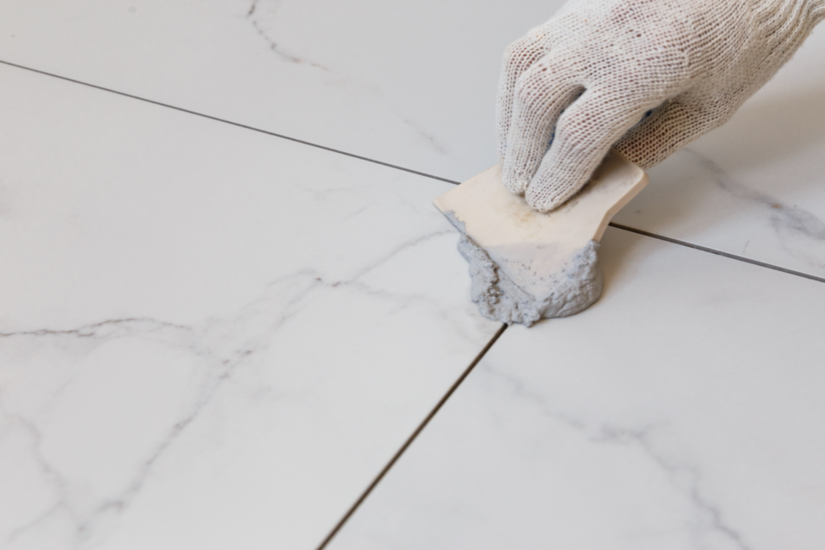
Staining and ageing shift grout colours after installation, and the direction of that shift depends on the grout type and where it is used. Cementitious grout is porous, so it absorbs water, grease, dirt and cleaning residues over time. Light colours in kitchens, wet rooms and heavy-traffic floors discolour first, which is why a crisp finish at handover can grey off within months if it is not sealed or specified correctly.
Grout is classified under BS EN 13888-1:2022, which splits products into cementitious grouts (CG) and reaction resin, or epoxy, grouts (RG). Cementitious grouts are graded CG1 (normal) and CG2 (improved), with the improved class giving better abrasion resistance and lower water absorption. For prolonged moisture, thermal shock or intense traffic, a CG2 grout is the sensible call. Epoxy grout resists staining and harsh chemicals far better than cement, which is why it is favoured in commercial kitchens, food-preparation areas and swimming pools, where cementitious grout can soften over time from chlorine exposure.
Whatever the environment, grout class selection always defers to the manufacturer’s datasheet and the project specification. The class codes tell you the minimum performance, not the right product for every job.
Efflorescence is the other ageing effect to watch. It shows as a white bloom on the surface of cementitious grout and is driven by soluble salts moving with moisture through the joint, so it is more about site and moisture conditions than mixing alone. Sound mixing, full curing and correct grout selection reduce the risk but do not remove it entirely. For any wet installation, allow the manufacturer’s stated cure time before use. The Tile Association advises a minimum of 14 days before a newly tiled shower is put into service, in line with the BS 5385 series.
What causes grout colour batch variation, and how do you prevent it?
Batch variation is a difference in the finished colour of the same nominal grout, caused by pigment variation between manufacturing batches and by inconsistent site practice. It is one of the most avoidable defects on site, yet it drives a large share of colour complaints. Two things cause it: the product and the mixing.
On the product side:
- Check batch numbers on every bag before you start.
- Order enough from a single batch to complete the whole area where you can.
- If you must span batches, dry-blend the powder from different bags together before adding water, so any variation is spread evenly rather than landing in one section.
On the site side:
- Use a fixed, measured water ratio for every mix. Extra water in one mix changes the cured shade. Never judge it by eye.
- Clean off at one consistent time across the whole area. Early cleaning pulls pigment and fines to the surface and leaves patches.
Get those habits right and most batch-variation complaints disappear before they start.
On-site checklist for consistent grout colours
- Confirm the grout colour against the real tile, on site, under the finished lighting.
- Check and record batch numbers; order from one batch where the area allows.
- Dry-blend across batches before wetting if more than one batch is unavoidable.
- Use a measured, fixed water ratio for every single mix.
- Clean off at the manufacturer's stated time, consistently across the whole area.
- Match grout class to the environment: CG2 or epoxy for wet, heavy-duty or chemical exposure.
- Respect the BS 5385 series minimum joint widths and cure times.
Working safely with cement-based grout
Cement-based grout is a hazardous substance under the Control of Substances Hazardous to Health (COSHH) Regulations, and it must be treated as one on site. This is a legal duty, not a suggestion.
Wet cement is highly alkaline. If it is trapped against the skin, a serious burn or ulcer can develop, and in extreme cases these need a skin graft. Cement can also cause chemical burns to the eyes, and the hexavalent chromium in cement can cause allergic contact dermatitis through sensitisation. The dry powder is a respiratory irritant.
Sensible controls for anyone mixing or applying grout:
- Wear suitable waterproof gloves and eye protection when mixing and grouting.
- Keep wet grout off bare skin, and wash any contact off promptly with clean water.
- Control dust when handling powder, and follow the product safety data sheet.
- Check the COSHH assessment for the product before you start.
None of this slows a competent fixer down, and it keeps a routine material from causing a lasting injury.
Consistent grout colour comes from checking batches, measuring every mix, controlling cleaning water, and following the product instructions. TradeFox helps learners practise essential tiling steps and safety procedures at their own pace before applying them on site.
Choosing grout colours for the job in front of you
The right grout colours are the ones chosen for the specific tile, the specific lighting and the specific use of the room, then installed with disciplined, repeatable mixing. Contrast decides how forgiving the finish is. Lighting decides how the colour actually reads. Staining and ageing decide how long it holds. Batch control decides whether the whole area matches. Each of these ties back to a workmanship standard or a product classification that a professional finish depends on, not to taste alone.

Get the specification right before you mix
Before ordering grout, match the colour and grout class to the tile, the lighting and the use of the space, then confirm batch and joint-width requirements against the relevant British Standard. A few minutes on specification saves a full day of remedial work when a finish gets rejected. For the governing standards, consult the BS 5385 series for tiling design and installation and BS EN 13888-1:2022 for grout classification, use The Tile Association’s technical resources for current UK trade guidance, and follow HSE COSHH guidance for safe handling of cement-based products.