

Lippage is the defect most likely to get a tiled floor rejected at snagging. It is the vertical height difference between the edges of two adjacent tiles, and on large format porcelain it is unforgiving. A 1mm step across a 1200mm plank catches the light, catches the eye, and catches the client’s attention long before anything else about the job does.
A tile levelling system exists to control that variable during the setting window, while the adhesive is still workable and the tile can still be persuaded. This article covers how clip and wedge systems work, where they help, where they cannot rescue poor practice, and how they sit alongside the relevant British Standards.
What Lippage Is and Why Large Format Makes It Worse
Lippage has two sources.
The substrate. Any deviation in the background transfers through the adhesive bed straight to the tile face.
The tile itself. Pressed porcelain of 600mm or more frequently carries a slight convex crown along its length, a consequence of the firing process. Manufacturers work within tolerances defined by BS EN 14411, but a permitted deviation on a 300mm tile becomes a visible one when scaled to 1200mm.
Put two crowned tiles side by side and the centre of one meets the edge of the other at a different plane. This is why offset patterns matter so much on long tiles.
The Offset Question
The widely applied rule is a maximum 33% offset on any tile with a side over 15in nominal. This comes from ANSI A108.02, clause 4.3.8.2, an American standard rather than a British one. It states the offset shall be a maximum of 33% unless the tile manufacturer specifies otherwise, and that if a greater offset is specified, the specifier and owner must approve the mock-up and accept the lippage.
Be precise about the status. ANSI does not bind you in the UK. What does bind you is the tile manufacturer’s fixing instruction, and most large format manufacturers now specify one third or less for exactly the same reason ANSI does. The geometry is not a matter of national opinion:
- At 50% offset, the crown of one tile lands against the low edge of its neighbour
- At 33% or less, each joint falls over the flatter middle of the tile below
- No tile levelling system will rescue a 50% offset on a 1200mm plank
Check the manufacturer’s instructions first, every time. If a specifier insists on a larger offset, get a mock-up signed off before you set a single tile.
The Principle Worth Holding
Levelling clips manage differential movement between adjacent tiles while the adhesive cures. They do not flatten a bad floor and they do not remove warpage from the tile.
Substrate Tolerance Comes First
Before any discussion of clips, the background must be within tolerance.
Industry guidance based on BS 5385-3 sets the flatness benchmark for floors at a maximum 3mm gap under a 2m straightedge. Some manufacturer specifications for tiles over 600mm tighten this further, so check the tile data sheet against the floor you have.
If the substrate is outside that, the correct response is a levelling compound. Not more adhesive, and not more clips. Burying a hollow in a thick adhesive bed introduces differential shrinkage, extended cure times and a real risk of debonding under load. A tile levelling system used to force a tile down into a deep bed simply transfers stress into the adhesive as it cures.
Screed Preparation
Priming is part of this, and calcium sulphate deserves specific attention.
Anhydrite and calcium sulphate screeds must be tested for residual moisture and mechanically prepared, with laitance removed, before a compound goes down. Cement based adhesives react with calcium sulphate in the presence of moisture, forming ettringite, which expands and causes failure at the interface. Follow the adhesive manufacturer’s primer specification for the screed type in front of you.
How Clip and Wedge Systems Work
The mechanism is straightforward.
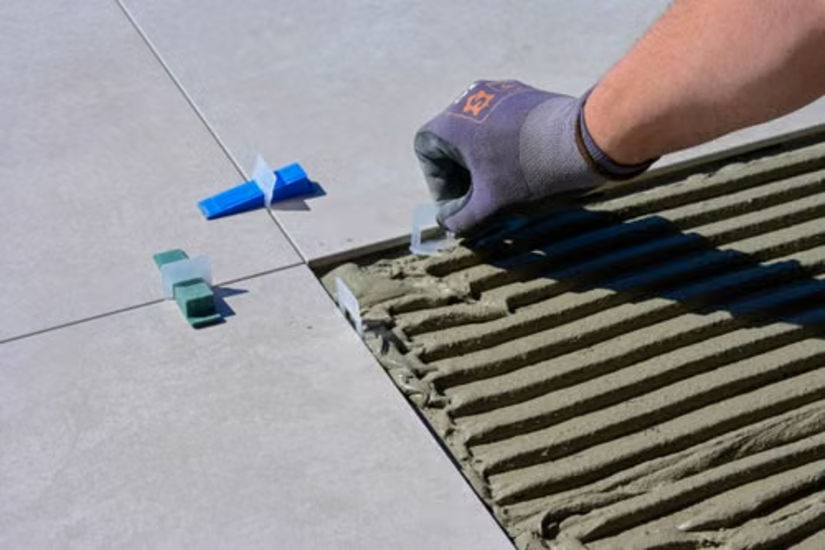
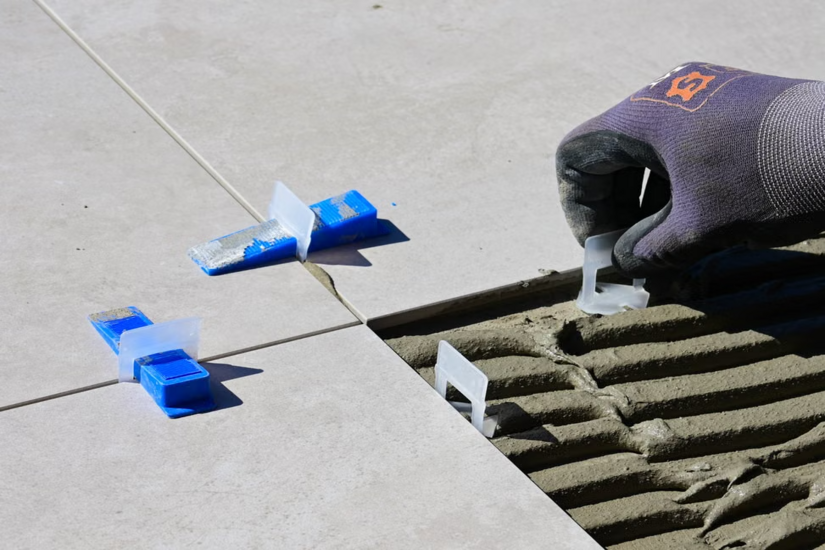
A clip has a flat base plate that sits under the tile in the adhesive bed, a vertical stem passing up through the joint between two tiles, and a break point at the level of the tile surface. A wedge is driven horizontally through a slot in the stem. As it advances, it bears down on the top surface of both adjacent tiles.
That downward force does two things:
- Pulls the higher tile down toward the plane of the lower one
- Holds both tiles in position while the adhesive develops early strength
The clip base underneath resists the tile lifting. The result is a locked plane across the joint for the duration of the cure. Once the adhesive has set, the stem snaps off at the break point below the tile surface. The wedge is recovered and reused. The base plate stays buried permanently.
Types of System
Wedge type: Clip and reusable wedge. Low consumable cost, fast to install, needs a rubber mallet or dedicated tensioning pliers.
Cap and screw type: Threaded stem with a reusable cap, tightened by hand or drill. More controlled and repeatable pressure, higher unit cost, slower to run.
All in one: Clip and wedge combined in a single moulded unit. Fastest to place, entirely consumable.
For a tiler working commercially at volume, wedge systems generally win on cost per square metre. Screw cap systems earn their place on very large or very heavy tiles where controlled, incremental pressure matters.
Correct Application On Site
Clip Spacing
Follow the system manufacturer’s spacing guidance for the tile size and weight in hand. As a general working approach, clips are placed at regular centres along each joint with one near each corner. Corners are where warpage expresses itself most and where lippage shows first.
Adhesive Coverage
Coverage is not optional. Industry guidance based on BS 5385-3 sets minimum contact coverage by service condition, commonly cited as:
- 65% minimum for domestic floors
- 80% minimum for commercial floors
- 95% minimum for swimming pools and wet areas
Voids at corners and edges are not acceptable at any of those levels. For large format porcelain, back buttering the tile in addition to notching the bed is standard practice to reach the required figure. Where a project specification or manufacturer instruction demands solid bed fixing, that takes precedence over the minimum.
A tile levelling system will not compensate for a void. The clip pulls the tile down, the unsupported area cracks later under point load.
Trowel and Technique
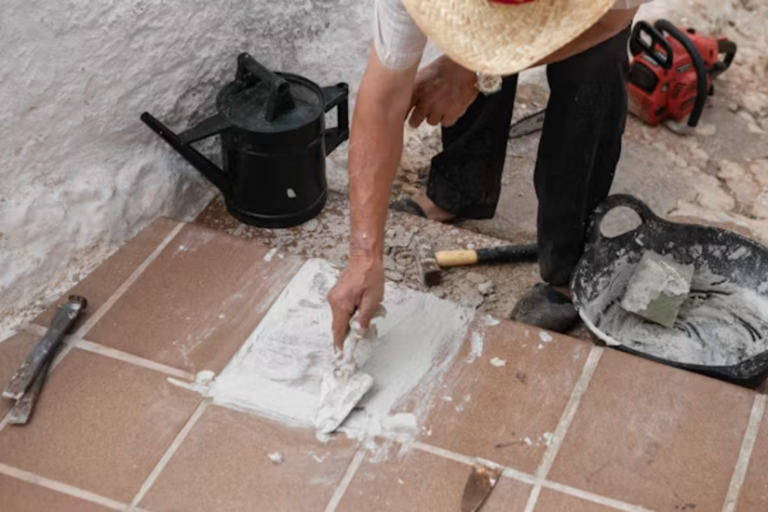
Use a notch sized to deliver the required coverage for the tile, comb in one direction, and bed the tile across the ribs to collapse them and expel air. Confirm the notch size against the adhesive manufacturer’s data for the tile format you are fixing.
Work Within Open Time
Once skinning has begun, clips will not move the tile. They will simply break the green bond. Check open time on the manufacturer’s data sheet, adjust for site temperature, and mix in workable batches.
Do Not Overtighten
Excessive wedge pressure can bow a thin tile, crack a brittle one, and squeeze adhesive out of the bed leaving a starved joint. Firm, not violent.
Joint Width
Clips are manufactured to defined joint widths, commonly 1mm, 1.5mm, 2mm and 3mm. Minimum joint widths under current BS 5385 guidance are banded by tile size rather than fixed at a single figure. Widely cited bands are:
- Facial area under 0.1m² with no side over 600mm: 2mm minimum
- Facial area 0.1m² to 1m², up to 1200mm: 3mm minimum
- Extra large tiles and panels: joint increases relative to size, with a 3m panel typically requiring around 5mm
Confirm the figure for your tile size against the current standard or TTA technical guidance before selecting clip width.
This is not a stylistic preference. Joints accommodate dimensional tolerance and thermal and moisture movement. A 1mm joint on a 1200mm plank over underfloor heating is a defect waiting to appear. Selecting a clip width below the minimum for your tile size builds a fault into the floor at the first decision.
Movement joints are a separate requirement, needed at bay perimeters, at changes in substrate, at door thresholds and over structural joints. BS 5385-3:2015 is cited across manufacturer specifications as recommending intermediate movement joints in larger areas at 8m to 10m intervals.
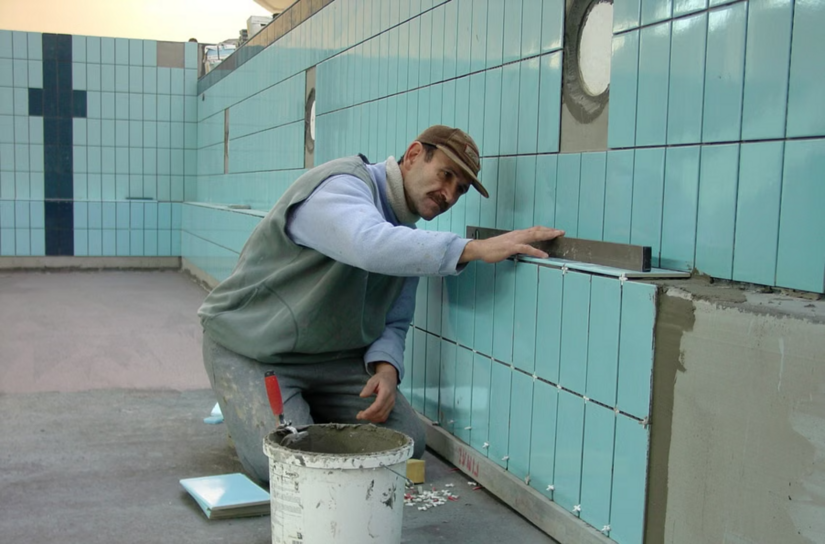
Safety On Site
Eye Protection at the Snap
The snapping stage produces sharp plastic fragments that travel. Eye protection is required, and it is a real hazard rather than a box ticking exercise. Snap the stem parallel to the joint, not across it, or the break can occur above the tile surface and take a chip of glaze with it.
Silica Dust
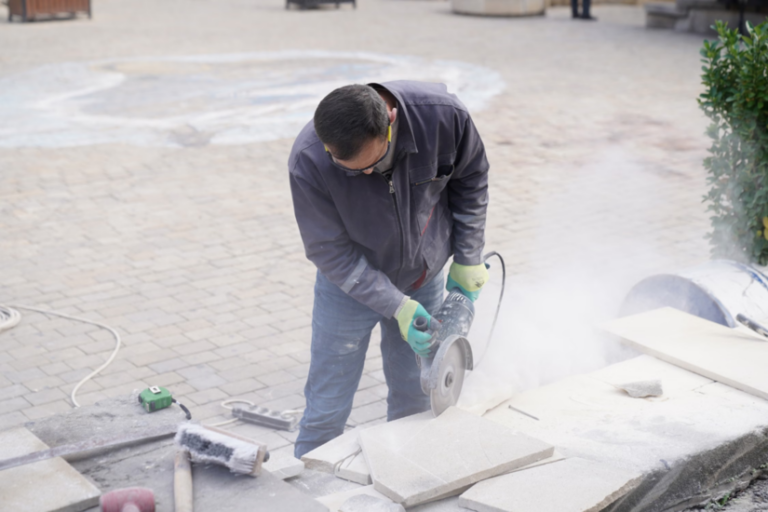
Cutting large format porcelain generates respirable crystalline silica. The Control of Substances Hazardous to Health Regulations 2002 apply.
The workplace exposure limit in HSE’s EH40/2005 is 0.1 mg/m³ as an 8-hour time weighted average. Two points matter more than the number:
- RCS is classified as carcinogenic. Under COSHH, exposure to carcinogens must be controlled to as low as is reasonably practicable, not merely held under the limit.
- A WEL is a maximum, not a safe level. Sitting just underneath it is not the target.
Water suppression on the cutter, on tap and running, is the primary control. Dry cutting indoors without extraction and suitable RPE is not defensible.
Manual Handling and Posture
A 600 x 1200mm porcelain tile at 10mm thickness is heavy enough to warrant suction lifters and a second pair of hands. Kneeling work over long tiling runs carries a real musculoskeletal cost across a career. Proper knee pads and task rotation are worth the discipline.
Learners who want to practise tiling methods before working on site can use TradeFox guided simulations. The tiling training can be repeated at a comfortable pace, helping users follow each stage carefully and build safer working habits.
Where the System Cannot Help
A tile levelling system will not:
- Correct an out of tolerance substrate
- Remove warpage from the tile
- Fix a bond made outside open time
- Survive a 50% offset on a 1200mm tile
- Make up for coverage below the minimum for the service condition
It is a finishing control applied to work that is already correct. Used that way, on large format porcelain, it is the difference between a floor that reads as one plane and a floor that reads as a collection of tiles.