Learning to strip PVC cable is one of the first things an electrician learns how to do. This step can be done effectively and quickly through the use of an automatic wire stripper, which can be activated with a hand squeeze and will consistently cut the outer sheath and inner insulation.
This guide will take you through using an automatic wire stripper to strip the cable sheath, the conductor insulation, and attaching an earth sleeve to the bare earth wire.
To start, gather all tools and divide the process into smaller steps to make it easier.
Tools Needed For Wire Stripping
Here’s what you’ll need and how each item helps:
- Automatic Wire Stripper:
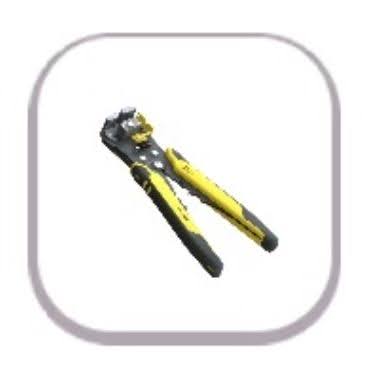
This is the lead tool, with adjustable jaws and a tightening screw that cuts and removes sheathing or insulation in one go. Get one rated for 2.5mm Twin and Earth cable to avoid straining it. The spring-loaded handles and ergonomic grip make repetitive tasks less tiring, a bonus for bigger jobs.
- Pliers:
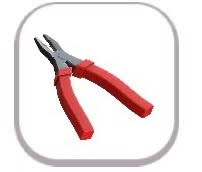
Pliers are for gripping and pulling with control. You’ll use them to tear the sheath along the earth wire, to reveal the inner cables cleanly.
- 2.5mm Twin and Earth PVC Cable:
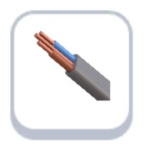
The star of the show, this cable has two insulated wires (live and neutral) and an uninsulated earth wire, all wrapped in a tough PVC sheath. It’s suitable for most domestic wiring needs, balancing flexibility with protection, which makes it perfect for this guide.
- Earth Sleeve:

This green-and-yellow PVC sleeving insulates the bare earth wire and marks it for safety compliance. The diameter that fits snugly over the 1.5mm earth conductor—too loose and it will slip off; too tight and it’s a struggle to apply. It’s sold in rolls so you can cut custom lengths as needed.
- Measuring Tape or Ruler:
Accuracy matters and a measuring tape or ruler keeps your marks spot-on at lengths like 150mm or 50mm. A compact, retractable tape fits in your hand and gives you quick measurements without slowing you down.
SAFETY CHECK:
- Are You Wearing Protective Glasses?

Equip protective glasses before starting work to make sure your eyes are protected from any flying pieces of copper.
- Are You Wearing Protective Gloves?

Equip a good pair of gloves before starting work to make sure your hands are protected from nicks or cuts. Wires can be sharp!
- Have You Conducted Safe isolation?:
If you’re working on an existing installation, conduct safe isolation at the circuit breaker or fuse box. Use a non-contact voltage tester and test before you touch to confirm the cable is de-energized. Stripping live wires is extremely dangerous and should never be attempted.
Now that you’re ready, you can start stripping PVC cable.
Detailed Steps On Using An Automatic Wire Stripper For PVC Cable
The process is broken down into 5 stages: make 2 cuts on the sheath, rip the sheath open with the earth wire, strip the insulation from the inner wires, and fit the earth sleeve. These stages flow logically from raw cable to cable ready for termination.
We will go through each stage in detail, breaking it down into microsteps.
1 - Make The First Cut On The Sheath
This first cut starts the stripping by opening the PVC sheath, giving you a view of the wires inside. Focus on each step in chronological order to set it up right.
1.1 - Take the 2.5mm Twin And Earth PVC Cable
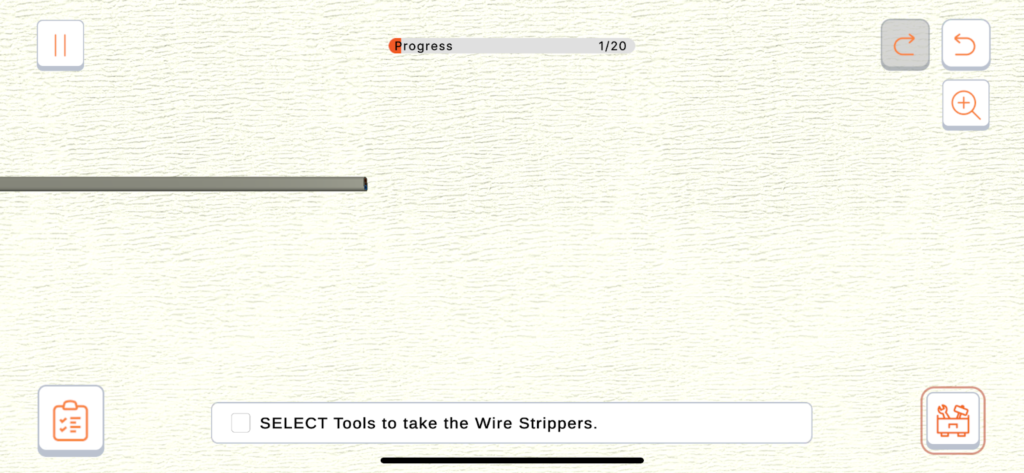
Pick up the 2.5mm Twin and Earth PVC cable, double check it’s the right one for your project. 2.5mm is frequently used for power circuits such as socket outlets. Run your hand along the length to feel for smoothness and flexibility. Any cracks or stiff spots could indicate damage that could compromise the cable’s integrity, which could cause issues during installation or use. Hold it firm in one hand, position it for the wire stripper with a good grip.
1.2 - Take Your Wire Stripper
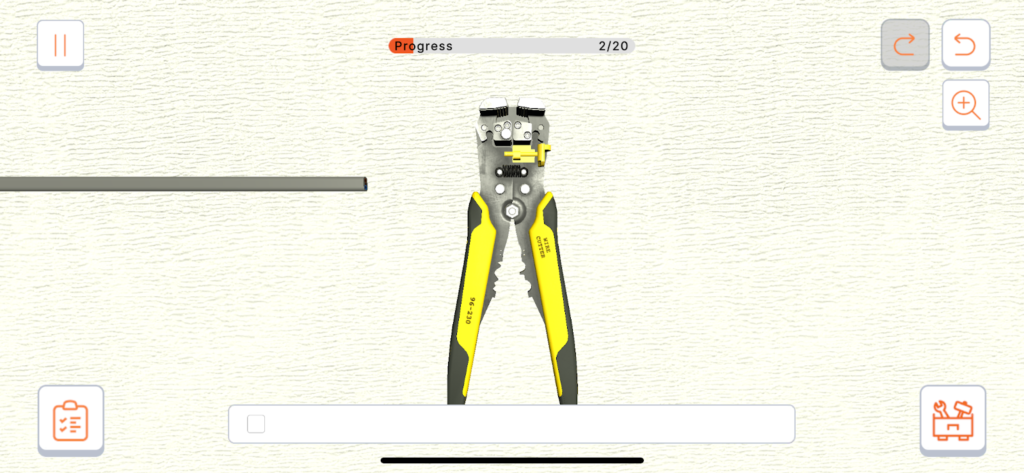
Take your automatic wire stripper out of your tool bag. Check it’s rated for 2.5mm cables—check the label or manual if you’re not sure—to avoid uneven cuts or slipping. Take a second to look at the parts: the jaws that bite into the sheath, the screw that sets the depth, and the handles that do the work. Getting to know these bits builds confidence for what’s to come.
1.3 - Pull The Cable Into The Wire Stripper Jaws

Slide the cable into the wire stripper’s open jaws. Position it so the outer sheath is fully inside the cutting zone and the cable end pokes out just past the blades. Keep it straight and centred—a crooked angle will give you an uneven cut with jagged edges or damage the wires inside.
1.4 - Measure 150mm
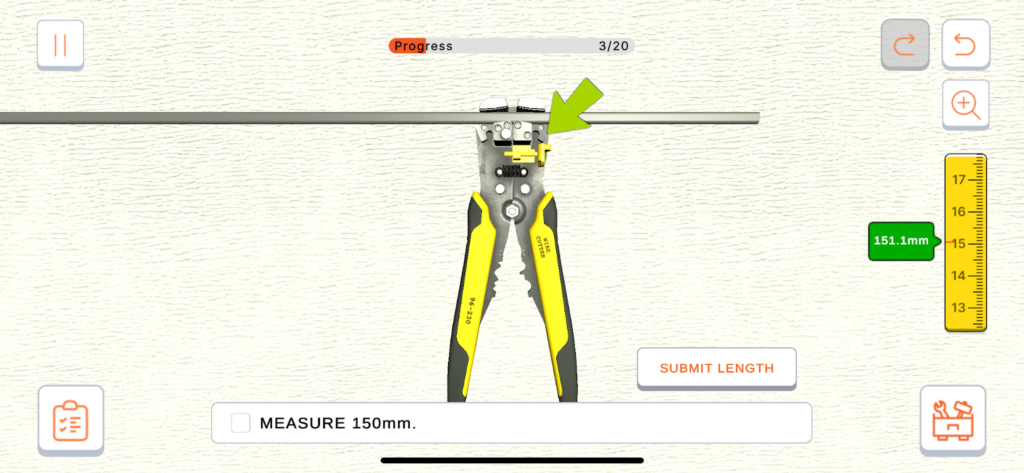
Get your tape or ruler and measure along the cable from the end. Mark 150mm with your finger or a light pencil line if you need a visual cue. This length allows enough cable for a socket outlet but not too much to handle.
1.5 - Turn The Tightening Screw Fully Clockwise

Find the screw near the jaws. It’s usually a small knob or dial you can turn by hand. Turn it fully clockwise. This sets the grip to cut both the sheath and insulation.
1.6 - Squeeze The Handles To Strip The Sheath
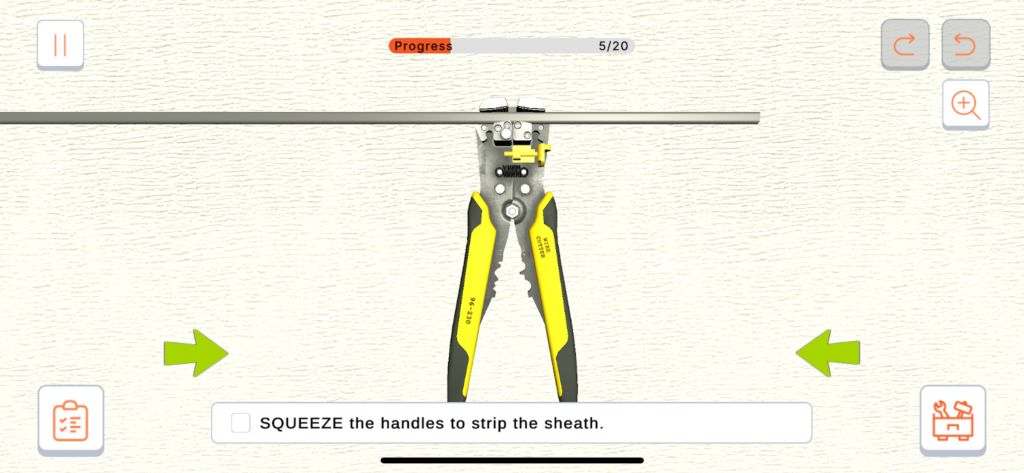
Put your hand around the handles and squeeze them together in one firm motion. The jaws close, cut the sheath and pull it off as you release the pressure. Check the cable and you should see a little cut in the sheath exposing three wires: brown live, blue neutral and bare earth.
2 - Make The Second Cut On The Sheath
The second cut is to give you enough space to rip the earth wire with the pliers. trims the exposed section, refining it for easier handling as you move into the next steps. Precision here keeps the process smooth. The reason two cuts are made is that the sheath sticks to the insulation and is hard to rip off.
2.1 - Measure 50mm
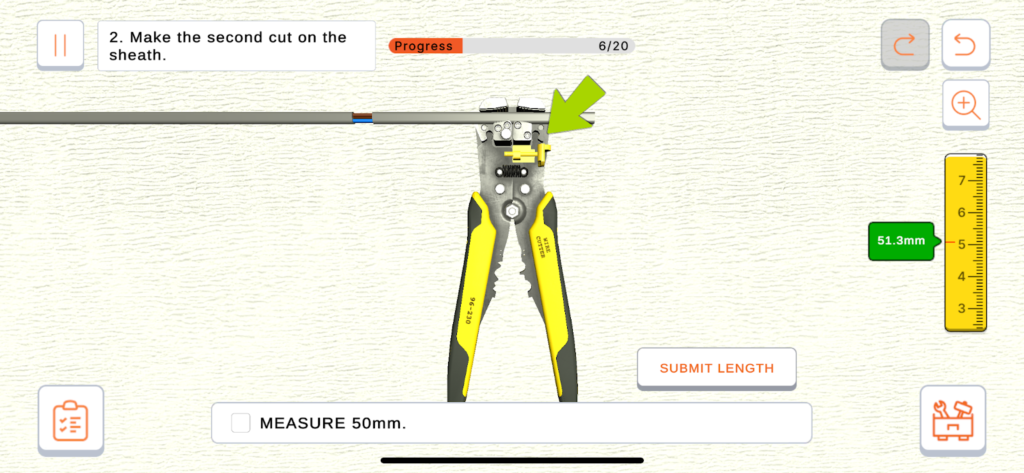
Measure 50mm along the remaining sheath from the cable’s end with your tape or ruler. Mark this spot clearly.
2.2 - Squeeze The Handles To Strip The Sheath
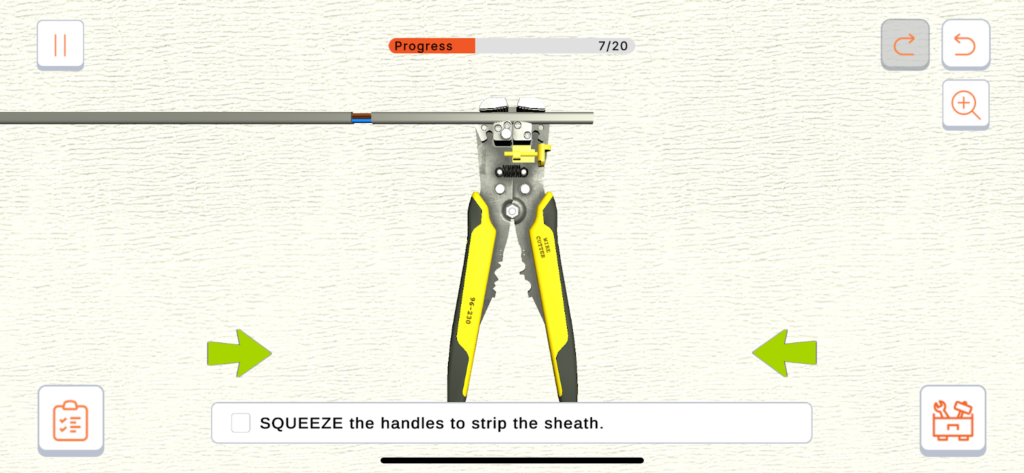
Slide the cable back into the wire stripper jaws, aligning the 50mm mark with the cutting area. Squeeze the handles again, applying even pressure to cut and remove the sheath in one go. Pull the cable out and check. There are now two cuts on the cable, one at 50mm and one at 150mm.
3 - Rip The Sheath With Bare Earth Wire
Using the earth wire to rip the sheath opens it thoroughly, giving you unobstructed access to the inner conductors. This step blends technique with a bit of finesse.
3.1 - Take The Pliers
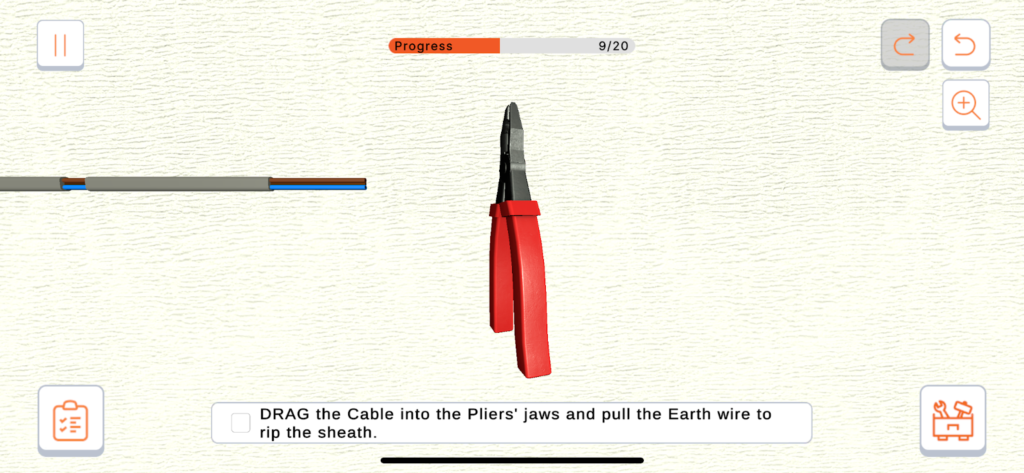
Pick up your pliers, ensuring they’re ready for action. Look for a pair with a solid grip. Clean them off if they’ve gathered dust or grease.
3.2 - Drag The Cable Into The Plier Jaws And Pull The Earth Wire To Rip The Sheath
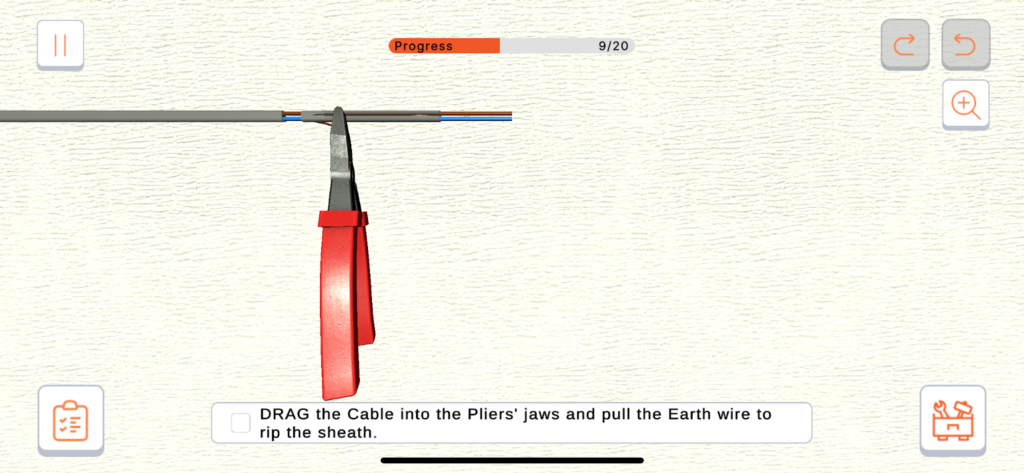
Hold the cable steady with one hand and clamp the pliers onto the bare earth wire. Grip it near the sheath’s edge, then pull smoothly toward the cable’s end. The earth wire acts like a guide, splitting the PVC along its length and peeling it back like a cheese wire. Keep the motion controlled, leaving you with a fully opened section ready for stripping.
4 - Strip The Insulation On The Wires
With the sheath out, stripping the insulation from the live and neutral wires preps them for connection.
4.1 - Take The Wire Strippers
Grab the automatic wire stripper again – it’s versatile enough to strip insulation, too. Make sure the jaws are free of debris from the sheath cuts, and check that it’s still set for smaller gauges. This tool’s dual purpose saves you from juggling extra equipment, streamlining the process.
4.2 - Drag And Insert The Line Wire Into The Wire Strippers Jaw
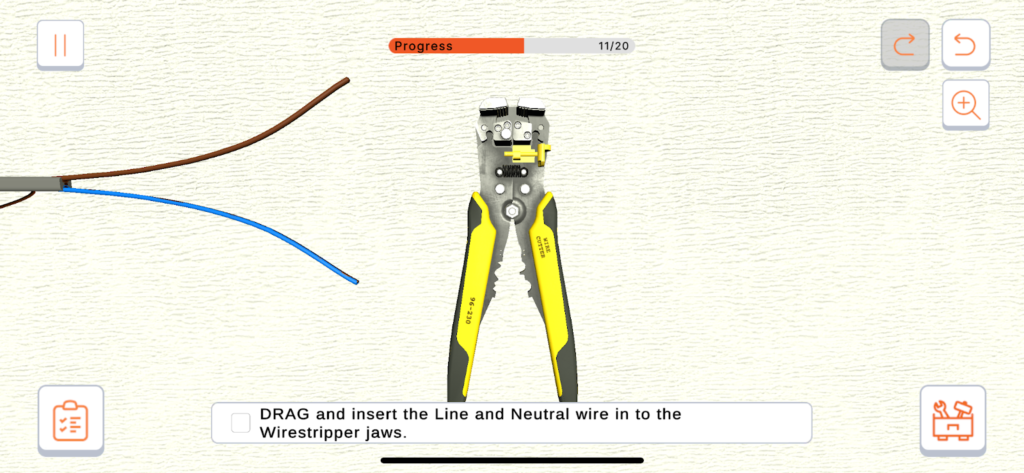
Separate the line wire – typically brown – and slide it into the wire stripper’s jaws. Position it so the insulation sits within the cutting area, with the wire’s tip sticking out slightly. Hold it firmly but gently.
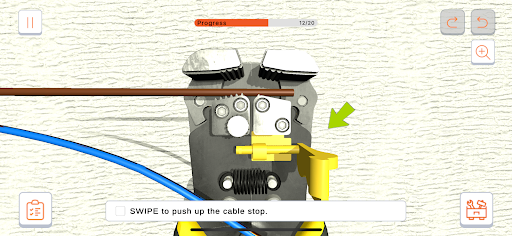
4.3 - Push Up The Cable Stop
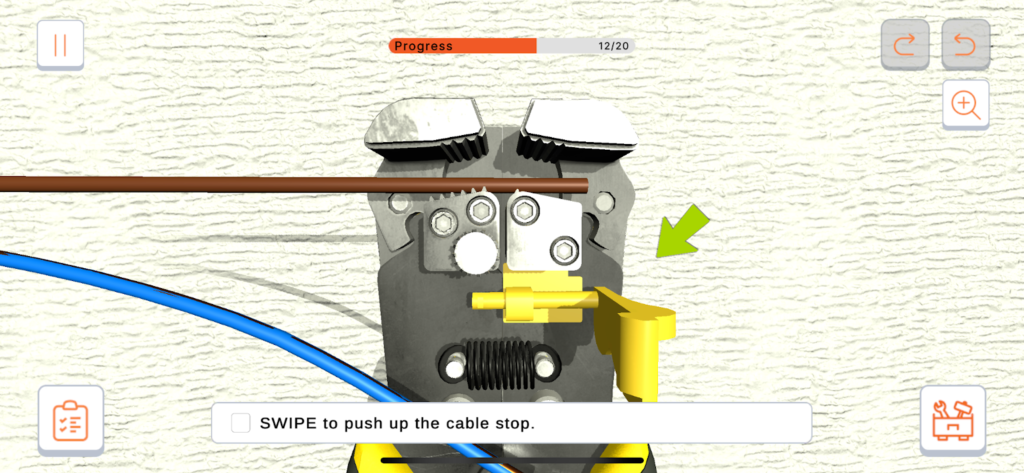
Find the cable stop on the wire stripper, a small lever or tab near the jaws. Push it up to set the stripping length, dependent on the termination. In this instance, we are going to assume the length of exposed copper needed is 25mm. This feature locks in consistency, so every strip matches without guesswork.
4.4 - Squeeze The Handle To Strip The Insulation
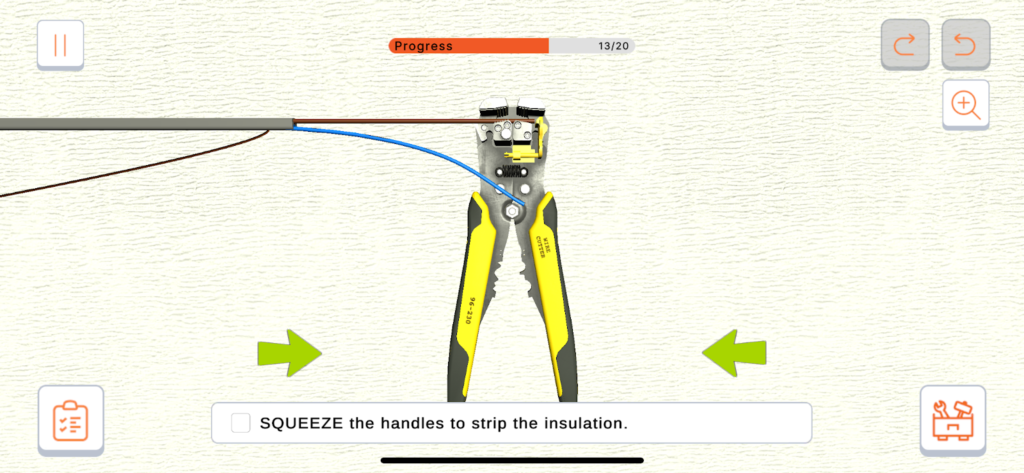
Squeeze the handles with a steady hand, letting the jaws strip through the insulation and tug it off. Release and pull the wire out. Bare copper should gleam back at you, stripped cleanly to the set length. If any insulation clings on to the wires, tweak the tightening screw slightly and try again.
4.5 - Drag And Insert The Neutral Wire Into The Wire Strippers Jaw
Take the neutral wire – typically blue – and ease it into the jaws. Line it up just like the line wire, with the insulation fully in the cutting zone and the tip poking out. Keep your grip light but secure, readying it for the same clean strip.
4.6 - Squeeze The Handles To Strip The Insulation
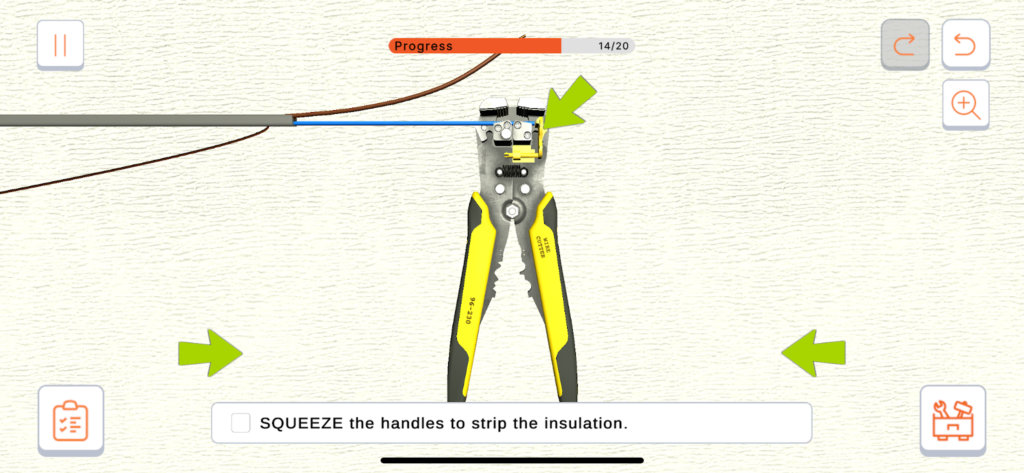
Press the handles together once more, stripping the insulation from the neutral wire in one motion. Check both wires side by side – they should show matching lengths of exposed copper, prepped for whatever connection comes next. A uniform result here reflects careful execution.
5 - Put The Earth Sleeve Over The Bare Earth Wire
Sleeving the earth wire insulates it and ensures compliance with the IET Wiring Regulations (BS 7671).
5.1 - Take The Earth Sleeve
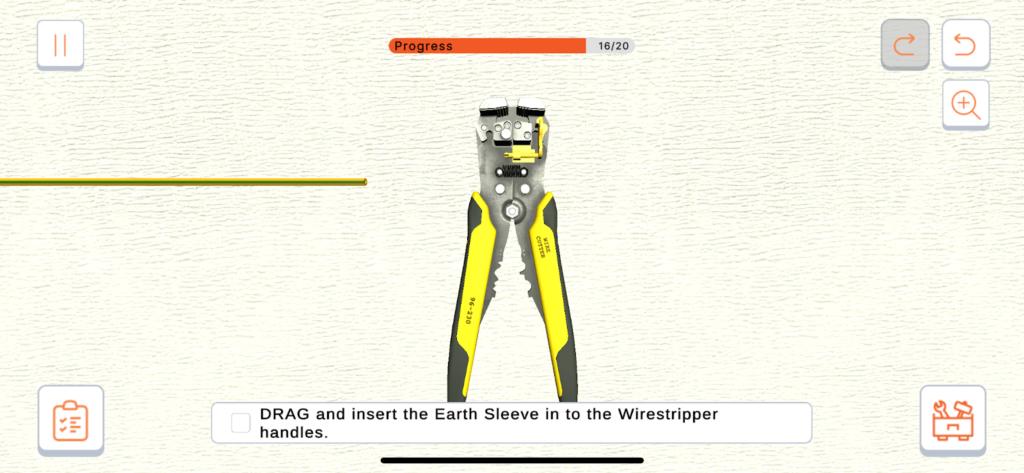
Pull out the green-and-yellow earth sleeve from your toolbox. Make sure it’s for 1.5mm earth wire (The earth wire is often smaller than the rest of the wires). Check a small piece if you’re not sure, as a tight fit matters. If it’s a roll, unroll a bit to work with, and keep it untangled.
5.2 - Drag And Insert The Earth Sleeve Into The Wire Stripper
Slip the sleeve above the to the wire stripper handles to cut it down. Position it so the cutting area lines up with your measurement, and hold steady. This will shape the sleeve into a usable piece for the earth wire length.
5.3 - Measure 135mm

Stretch your measuring tape along the sleeve, marking 135mm from its end. This length fully covers the exposed earth wire, leaving 25mm of exposed copper. Mark it with a light touch, keeping the sleeve flat for an accurate cut.
5.4 - Squeeze The Wirestripper Handles To Cut The Earth Sleeve
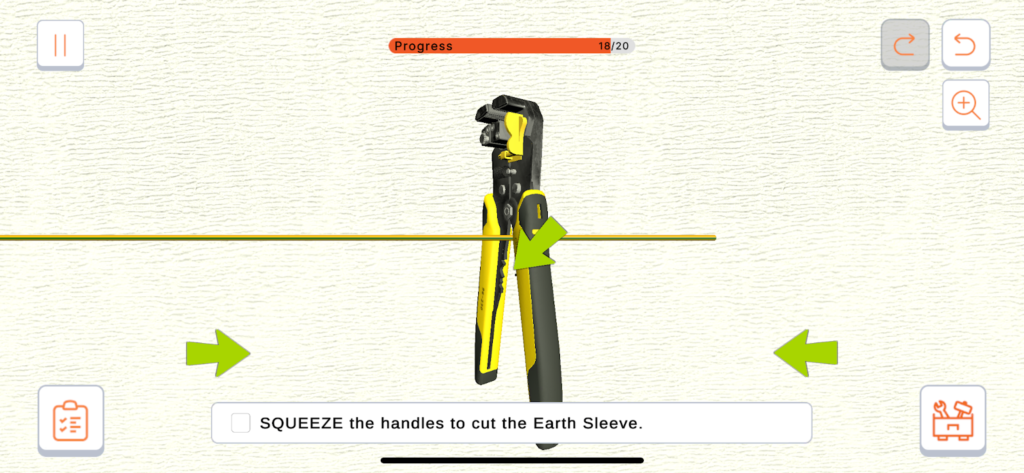
Squeeze the wirestripper handles to slice the sleeve at the 135mm mark. The jaws cut through the earth, leaving a crisp edge. Hold onto the trimmed piece – it’s now the exact size needed to finish the job.
5.5 - Drag And Insert The Earth Sleeve Onto The Exposed Earth Wire

Slide the cut earth sleeve over the bare earth wire, starting at the tip. Push it down gently until it spans the exposed section, overlapping the sheath slightly for a tight seal. The green-and-yellow stripes now signal a safe, compliant earth conductor, completing the cable preparation.

