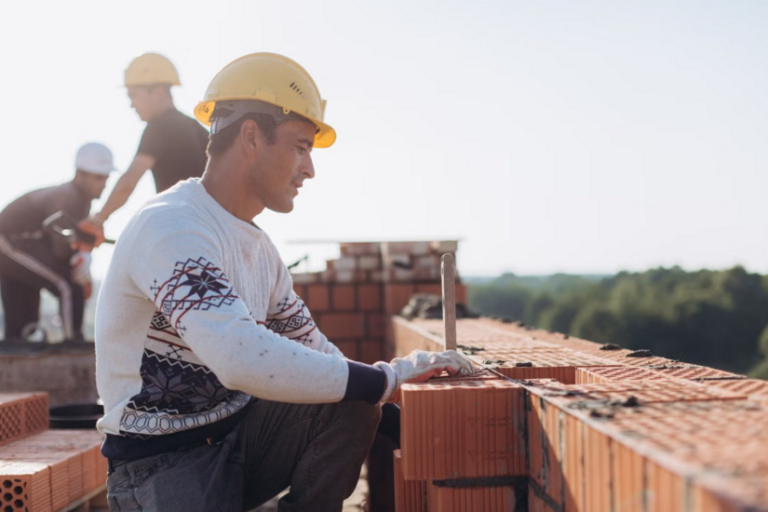
Bricklaying is one of those skills that’s as satisfying as it is practical. Whether you’re building a garden wall, repairing a patio, or planning a bigger DIY bricklaying project, knowing how to lay bricks correctly will save you money and give you a huge sense of achievement. Plus, once you’ve got the basics down, you can keep building on, literally.
The beauty of working with bricks is their durability and the sense of permanence they bring to any project.
But as straightforward as bricklaying may seem, it requires precision, patience, and a bit of know-how. That’s what this guide is here to offer: clear, hands-on advice to get you started with confidence.
So if you’re ready to roll up your sleeves and start a bricklaying project of your own, this comprehensive guide will walk you through the tools, techniques, and tips you’ll need to get it right.
Tools And Materials You’ll Need
Before you start, make sure you have the right tools for bricklaying and materials. Bricklaying doesn’t require fancy equipment, but each tool plays a vital role in getting clean, level, and secure results.
Essential Tools For Bricklaying
- Trowel: For scooping and spreading mortar.
- Spirit Level: To keep everything level.
- Brick Hammer: To cut and shape bricks when needed.
- Line and Pins or Mason’s Line: To keep your rows straight.
- Jointing Tool (Jointer): To shape the mortar joints for a clean finish.
- Wheelbarrow and Mortar Board: For mixing and carrying mortar.
Materials
- Bricks: Choose for your project. Clay bricks are common for walls, and concrete bricks are for heavy-duty jobs.
- Mortar: You can buy premixed mortar or mix your own using cement, sand, and water.
- Water: For mixing mortar and cleaning tools.
Safety Equipment
Tip: Look for quality tools that have a good grip and balance. They don’t have to be the most expensive, just durable and reliable.
- Gloves to protect your hands
- Goggles for eye protection:To protect your eyes from caustic mortar splashes and flying brick chips.
- FFP3 (or N95/P100) respirator mask
- Waterproof, alkali-resistant gloves: Standard cloth or leather gloves absorb wet mortar. Wet cement is highly alkaline and can cause severe, irreversible chemical burns if it sits against your skin.
- Long sleeves and trousers: To prevent mortar splashes from landing on your bare arms and legs.
Preparing The Worksite
Just like painting or woodworking, preparation is key in bricklaying. A solid, well-measured foundation will ensure your bricks stay aligned and your structure will last for years to come. First, clear the area where you’ll be laying bricks.
Remove grass, debris, and anything that will interfere with a level surface. If you’re building a wall or raised bed, you will need to dig a shallow trench to pour a concrete footing.
⚠️ Call Before You Dig: Before putting a spade into the ground, always use a cable avoidance tool (CAT scanner) or check local utility plans to ensure you aren’t going to strike buried electrical cables, gas lines, or pressurized water pipes.
This concrete footing will be a stable base and prevent your wall from sinking or shifting over time.
Once the area is clear and the footing is set, measure and mark your layout using a chalk line or string. Use batter boards to secure your lines at the correct width and height. This will be your guide as you build up layer by layer.
Don’t rush this step, a solid foundation makes the rest of the job easier and better looking.
Mixing And Applying Mortar
Mortar is the glue that holds everything together, so getting the mix right is key. If you’re using a premixed one, follow the instructions on the packet. If you’re mixing your own, a general rule of thumb is:
1 part cement: 4 parts sand: enough water to get a thick creamy consistency
You want the mortar to be workable but not too runny. Think of it like peanut butter, it should spread easily without dripping.
Mix in small batches in a wheelbarrow or bucket with a shovel. Once it’s ready, scoop it onto a mortar board and keep it nearby as you work.
Pro Tip: Elevate your mortar board by placing it on a sturdy upturned bucket or a stack of spare blocks. Bending all the way down to the ground every time you need a trowel of mortar will quickly ruin your lower back! Also, keep your tools and board damp while working to stop the mortar from drying too quickly.
First Course
The first row of bricks is known as the first course and sets the tone for your whole structure. If it’s off, everything that comes after will be.
Start by spreading a layer of mortar onto the foundation with your trowel. Then “butter” the end of your first brick, apply mortar to the vertical edge, and press it into place. Continue laying bricks end to end, pressing each one gently but firmly into the mortar bed.
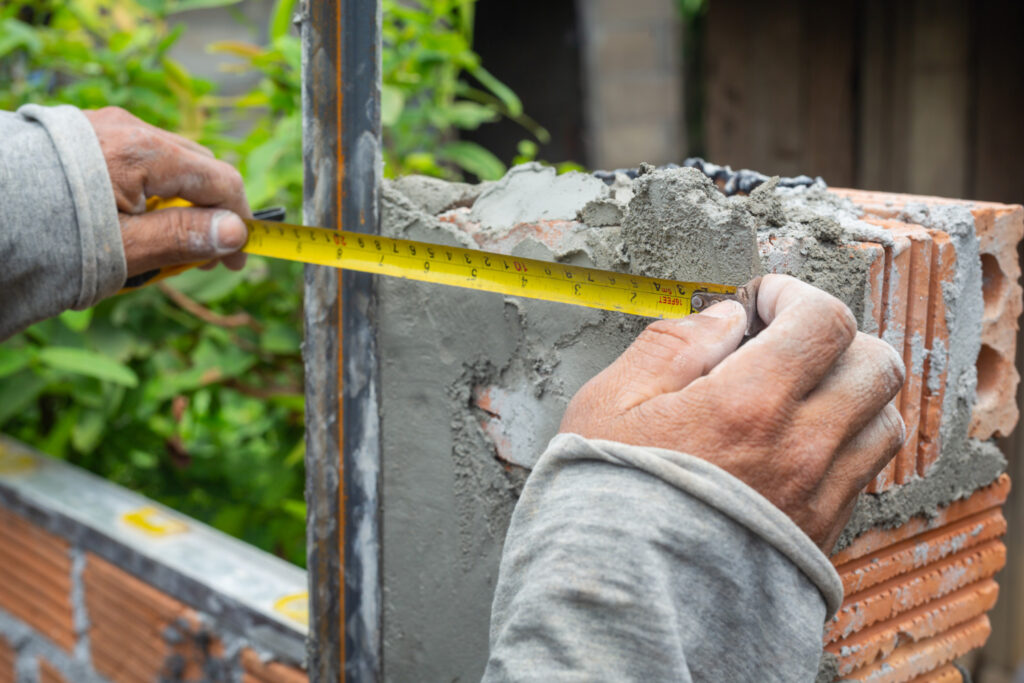
Use a spirit level to check both the top and face of each brick and adjust as needed. Place a mason’s line across the front edge of the bricks to guide your row and ensure it’s straight.
Leave a 10mm gap between bricks for the mortar joints. This spacing ensures even distribution and better stability.
Building Up
With the first course laid, it’s time to start building up. The trick here is to stagger the joints, meaning the vertical seams shouldn’t line up from one row to the next. This is called a running bond pattern and adds both strength and visual appeal.
Spread mortar on top of the first course, then start your second course with a half brick to create the stagger. Use a brick hammer or masonry saw to cut bricks when needed.
⚠️ Silica Dust Warning: If you are using a powered masonry saw, always use water suppression (wet cutting) to trap the dust before it goes airborne, and wear your FFP3 respirator. Dry-cutting clay or concrete bricks releases silica dust, which is incredibly dangerous to your lungs.
- Level: Use your spirit level on top of the bricks.
- Plumb: Use a level vertically to ensure walls are straight.
- Line: Use your mason’s string to stay aligned horizontally.
As you build, scrape off excess mortar that oozes out and clean joints as you go. Neat work now saves a lot of cleanup later.
Fun Fact:* Bricklaying follows the “Rule of Thirds”, always keep three courses in mind: the one you’re laying, the one below, and the one above.*
Finishing
Once you’ve reached your desired height, it’s time to tidy up and finish the job.
Use a jointing tool to strike the mortar joints while the mortar is still damp. This not only looks good but also protects against water penetration.
Clean off any excess mortar from the face of the bricks with a soft brush and water. Avoid using acid-based cleaners unless you know how to handle them safely.
If rain is expected, protect the wall with a tarp. Mortar takes 24 to 48 hours to cure, depending on weather conditions, so give it time to harden before applying weight or pressure.
Common Mistakes To Avoid
Even with the best intentions, beginners make a few mistakes. Here’s what to watch out for:
- Uneven mortar joints: weak spots and wobbly walls.
- Skipping the foundation: instability over time.
- Dry mortar won’t bond properly.
- Rushing the process: take your time to get each course right.
Bonus Bricklaying Tips For Beginners
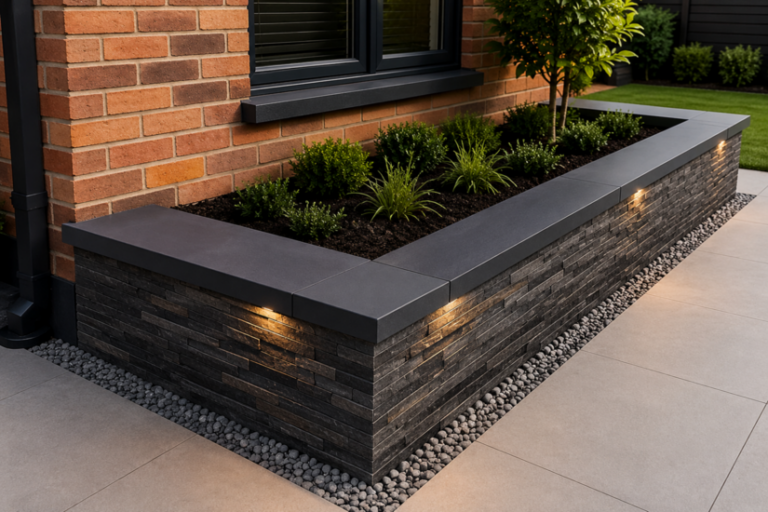
If you’re just starting, don’t jump into a big wall project. Try a small planter box, garden edging or barbecue pit first.
- Practice buttering bricks and laying straight courses on scrap wood.
- Use a corner guide to keep your walls squared off.
- Watch hands-on videos to see each step in action.
Also, if you want to learn more about construction skills and bricklaying, check out Tradefox, a platform to learn construction work digitally with safety from professionals
Conclusion
Laying bricks is more than just putting blocks in a row, it’s about building something solid, functional, and long-lasting with your own hands. With the right tools, a bit of patience, and guidance like this, you’ll be well on your way to completing your first bricklaying project.
Remember: take your time, check your levels often, and don’t be afraid to start small. You’ll be surprised how quickly you’ll gain confidence and how good it feels to stand back and admire your work.