Carpentry is one of the oldest and most hands-on trades in the world. It combines raw materials and human skill, turning plain pieces of wood into structures, furniture, and finishes that shape our daily spaces.
Whether you’re building a birdhouse or installing cabinets, every successful project starts with the right tools.
For beginners getting into carpentry, the learning curve can be exciting and overwhelming at the same time. There’s a lot to learn, from handling wood properly to selecting the tools that will help you work smarter and safer.
That’s where this guide comes in. It will walk you through the tools you need, what they’re used for, and how to grow your tool kit without wasting time or money.
Understanding The Carpentry Trade
Here are three:
- Rough Carpentry: This is building frameworks and structures. Tasks include framing walls, roofs, and decks.
- Finish Carpentry: This is the detailed work, such as installing doors, baseboards, trim, and cabinetry.
- Furniture Carpentry: Also known as woodworking, this is custom work like tables, chairs, and shelving.
Beginners start with general carpentry, which includes elements of all three. The tools in this guide support that path and will give you a solid foundation for many projects.
Besides knowing the types, it’s good to know the work environment. Carpentry happens in workshops, on construction sites, or in homes. Each environment will influence the tools you’ll reach for most often.
Measuring And Marking Tools
Here are some:
- Tape Measure: Get a 25-foot model with a strong blade that doesn’t bend easily. This tool is used to measure wood, spacing and dimensions.
- Combination Square: Marks 90-degree angles and checks your cuts. Great for trimming and joinery work.
- Speed Square:Quick tool for marking straight and angled lines. Useful for framing lumber.
- Carpenter’s Pencil: Thick lead makes visible marks and doesn’t break like regular pencils.
- Chalk Line:For snapping long straight lines across surfaces when laying out framing or plywood.
- Spirit Level: Ensures surfaces are level (horizontal) or plumb (vertical). This tool is crucial for shelves, doors, and framing.
Measure twice, cut once! When working with wood, always double-check your lines before you cut. It’s easy to adjust during marking, but not after the board is cut.
You might also find a marking gauge helpful. It makes clean and consistent marks for repeated cuts. For longer measurements, use a folding rule. It gives you a fixed length and doesn’t curl like a tape measure.
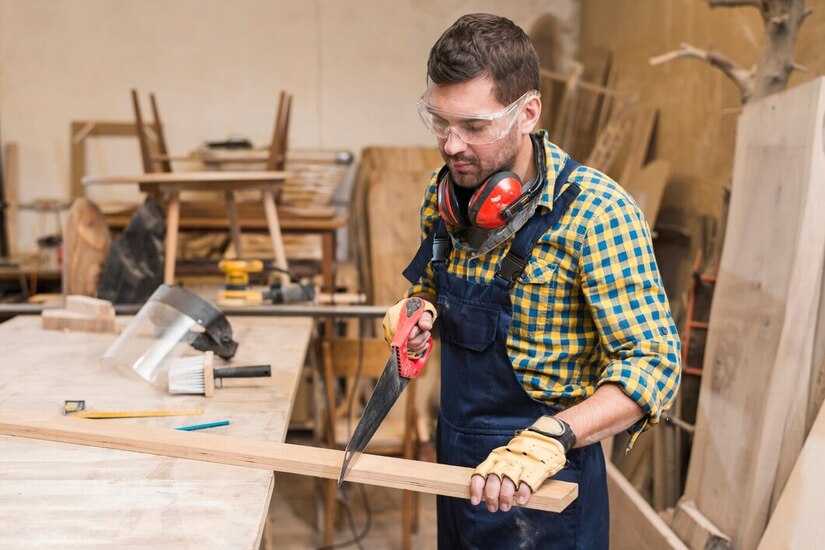
Cutting Tools
Start with these:
- Hand Saw: A traditional tool for straight cuts. Gives you control and helps you understand how wood reacts to pressure.
- Back Saw: Shorter and more precise, for fine cuts in molding or trim.
- Jigsaw: A handheld power saw with a small blade that moves up and down. For cutting curves and custom shapes.
- Circular Saw: Faster for long straight cuts. Best used on plywood and large boards.
- Miter Saw: Clean angled cuts and perfect for trim work, frames, and corners.
- Coping Saw:For tight curves and delicate trimming in corners or custom joinery.
You should also get a pull saw for delicate, precise cutting. Cuts on the pull stroke so you have more control. As you get more skilled, learning to use a bandsaw will open up options for curved and irregular cuts on thicker material.
Always match the blade to the material you’re cutting. A wrong blade will give you rough edges or burn marks, especially on hardwood.
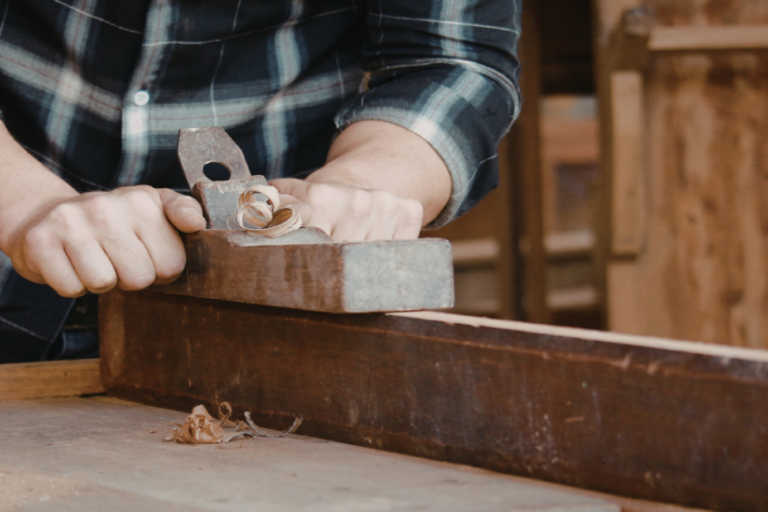
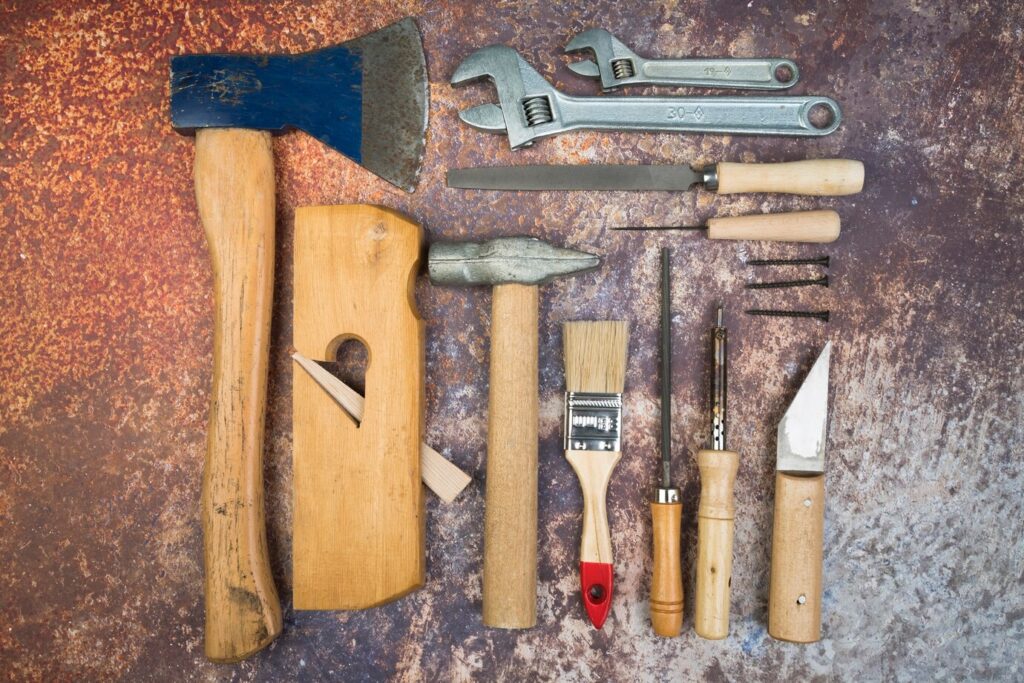
Shaping And Smoothing Tools
These Carpentry tools help with that:
- Wood Chisels: A good chisel set lets you clean up joints, shape wood, or remove small amounts of material. Keep them sharp for clean cuts.
- Block Plane: A small tool that helps shave down wood surfaces, make them flush, or reduce thickness at the edges.
- Rasps and Files: These come in different shapes and are used to manually smooth curved edges or rough areas.
- Sanding Block: Essential for surface prep. Used with sandpaper to smooth out flat surfaces and edges before finishing.
- Orbital Sander: A power tool that speeds up sanding. Gives a better finish with less effort.
You can also add a spokeshave to your toolset. It’s good for shaping rounded edges on legs, arms, and rails. For deep material removal, a surform tool is fast, especially on softwoods.
When sanding or shaping, follow the grain of the wood. Sanding or shaping against the grain can leave scratches that show through paint or stain.
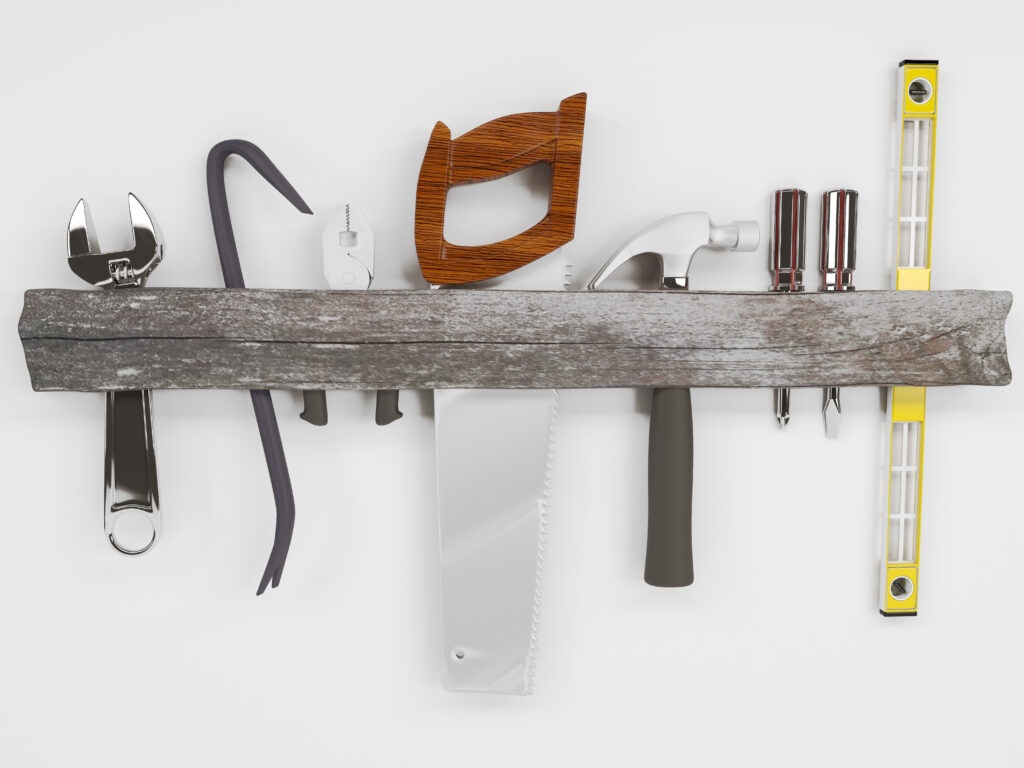
Fastening Tools
Key fasteners include:
- Claw Hammer: For driving and pulling nails. A smooth face won’t dent your wood.
- Screwdrivers: Keep both flathead and Phillips in your kit. Many parts like hinges and brackets are screw fastened.
- Power Drill / Driver: A beginner’s best friend. Drills holes and drives screws, saves your wrists and speeds up the process.
- Nail Gun: Not necessary for beginners, but great for bigger jobs or framing. Use with caution and practice first.
- Wood Glue: Bonds wood pieces together for added strength. Use clamps to hold glued parts together until they dry.
- Clamps: Come in many types and sizes. Bar clamps and spring clamps hold pieces steady while you drill, glue, or cut.
Also, consider a brad nailer for smaller trim work or a corner clamp for assembling boxes and frames. These tools free up your hands.
Good fastening makes strong, clean joints. Combining mechanical fasteners like screws with adhesives makes for reliable results.
Safety Gear
Here’s what every beginner should have:
- Safety Glasses: These protect your eyes from wood chips, sawdust, and power tool debris.
- Dust Mask: Cutting and sanding release fine particles. A mask helps keep your lungs clean, especially when working indoors.
- Ear Protection: Tools like circular saws and drills are loud. Foam earplugs or earmuffs can help prevent hearing loss.
- Work Gloves: Good gloves protect your hands from cuts, splinters, and rough surfaces. Note: Always take off your gloves when operating spinning power tools like table saws or routers, as the fabric can get caught and pull your hand into the blade.
- Work Boots: Sturdy shoes with good grip and toe protection are important when lifting materials or working on uneven ground.
Also, consider a first aid kit within reach. Small accidents like splinters or cuts happen often. Having bandages and disinfectants handy helps you stay focused and safe.
Never rush through safety steps. Taking a few seconds to gear up can save you from days or weeks of recovery.
Storage And Organization
Here’s how to stay organized:
- Toolbox: A good toolbox protects your tools and keeps them together. Get one with compartments for small items.
- Tool Bag: Great for carrying your essentials on the go. Many have reinforced bottoms and padded straps for comfort.
- Tool Belt: Keeps your most-used tools at your side. Good for on-site work or projects that require moving around.
- Wall Racks and Pegboards: Good for garages and workshops. These keep tools visible and within reach.
You can also use storage bins for fasteners, glue, and sandpaper. Label them so you can find things faster. A rolling cart is handy if you work in different parts of a room or site.
Keeping your tools clean and stored properly will make them last longer and perform better on every project.
Optional Tools For Growing Skills
Here are a few helpful additions:
- Table Saw: Offers precision and control for cutting large sheets of wood or repetitive cuts.
- Router: Used for creating grooves, edges, or detailed shapes. Popular in furniture and cabinetry work.
- Workbench with Vise: A sturdy surface helps with measuring, assembling, and clamping pieces.
- Stud Finder: Handy for projects that involve mounting shelves, TVs, or frames into walls.
- Laser Level: Provides highly accurate level lines over long distances, helpful in layout and framing.
You may also find a moisture meter useful for checking the dryness of wood. Wood that holds too much moisture can warp or shrink after being installed.
It’s best to rent or borrow these tools first. That way, you can test them out and decide which ones truly match your style and needs.
How To Choose The Right Tools
Here’s how to choose wisely:
- Start with manual tools that teach technique and give you more control.
- Invest in quality. A good hand saw or drill may cost more but will last for years.
- Stick with known brands with good reputations and warranties.
- Think about storage space. Larger power tools need room and care.
- Ask questions at hardware stores or watch videos to understand what each tool does before buying.
Try to build your collection slowly. Start with core tools then add specialty tools based on the tasks you do most.
Beginner Mistakes To Avoid
Look out for:
- Not measuring or using a dull pencil to mark cuts
- Using the wrong saw or blade for the material
- Not clamping wood before cutting or drilling
- Not wearing safety gear when using power tools
- Sanding against the grain which leaves visible scratches
- Leaving tools out in the rain or tossing them in storage without cleaning
- Forcing screws without pilot holes which can split the wood
A little extra care goes a long way. Good habits build strong foundations and save time in the long run.
Final Thoughts
Carpentry is a fun trade that teaches patience, precision, and creativity. It’s not just about tools, it’s about knowing how and when to use them. As a beginner, your first toolkit doesn’t have to be big. It just needs to be filled with the right tools and the willingness to learn.
Start simple, stay safe, and focus on one skill at a time. Every cut, mark, and joint you make makes you a better carpenter. The tools in this guide will be with you every step of the way.
Frequently Asked Questions
Start with a good quality tape measure, a claw hammer, and a hand saw. These three tools cover the basics of measuring, fastening, and cutting. They also help you learn fundamental techniques before jumping into power tools.
Not immediately. It’s better to start with manual tools to build control and confidence. Once you get comfortable with techniques, a power drill or circular saw can make certain tasks quicker and easier.
It depends on the type of cut and the material. Use a hand saw for straight cuts in small boards, a jigsaw for curves, and a circular saw for longer cuts. If you’re trimming angles, a miter saw is the way to go.
In most cases, wood glue adds strength, but it’s best when combined with nails or screws. For joints and seams, clamps help apply pressure while the glue dries for a solid bond.
Clean them after use, store them in a dry place, and check for rust or damage regularly. Keep blades sharp and handles tight. Proper care extends the life of your tools and keeps your work safer.