

Misdiagnose damp and you fix the wrong thing. A tenant gets told the wall is rising damp, a chemical DPC goes in, and six months later it’s still wet because the real fault was a cracked downpipe. Penetrating damp is the most common type of structural damp in UK buildings, and it’s also the one that gets misread the most. Getting the diagnosis right is what separates a repair that holds from a callback.
What penetrating damp actually is
Penetrating damp is water moving into a building from outside, sideways through the walls, roof or around openings, rather than up from the ground. It shows wherever the building envelope has a weak point, so it can appear on any floor and on ceilings as well as walls. That is the first thing that sets it apart from rising damp, which travels up through masonry by capillary action and rarely climbs more than a metre above floor level.
UK damp falls into three camps, and they get confused on site constantly:
- Lateral ingress: Water entering through a building defect. Localised, tied to a specific fault, and tends to worsen after rain.
- Rising damp: Ground moisture drawn up through walls by capillary action. Low down, usually under a metre, often with a salt tide mark.
- Condensation: Moisture from indoor air meeting cold surfaces. Spread across cold spots, worse in winter and poorly ventilated rooms, with black spot mould.
Condensation is the most common damp overall in UK homes, but once you strip that out, water getting in through the fabric is the one you’ll meet most on structural jobs.
What causes it
Nearly all of it comes back to a failure in the external fabric that lets water through. The usual sources, roughly in the order they turn up:
- Blocked or broken guttering: Overflowing gutters and cracked downpipes soak one patch of wall over and over. This is the single most common cause.
- Failed pointing: Eroded or cracked mortar joints give rain a direct route into the masonry.
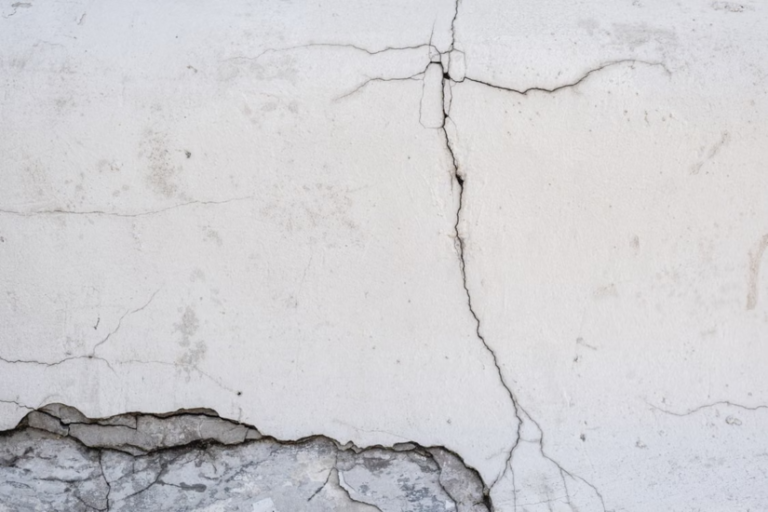
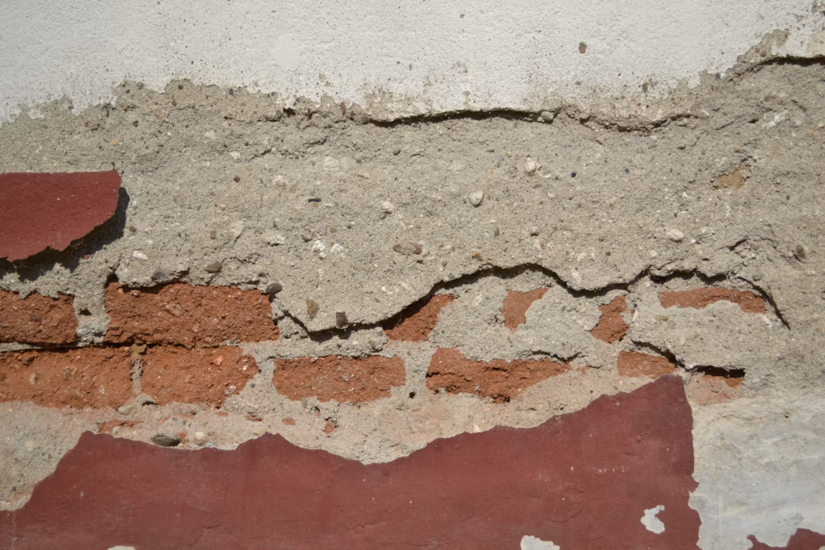
- Cracked or blown render: Water gets behind the render and sits against the wall.
- Porous or spalled brick: Frost-damaged or soft bricks soak up and hold water.
- Defective flashing: Failed lead around chimneys, parapets and roof junctions lets water track inside.
- Roof defects: Slipped or broken tiles and slates drop water into the structure.
- Perished seals and sills: Gaps around windows and doors, and worn sills, channel rain into the reveals.
- Bridged cavity: Mortar droppings on wall ties or debris in the cavity carry water across to the inner leaf.
- High ground levels: Soil, paths or render bridging the DPC let water cross into the wall.
Wind-driven rain and wall type
Exposure matters as much as the defect. Walls on the weather side of a building take the brunt of wind-driven rain, and solid walls resist it far less than cavity construction. BS 8104 sets out how to assess a wall’s exposure to wind-driven rain, and that feeds into the weather-resistance rules in the Building Regulations, Approved Document C in England, with equivalents across Wales, Scotland and Northern Ireland. A solid brick wall in a severe exposure zone will let water through faults that a sheltered cavity wall would shrug off.
The signs to look for
Penetrating damp has a pattern, and that pattern is what lets you tell it apart on site.
Inside the property
- Localised damp patches: Well-defined patches on walls or ceilings, often next to an external wall, not a general spread.
- Patches that react to weather: Damp that darkens or grows after heavy or driven rain and dries back in settled spells.
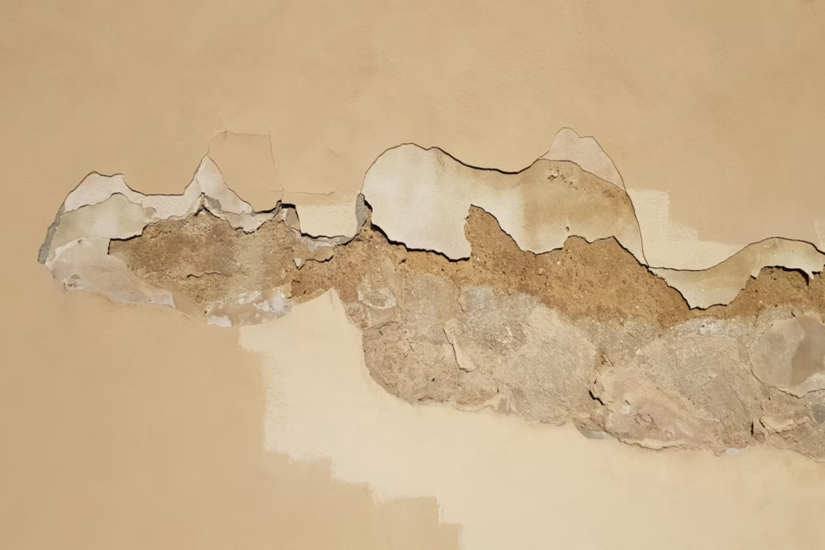
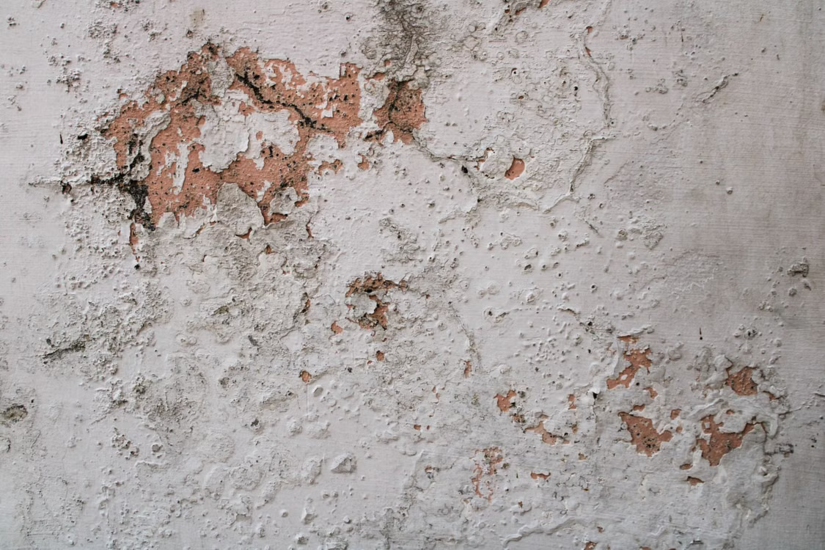
- Blistering plaster and lifting paint: Finishes bubble and break away where water sits behind them.
- Staining at height: Marks on upper floors or ceilings, which rules rising damp out straight away.
- Rot and decay: Wet or dry rot in skirtings, joists or lintels where timber stays wet.
- Musty smell and mould: A damp odour and mould growth, though mould on its own can also point to condensation.
Outside the property
- Visible defects: Cracked render, open joints, blocked gutters or slipped tiles lining up with the internal patch.
- Staining and growth: Green algae, moss or dark streaks on the wall below a leak.
- Spalling brick: Faces flaking off after frost, a sign the brick is holding water.
One useful check: rising damp usually leaves hygroscopic salts and a tide mark as ground water evaporates out of the wall. Penetrating damp normally doesn’t, so heavy salting low on a wall points away from a simple penetrating fault.
How to trace the source
Finding the entry point is the job. Treating a patch without tracing where water gets in just moves the callback down the road.
Read the internal evidence
Map the patch. Note its height, shape and whether it sits against an external wall. Track how it behaves across wet and dry weather, because penetrating damp follows the rain while condensation follows occupancy and season. Rule out internal plumbing first, since a weeping joint or waste leak mimics damp ingress exactly.
Inspect the outside
Work the external envelope directly behind and above the internal patch. Water usually enters higher than it shows inside, so check up the wall, not just level with the stain. Run through gutters, downpipes, pointing, render, bricks, flashings, roof coverings, sills and ground levels. A defect that lines up with the internal patch is your prime suspect.
Use the right tools
- Moisture meter: Surface protimeter readings are a guide, not proof, and salts or foil-backed plaster can throw them off. Use them to compare areas, not to confirm a cause.
- Deep probes or a drilled sample: Readings through the wall thickness, or a gravimetric test on drilled masonry, confirm how wet the wall is inside.
- Thermal imaging: A thermal camera shows cold, wet zones and can trace the path water takes behind the surface.
- Hygrometer: Air readings help separate condensation from genuine ingress.
- Water test: Controlled wetting of a suspected area, with someone watching inside, proves the entry point before you commit to a repair.
Fixing the source, not the symptom
Repairs start outside. Clear and fix the guttering, repoint open joints, patch or replace failed render, renew flashing and sort the roof. Let the wall dry out fully before you make good inside, or the fresh plaster fails too.
On solid walls, keep it breathable. A breathable water-repellent cream can cut absorption on porous masonry while still letting the wall dry out. Sealing a solid wall with a non-breathable coating traps moisture in the structure and makes decay worse, so it’s the wrong call on older buildings.
Safety on site
- Working at height: Gutter, flashing and roof checks fall under the Work at Height Regulations 2005, so use proper access rather than a stretch off a ladder.
- Asbestos: Older properties can hide asbestos in textured coatings, cement board and some renders. Check before disturbing anything, in line with the Control of Asbestos Regulations 2012.
- Electrics: Keep damp investigations clear of live wiring, and flag any wet electrics for an electrician.
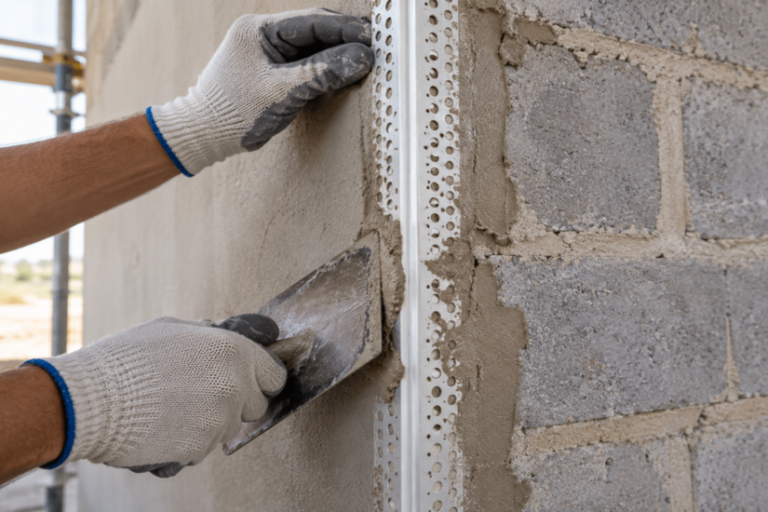
Once the source of damp is addressed, making good may involve brickwork or plastering. Explore TradeFox’s courses in these trades, with guided simulations you can repeat as often as you need while learning.
Why accurate diagnosis matters
Damp and mould isn’t only a building problem now, it’s a legal one. Under Awaab’s Law, brought in through the Social Housing (Prescribed Requirements) (England) Regulations 2025, social landlords in England have had to act on dangerous damp and mould to fixed timescales since 27 October 2025. Significant hazards must be investigated within 10 working days, with a written summary to the tenant inside 3 working days, and emergency repairs within 24 hours. The duty widens to more Housing Health and Safety Rating System hazards through 2026 and 2027.
The Renters’ Rights Act 2025 gives the government power to extend Awaab’s Law to the private rented sector in a later phase, though that step needs separate regulations and has no confirmed start date yet. For anyone working on rented or social housing, a fast, correct damp diagnosis is already part of keeping a landlord on the right side of the rules.
Get the source right and the repair lasts. Trace penetrating damp back to the defect letting water in, fix that, give the wall time to dry, then make good. That’s the whole job.